ReLocavore: Redefining "local"

Back to Wisconsin, my cheesehead friends


Leave a comment

Necessary Equipment: A Bag Filler

I have always hesitated to reveal my dark secrets to home preserving. I closely guard the tips and tricks that I use in my kitchen to help me can and preserve food quickly and efficiently. Mostly, I want you all to come to me after the Zombie Apocalypse to preserve the food necessary for the continuation of the human race. If I tell you my tips and tricks, then you may be able to save yourself… But… Give a man a fish, teach a man to fish…

One of the problems with freezing in plastic zipper bags, is that you always fight to keep the bag open while you’re filling it with food. Also, once the bag is full, you have to seal it right away because it has a tendency to tip over and spill. To solve this problem, I use a bag filler –  a rigid plastic tube that holds the bag open while I fill it.

I make my bag fillers from Gatorade bottles. Unlike other plastic bottles, they have ridges so they’re strong around the middle and won’t collapse.

Cut off the top and the bottom, and make sure not to leave sharp edges that could puncture the bag.

2013-08-18 12.35.352013-08-18 12.35.48

The bag filler can go inside the bag or the bag can go inside the bag filler… Either way, the bag stays open and is kept upright and free-standing.

2013-08-18 12.36.592013-08-18 12.36.19

Homemade Sauerkraut

6 Comments

I love to make homemade sauerkraut. It tastes better than the stuff from the jar. This video shows you how to make sauerkraut without needing an expensive pickling crock.

If any of y’all wins the lottery, can you buy me a pickling crock? I’ll pay you back in pickled vegetables.


6 Comments

Necessary equipment: a big damn bowl

A big goddamn bowl is essential for successful canning. My mom inherited my big bowl when we moved out to New Hampshire. I had inherited it originally from my mom’s mom… I made it through strawberries without one, but I’m staring down a bushel of green beans and I’m not going to screw around. I NEED a big bowl.

20130812-204449.jpg
To give you a sense, the new big damn bowl is 20-quarts in size. I put a widemouth pint jar in the big damn bowl in order to give you a sense of size. A big damn bowl needs to be large enough in order to successfully wash half a bushel of beans, or hold the kernels cut off a dozen ears of corn, or bathe small infants. Big.

Look for the story of sauerkraut… As made in the big damn bowl.

What to Do With 50 Pounds of Stone Fruit: A Photo Gallery

2 Comments

We stopped at the Apple Bin Farm Market on the way home from visiting Sam’s grandmother in New York state. They had ripe apricots and peaches. We left with a full carload. So… What can you make from 50 pounds of stone fruit? Click on an image to read more about what me made.

This gallery contains 9 photos


1 Comment

Strawberry Jam

photo

The back-of-the-napkin calculation…

Yielded 25 jars of jam for $4.66 per jar.

Next year, when I don’t have to buy jars, but only have to buy lids ($0.16/lid), each jar will cost me $4.14.

And yes, I didn’t factor in the cost of the equipment that I used – both the general equipment (bowls, spoons) and the canning-specific equipment (canner, jar tongs, lid lifter magnet).

IMG_3457


Leave a comment

Locavore Survival Guide: What is a locavore?

So I need to address the obvious – What is a locavore? The most boilerplate comes from the very first post of this blog – The dictionary definition, “A person whose diet consists only or principally of locally grown or produced food.” There’s two problems I have with this definition. First, it frames locavore as a “diet” and second, the definition leaves “local” to be defined elsewhere. Please excuse me as I pick at nits.

I don’t like diets – in the modern use of the word as a set of guidelines on choosing food, not in the Anthropological meaning of the word as anything that people eat. Diets come as arbitrary sets of rules or guidelines that ossify eating practices and attempt to define the world into “good” and “bad” foods. Lard? Bad. Broccoli? Good. Locally-raised pig lard? Bad (unless you’re a locavore, then it’s good). Conventionally farmed broccoli from Argentina available in New Hampshire in February? Good (unless you’re a locavore, then it’s bad…) I really do NOT want anyone to think there is some list of goods and bads making up the Locavore diet and that you may only eat things on the good list and nothing off the bad list. Diet also emphasizes choosing foods and avoiding foods – a universe of possibility that neglects what you do with the foods you choose or what happens to the foods you avoid. I want locavore to mean more than just choosing foods that are good and avoiding foods that are bad because locavore is more than just the food – it’s about preserving food, cooking food and enjoying food too…

Second, the dictionary leaves out what “local” means. The dictionary defines “local” as “belonging or relating to a particular area or neighborhood, typically exclusively so.” Local as geography. So each locavore is a pin on a map with a circle around it. I don’t much like that either. We can use other definitions of “local” to broaden our understanding of food. I think of food using a network definition. Imagine a network of food producers, packagers, distributors and consumers. Each person or organization is a node and is linked by the transactions between nodes. We all eat within this type of network-I buy a can of tomatoes sold at the coop, shipped by a grocery wholesaler, packages by a plant, picked by a person, grown by a farmer. Alternatively I go to my pantry and get a jar of home-canned tomatoes that I bought at a farm stand that were picked by the farmer. Local, to me, means both geography AND relationship networks. How can we act to minimize both distance and connections?

So, I’m being pedantic, but I want to explore these ideas more fully in this blog… This is why I started in the first place. To gain a better understanding of how and why I eat locally.

So back to my original question: What is a locavore? The dictionary says, “A person whose diet consists only or principally of locally grown or produced food.” Let’s modify this…

A locavore is person who acquires, preserves, cooks and eats food in order to minimize the distance between the food production and consumption.

What do you think?


2 Comments

Pepper Pickled Radishes

2013-05-25 16.06.54I like to pickle – to preserve vegetables in a salt and vinegar brine. I pickle for three reasons: First, it’s a way to preserve some veg to eat later in the season. Second, I have a bad salt-sour tooth (like a sweet tooth, but more for salty and sour things). Third, my pickles never turn out the same way twice, so it’s always a surprise when I open a jar.

Sidenote: pickling is not fermenting… They’re different processes. Pickling is killing microbes and reducing  their ability to reproduce by introducing a hot, salty and acidic environment. Fermenting is using the microbes to create a warm and slightly acidic environment that both slows reproduction and breaks down foodstuffs. Some old-school cucumber pickles are both fermented and pickles, but not all.

Another sidenote: Pickling can produce both self-stable pickles and pickles that need refrigeration to keep from spoiling-so-called “refrigerator pickles.” I prefer refrigerator pickles because they’re very easy to make and the resulting veg stays crisp.

To start out this season, I made pepper pickled radishes. These are radishes pickled in a vinegar-salt-sugar brine with peppercorns. They turn a light shade of pink as the color leaches out of the radish into the brine. For a new twist this year, I added a sliced onion. In retrospect, I used too much onion, so these are more pepper pickled onions with some radishes thrown into give it a pink color. As they hang out in the fridge, the pepper flavor gets stronger while the vinegar mellows.

Pepper Pickled Radishes

(Makes 1 pint of radishes. All measurements are approximate… This is the variability I talked about…)

  • 8 radishes – about 1″ in diameter
  • 1 small onion
  • 1 tbsp peppercorns
  • 1 cup rice wine vinegar, apple cider vinegar or white vinegar
  • 6 tbsp salt
  • 2 tbsp sugar
  1. Heat the vinegar, salt and sugar to almost boiling. Taste it and adjust salt and sugar to your preference.
  2. Thinly slice the radishes and the onion on the mandoline.
  3. In a pot of boiling water, sterilize a clean canning jar, ring and lid for 10 minutes.
  4. Fill the sterile, hot jar with layers of radish slices, onion slices and peppercorns. Press firmly to pack the jar very tight. Pour over the hot brine until within 1/2″ of the rim of the jar. Tap the jar firmly on the counter to release air bubbles. If air bubbles are still visible, jam a butter knife down the veg to release the air bubbles. Press down any veg sticking up out of the jar, so it won’t touch the jar lid. Top off the jar with extra brine to reach within 1/4″ of the rim of the jar. Wipe the lip of the jar clean, top with the lid and screw on the ring to hand-tight.
  5. Put the jar in the way back of the fridge. Let cool for at least 24 hours.


2 Comments

Locavore Survival Guide: Storing Greens in the Fridge

This is the first post of a new series – the Locavore Survival Guide. I hope to provide some advice for novice locavores who are trying out the Farmer’s market, maybe purchasing a CSA (Community sponsored agriculture), or just choosing from the “locally grown” section of the supermarket. After 10 years of eating locally, I hope to have learned a thing or two, and I can share some of my experiences making this same transition. Look for Locavore Survival Guide posts on Tuesday mornings…

Storing Greens in the Fridge

In the early Spring,  my winter stores are low, my kuhlschrank is empty and turned off, and I have more empty canning jars than full. Spring vegetables don’t take well to preserving – they’re leafy and tender. So, in the Spring we scramble to eat all of the veg before it goes mushy.

Some examples of Spring vegetables that we ate in Wisconsin and hope to eat in New Hampshire include: Spinach, radishes, lettuce, asparagus, cooking greens (frisee, endive), Chinese vegetables (bok choi, tatsoi), tiny beets, and sweet salad turnips. Most of these are leaves, a few stems and swollen roots, and no fruits yet…

Most of these leafy greens will wilt and dry out if just put in the refrigerator. Compared to store-bought greens, locally-bought greens will stay crisp and moist much longer in the fridge. The local veg that I get in our CSA is often only 1 or 2 days out of the ground, while some veg in the grocery store may have been picked weeks before. For locally picked veg, by my accounts, you have about 2 days in the fridge with unprotected greens before they’re wilted and inedible. However, if you put a little effort up front, these vegetables will stay very crisp and moist in the fridge, without getting soggy and mildewy. You can plan to pick up your CSA on Friday and still have crisp veg to cook with on the following Thursday. It’s all about moisture control.

First, all leafy greens need to be in a bag to keep in the moisture, but if there’s too much moisture, then the greens with get soggy. To absorb extra moisture, I wrap greens in paper towels, then put them in the bag, and twist the bag shut. This gives an environment where the moisture will stay constant, and any extra will be absorbed by the towels. Store the bagged veg in the bottom of the fridge, in a “crisper” drawer, if you’ve got room. However, bagged like this, the greens should stay crispy for 5 days, longer if they’re really recently picked.

Lay the veg out on a clean, dry paper towel. If the greens are visibly dirty, spray off the dirt, but don't leave too much water clinging to the veg.

Lay the veg out on a clean, dry paper towel. If the greens are visibly dirty, rinse away the dirt, but don’t leave too much water clinging to the veg.

Just like a tiny infant, bring all of the leaves together and tightly wrap in the paper towel.

Bring all of the leaves together and tightly wrap in the paper towel.

Put the paper towel-wrapped veg into a plastic bag. Twist the top closed.

Put the paper towel-wrapped veg into a plastic bag. Twist the top closed.


2 Comments

Kuhlschrank – Our vegetable refrigerator

Saturday was the December Norwich Farmer’s Market. They have it indoors in the largest building in Norwich, the Tracy Hall, which also serves as the community theater. It was time to stock-up for the next month of cold and snow and avoiding trips to the grocery story. Unfortunately, Sam was at work, so I was hauling the veggies myself. I got our cooler on rollers and headed across the river. The winter market is mostly durable goods and crafts, but there were a handful of vegetable dealers.

I wanted to avoid $4 ATM fees, so instead of taking out cash on the way to the market, I tried the Market Cash program for the first time. One vendor has a credit card/debit card machine. He swiped my credit card for $60, and gave me 12 $5 tokens made of wood. The tokens were accepted at all of the vendors and the vendors made change in US dollars. If I had unused tokens, I could bring them back to the next market (but that practice is discouraged… makes accounting difficult). So I walked around the market with a pocket full of wooden tokens, buying veggies and loading them into my rolling cooler.

This was not weird to anyone… I blended right in.

I came home with:
– 10 lbs of potatoes, russets and kennebeck
– 10 lbs of yellow onions, carolina, IIRC
– 1 lb hardneck garlic
– 4 butternut squash
– 3 cabbages, standard green, red, and napa
– 10 lbs carrots
1 alien baby
– 2 celeriac

Now I have a lot of vegetables – where do they go? Not in the American Refrigerator, but in our German Refrigerator, the Kuhlschrank.

20121203-195129.jpg

I hope Germans have boring old electric refrigerators nowadays, but German fridges used to use cold air from outside to keep food cold in the house. Modern hippy-types are repurposing the idea to build modern root cellars in houses without basements.

We decided to build a kuhlschrank four years ago after The Rutabaga Incident. We were storing our vegetables in the garage and it got cold enough to freeze our potatoes. I went out to the garage to get potatoes to make for dinner, and they were all mush. It was January, I had seasonal affective disorder and I had no potatoes. I was in the thick of Locavorism, so I wasn’t going to run out to the store and buy a bag of potatoes. The only vegetables that survived the freeze were the rutabagas. I tried to roast one and make something tasty, but I only made my house smell like a Eastern European Grandmother. Sam came home in time to watch his sobbing wife throw a pot of boiled rutabags off the back porch and into a snow bank. I vowed never to loose my potatoes again. (Yes, this was my Scarlett O’Hara “I’ll never go hungry again,” moment.)

This will be the third year that we’ve used the kuhlschrank to keep our veggies through the winter, and we have had no vegetal failures since we started storing with it.

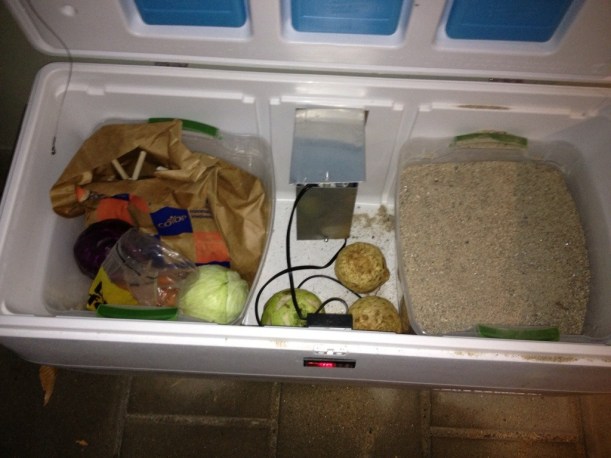
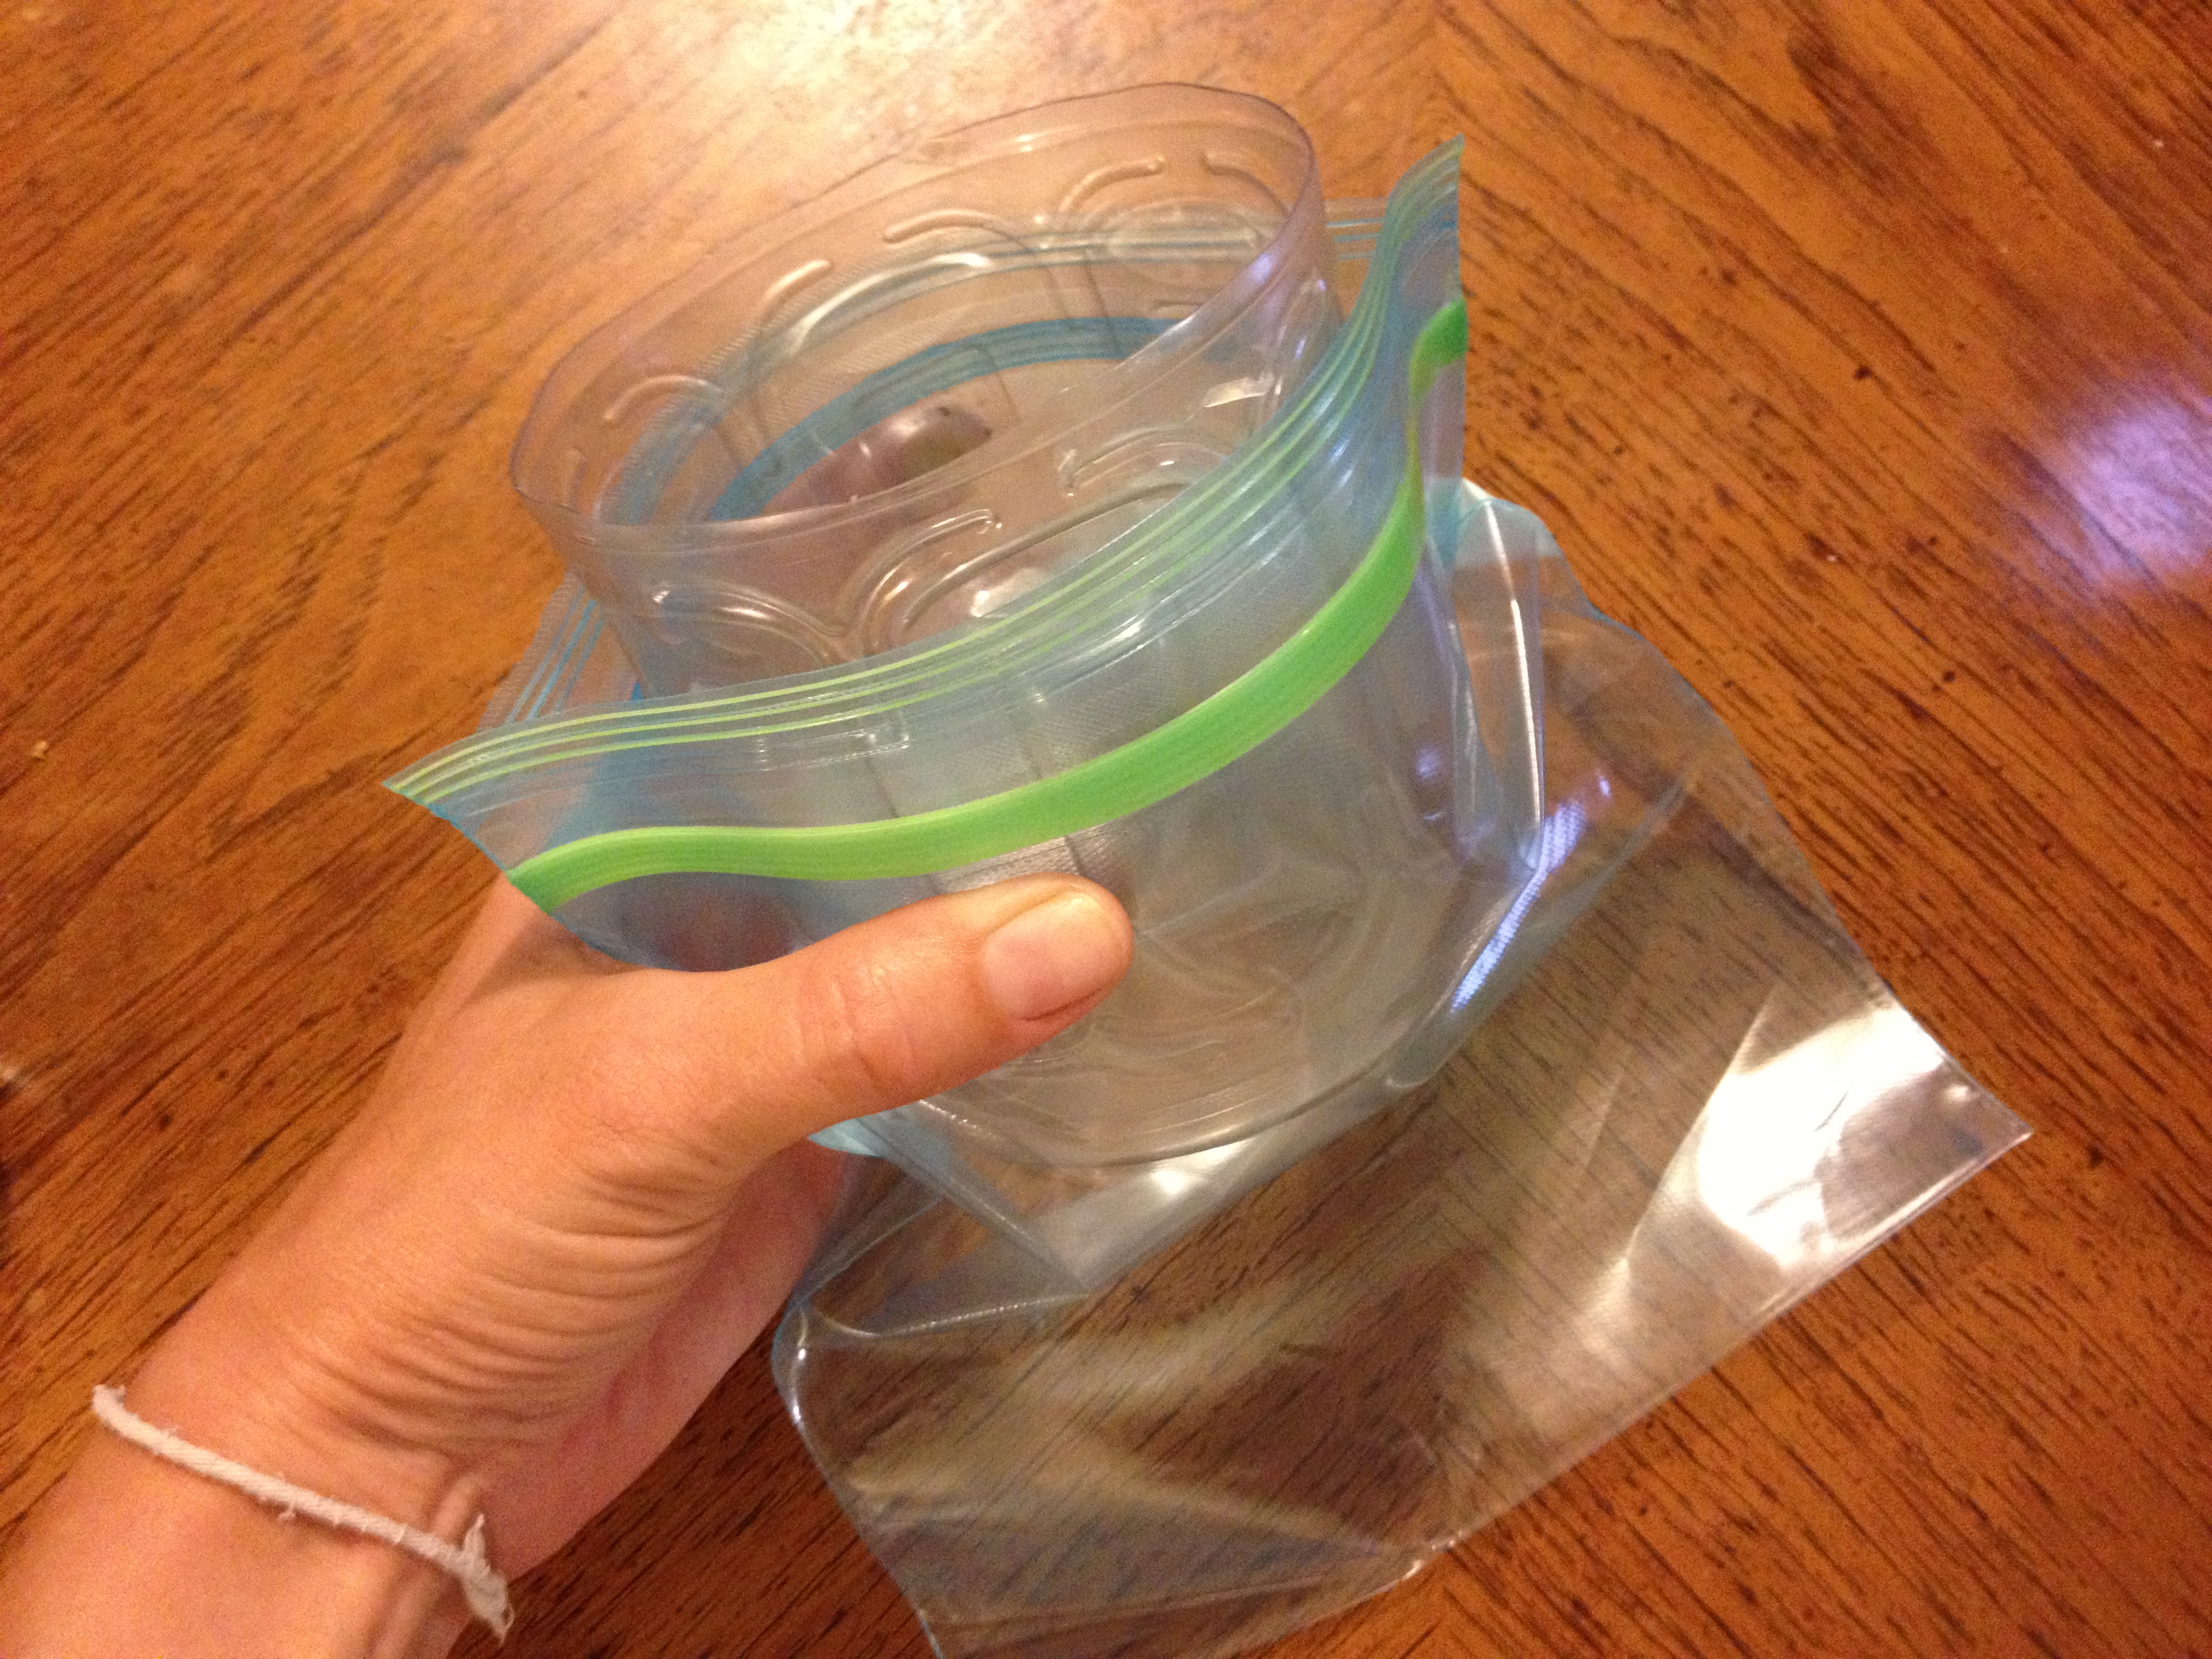
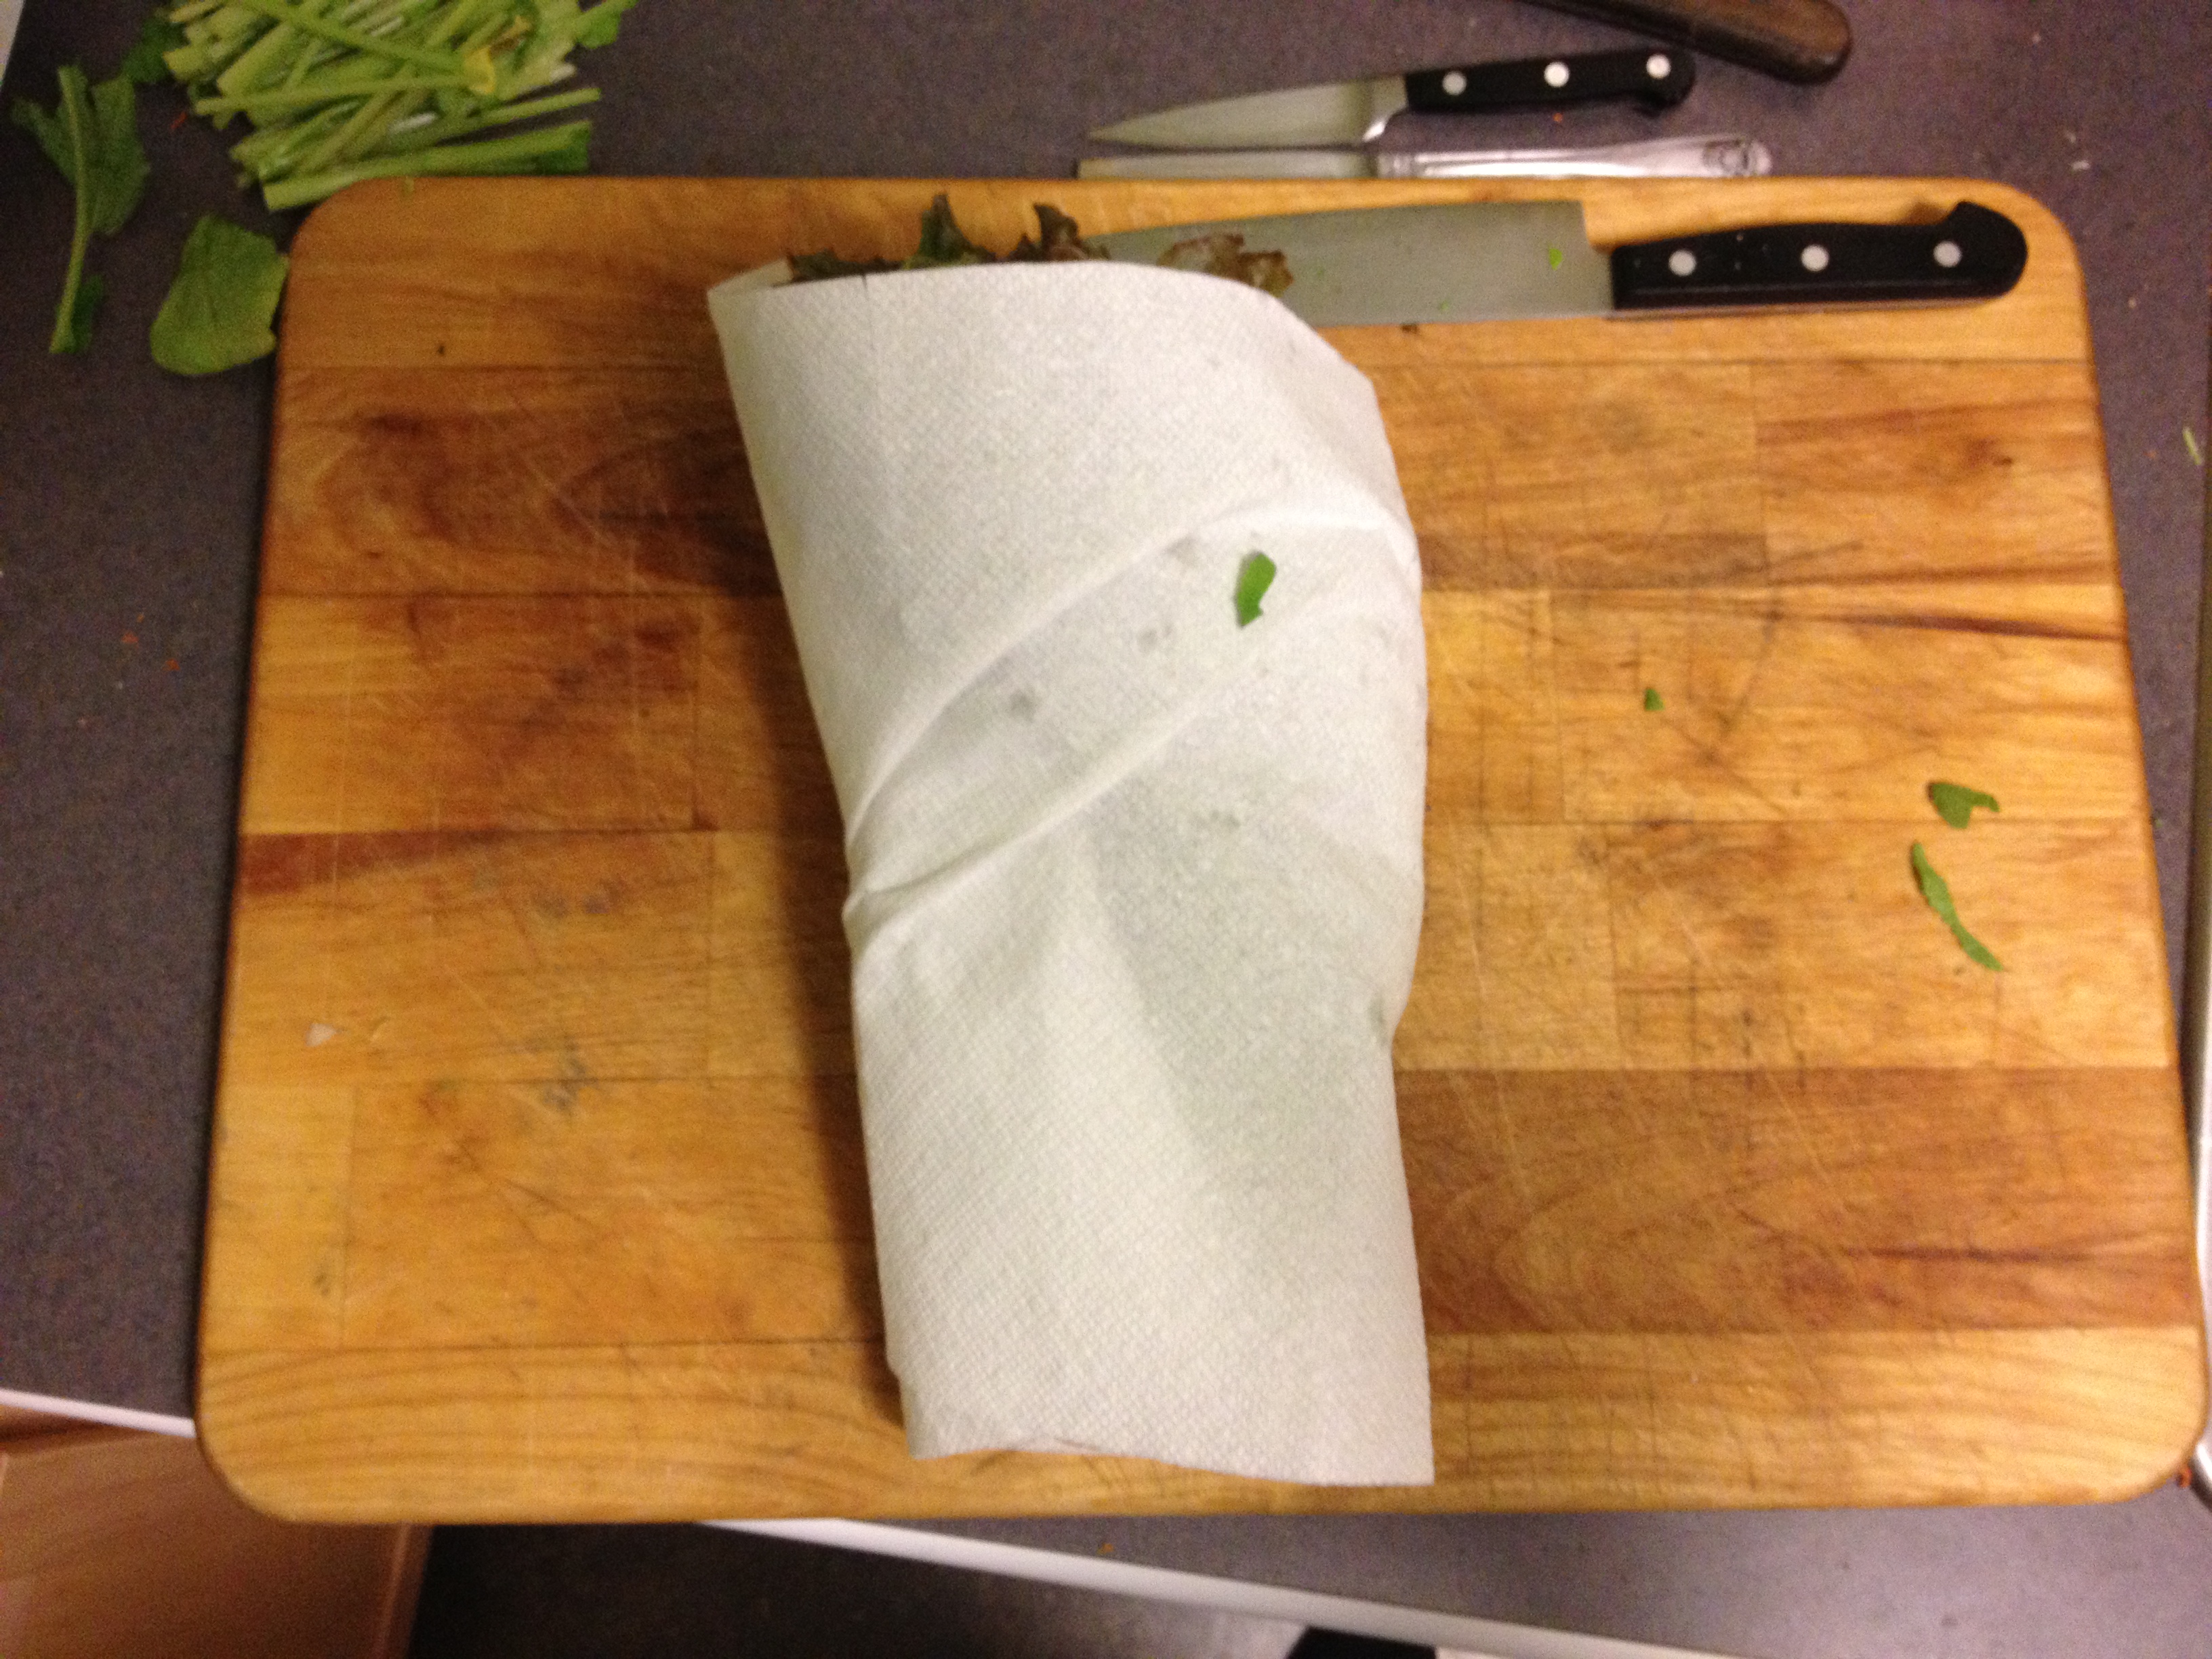
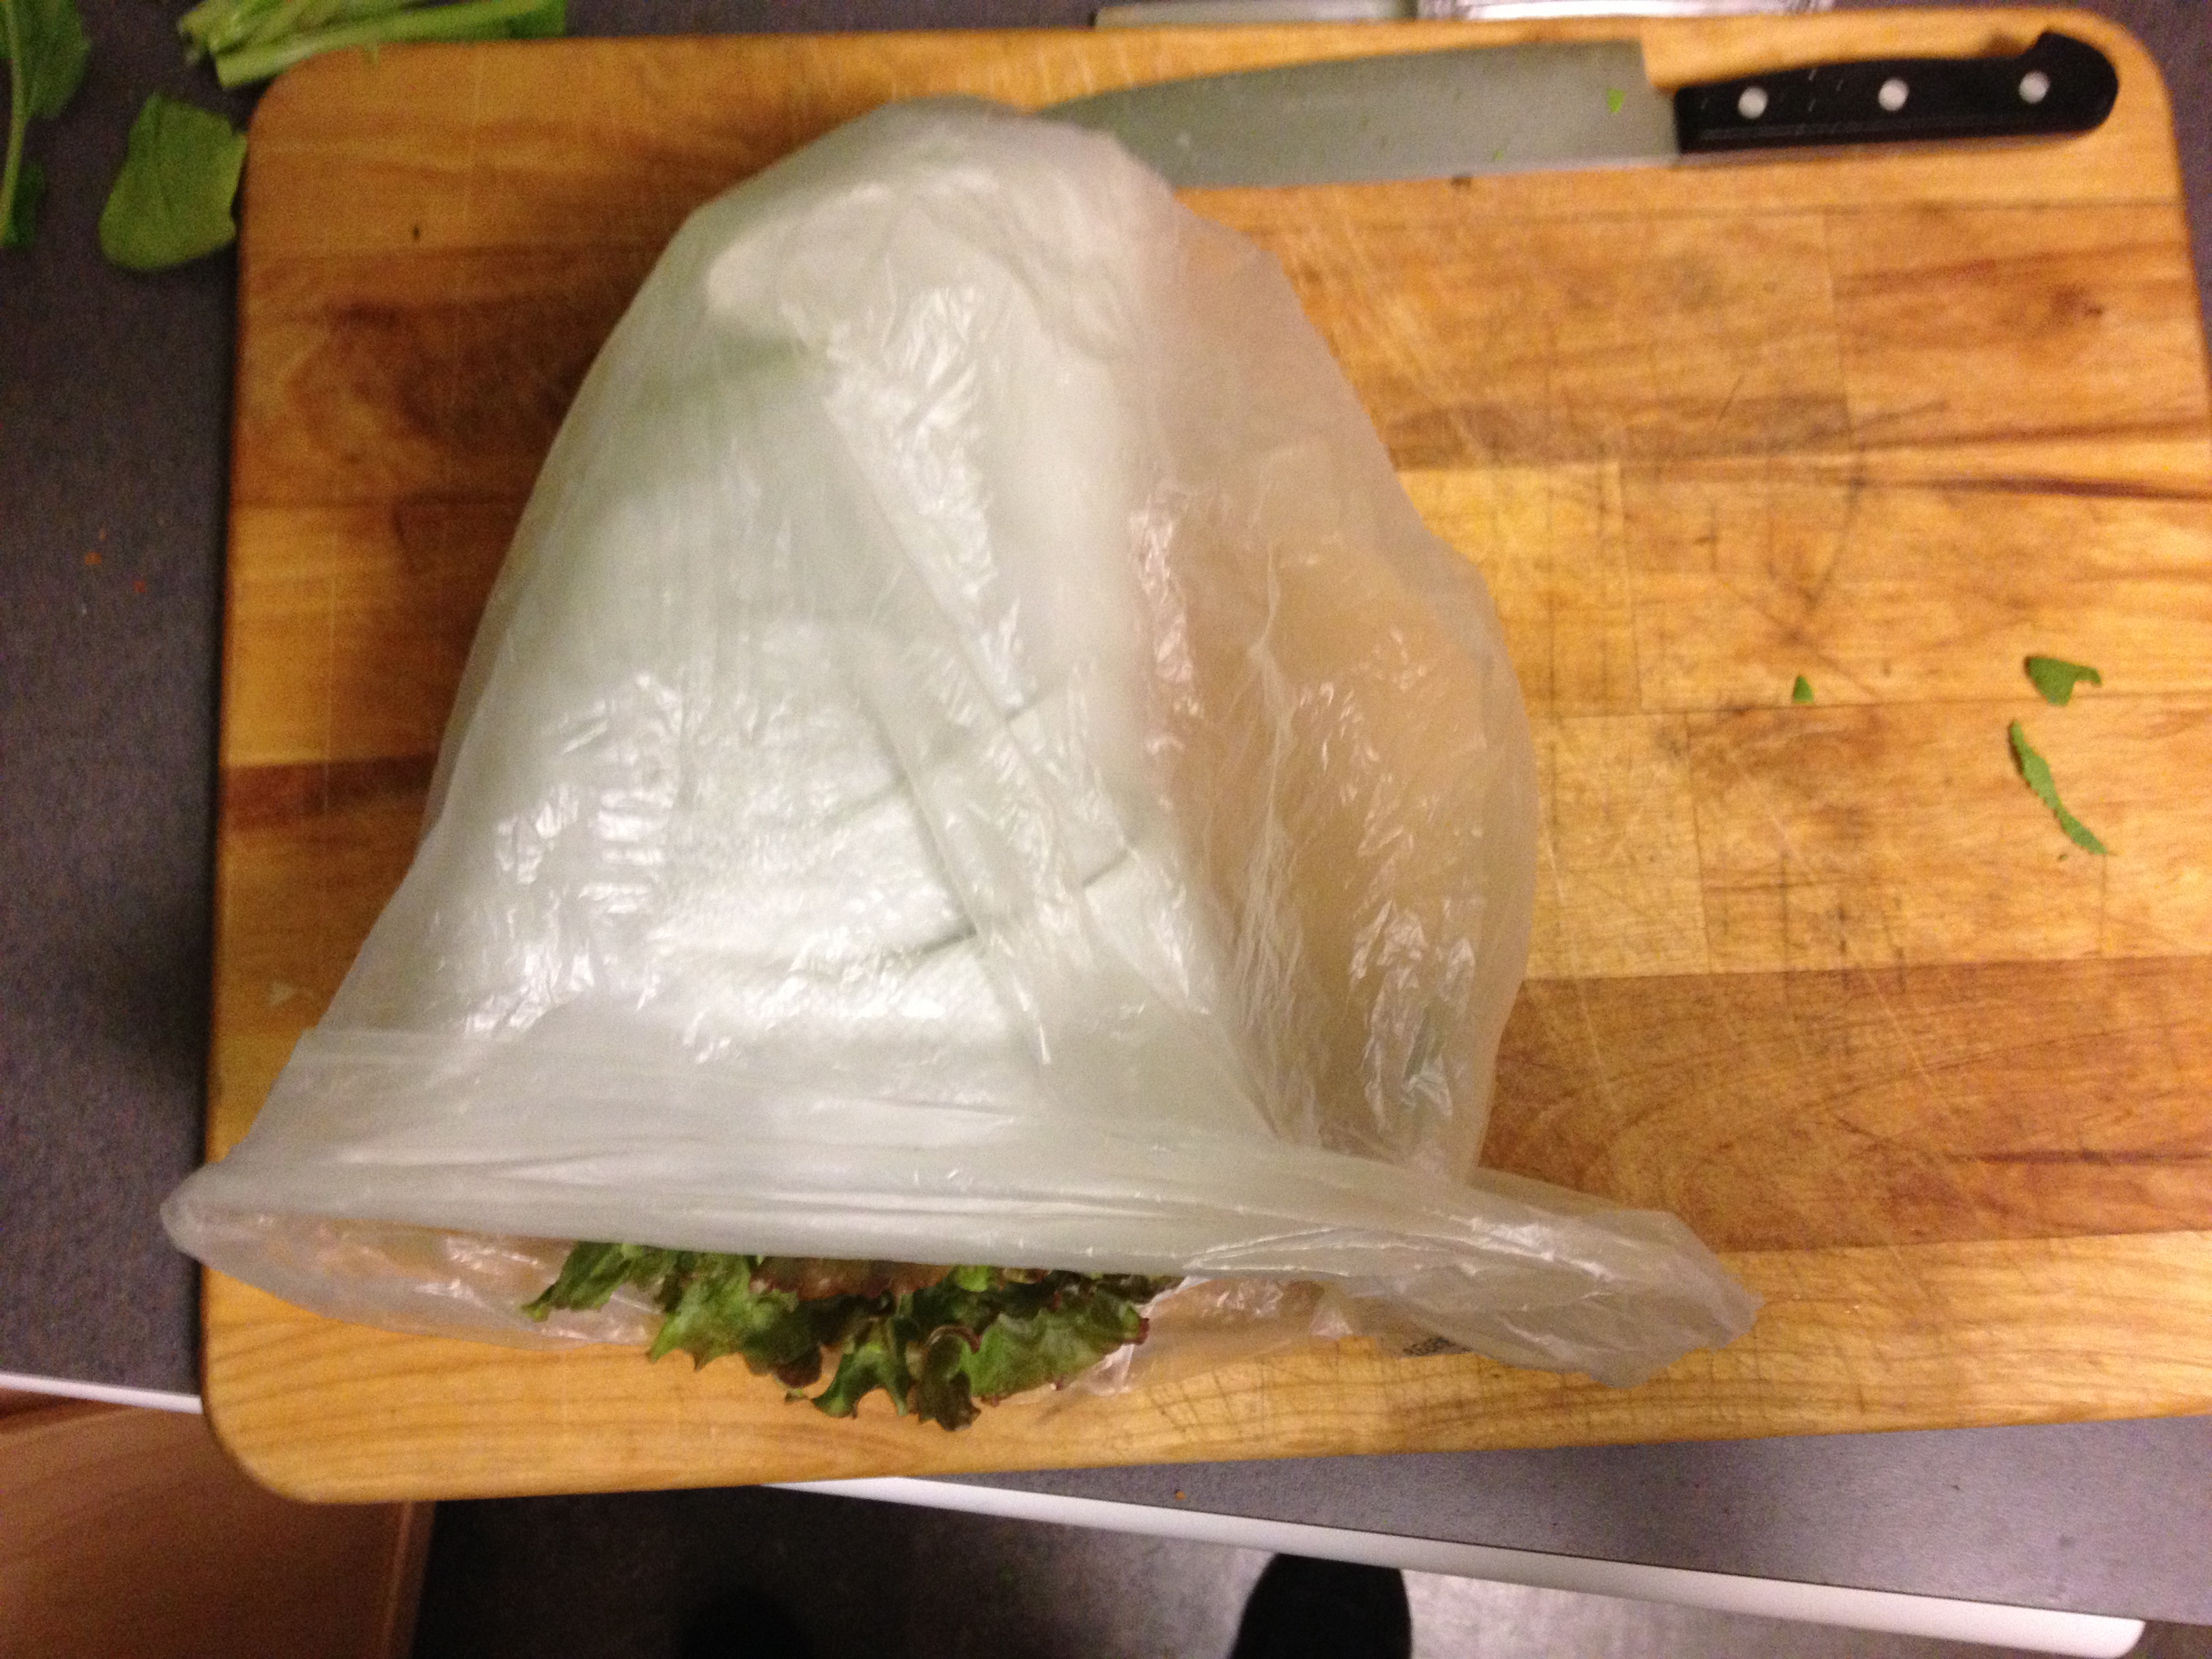
Sam designed and built the kuhlschrank. He’s such a good husband. It’s basically a 150 quart marine cooler wired into a temperature control and an incandescent (ILLEGAL!) lightbulb. If it gets too cold in the cooler, the lightbulb turns on and warms up the inside. If the interior gets too warm, we prop the lid open at night for an hour to cool it off. The temperature control keeps the temperature above 34F, and the red LED panel on the front shows us the interior temperature. We have a box full of sand to keep the potatoes from sprouting and to keep the moisture level high. The veggies that like the dark (garlic and onions) are kept in thick paper bags. The carrots, kohlrabi and celeriac like it moist, so they stay in plastic bags. Since we don’t have a garage, we moved it under the stairs just outside the front door of our apartment. It doesn’t have a lock, so I’m hoping we don’t loose vegetables to bears or our neighbors.

20121203-195147.jpg