Friends, I have been way behind in relating some important news in the 2019 ReLocavore season.
First, I am sure many of you know, but if you don’t, ReLocavore and The Mister relocated. We are now back in our native turf, Southern Wisconsin. Back with quality farm land, quality farmers and quality markets. So, we re-re-located. You’ll see a definite shift in my work. First, I have lots of built-in helpers. Second, my new house has white composite marble countertops (goodbye beautiful New Hampshire granite).
Second, I have not been posting the canning inventory for 2019. Let me catch you up…
37 pints Strawberry Jam (h/t Smother and The Mister)
8 quarts frozen strawberry halves
9 pints blueberry jam (h/t The Mister for getting them from Tree Ripe Fruit Co)
Welcome back to Relocavore! After this past Winter hiatus, I’m eager to update y’all on the fun that we’ve had since this past fall.
New URL… Relocavore.com
Over the next 48 hours the DNS servers will refresh and typing relocavore.com into your web browser will bring you right to the blog. Also in a few weeks,I’ll be rolling out a weekly email digest. Sign up and you’ll get an email on Saturday morning with a summary of the previous week’s posts. In another bit of outreach, I’ll be posting short synopses to the Upper Valley Locavore mailing list. (localvore-localag-discussion@lists.valley.net)
Relocavore goes Hyper-Local
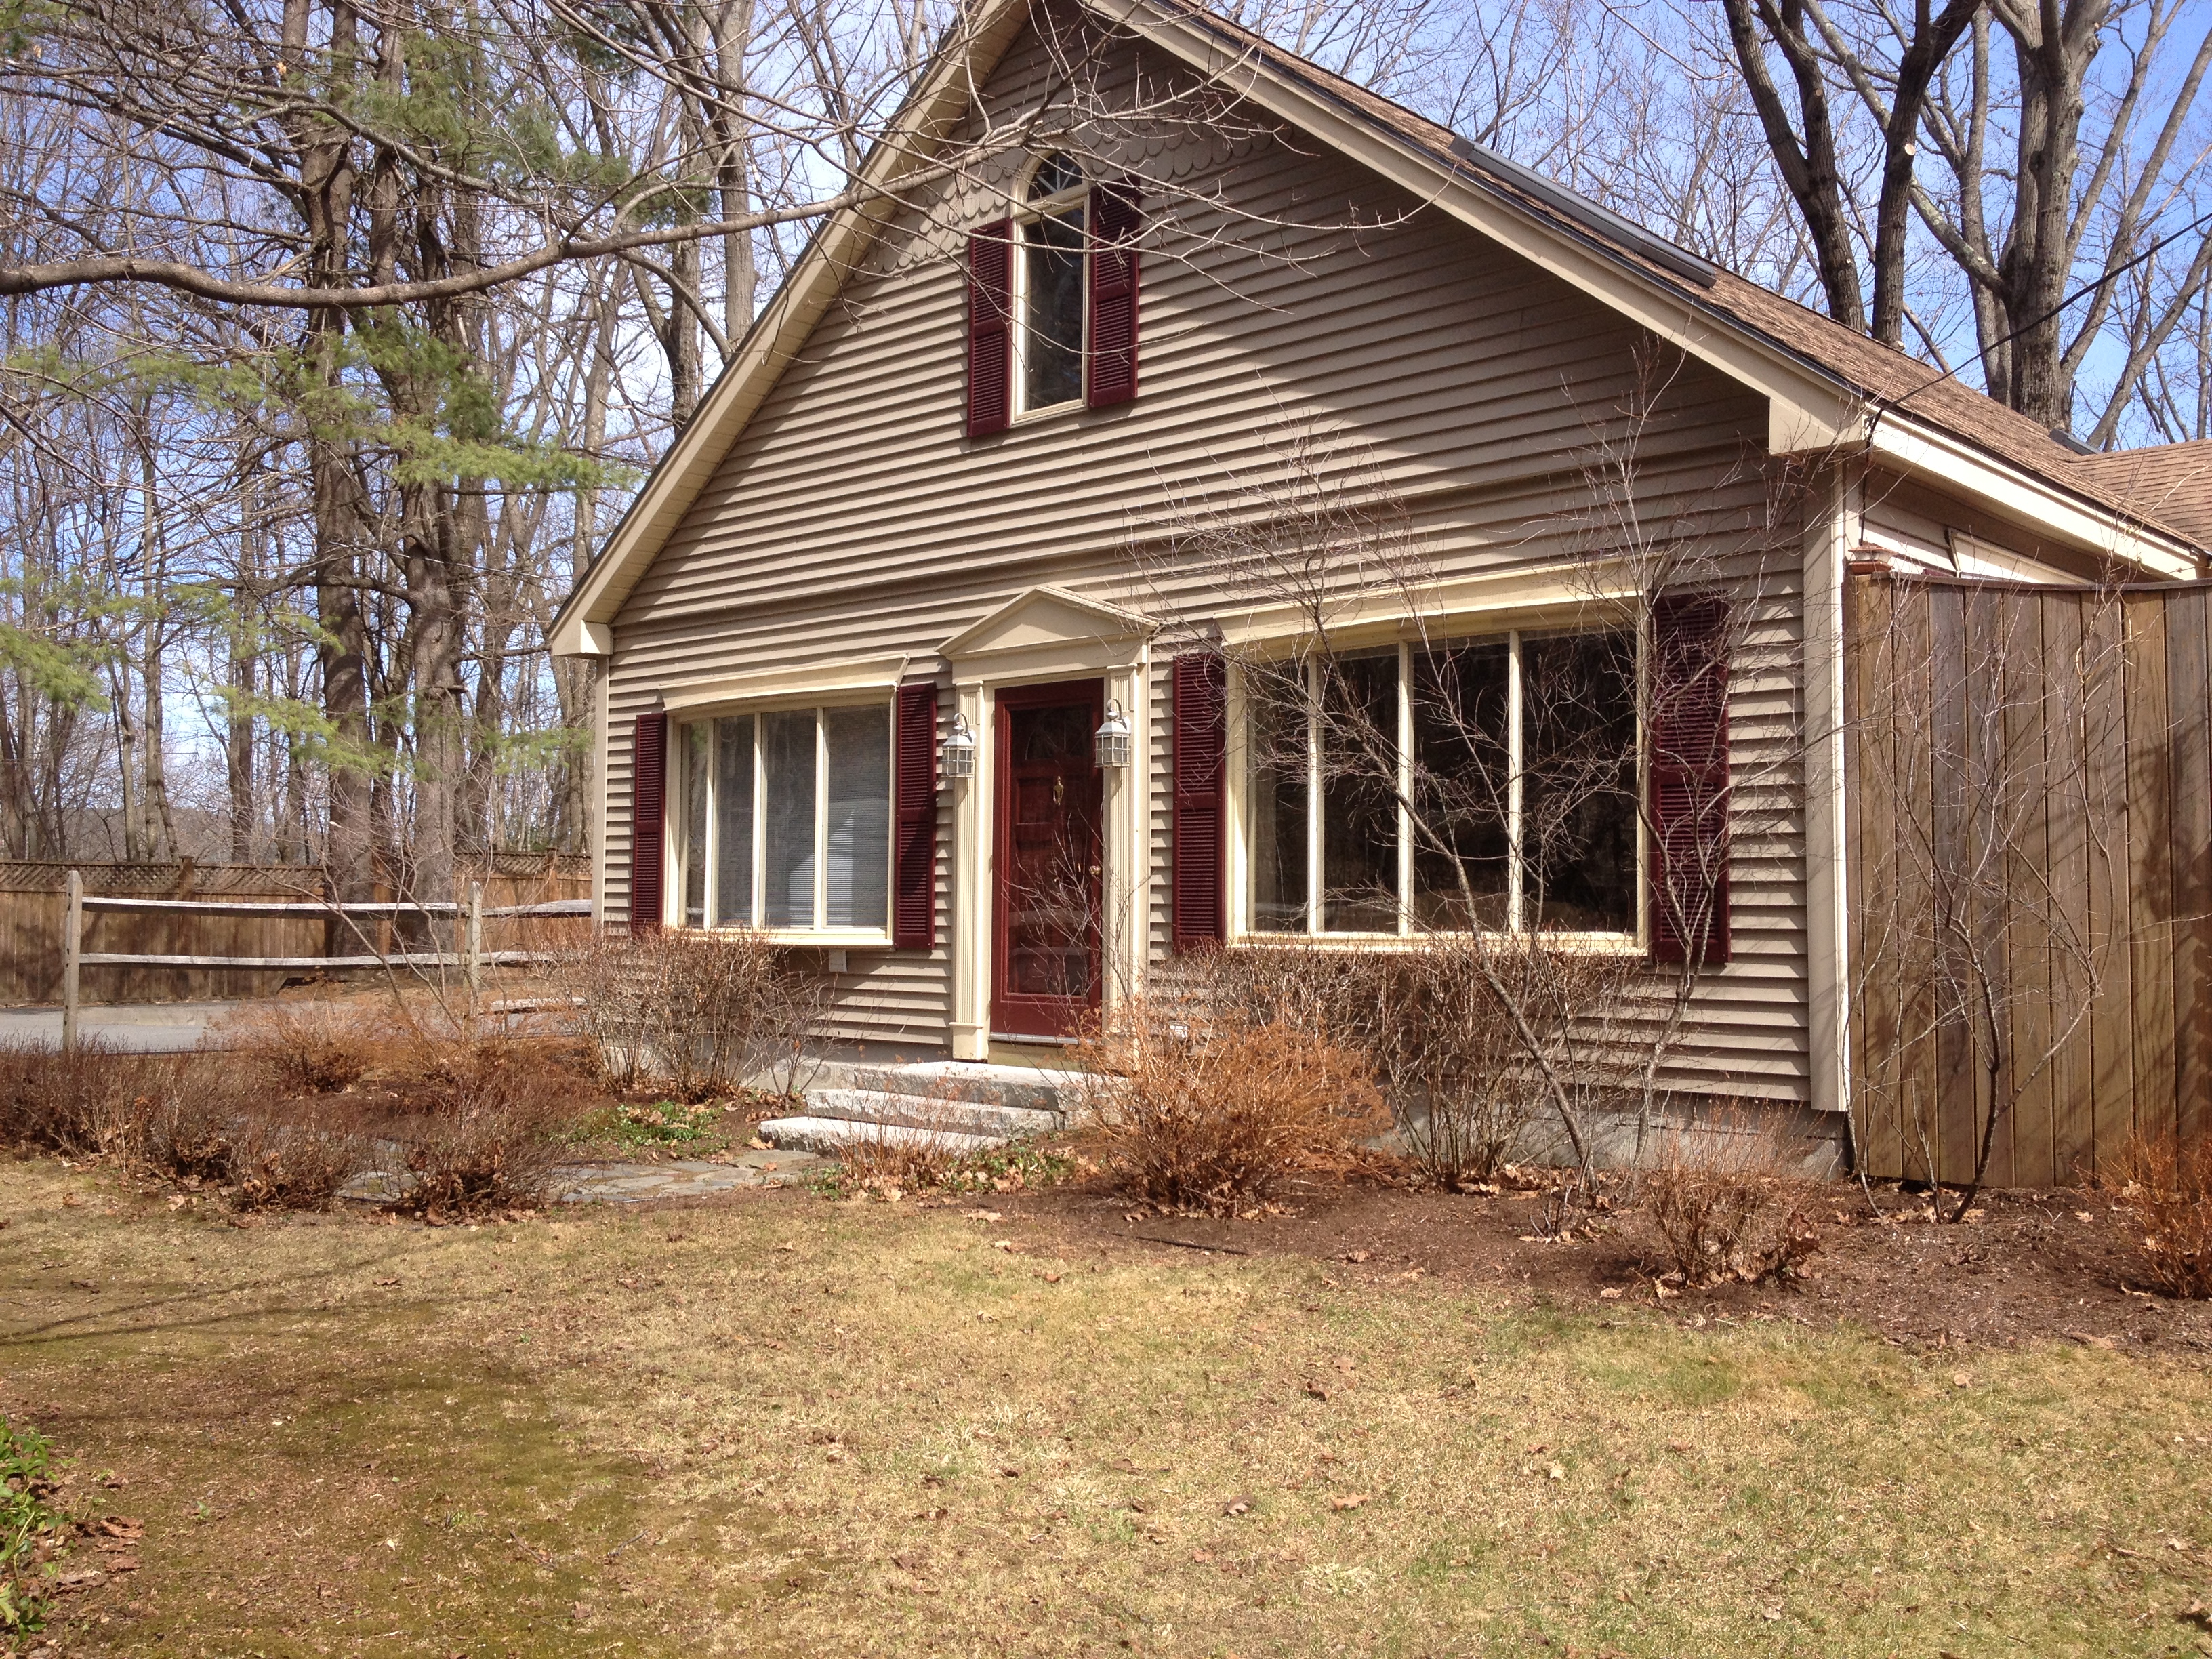
I always think of the most local eating is the food you grow, forage or hunt yourself. It’s great supporting local ag, but it’s also great to work for your food too. In that vein, the Relocavore family relocated this past December to 1.3 acres in West Lebanon, New Hampshire. There’s a house and garage and plenty of room for garden plots. The hubby and I put in two 6 ‘ x 6 ‘ raised beds, with plans for expansion to 6 beds in the next three years. I’ll talk much more about garden planting in the near future. Those posts will be separately categorized as “gardening” if you want to focus or filter.
Relocavore Guest Bloggers
I’m reaching out to other foodies, locavores, and bloggers to contribute content to Relocavore. You’ll see some guests posts coming out from foreign travelers, home gardeners, cheese makers, and home brewers.
Kanning Klatch
This summer, I will be joined by other members of the Relocavore Kanning Klatch in putting food by for the season. This means more informative canning posts under the heading of CanningU. I’ll introduce the Kanning Klatch members later in the season.
New Videos
I’m focusing more on video production and sharing with the hope of assembling a few cooking videos. If you’re interested in helping with video production reach out and we’ll make it happen. Stay tuned.
This is going to be a great year for local eating. We’re anticipating a robust harvest, warm weather, and lots of new farms, vegetables and adventure!
A steam canner. A water bath canner with a rack to hold jars. A pressure canner with a gauge to tell the inside pressure.
Canning is the process of sterilizing and sealing food into air-tight glass jars. Canned goods can last for years at room temperature as long as the seal is intact. Foods that have been canned can retain most of the nutrients and flavors of the fresh food, and, for some foods, canning actually helps release nutrients and flavors that aren’t present in the raw food. I’m going to explain differences among the three types of canning to help you decide when to use each method.
The whole point of canning is to heat up food to kill off any wee beasties that might spoil the food. The most concerning wee beastie is Clostridium botulinum which produces botulism toxin, a powerful neurotoxin. C. botulinum mostly hangs around in a spore form which can only be killed with heat over 240F, but can start metabolizing and producing the toxin in low-acid environments. Additionally, heating up the food also heats up the air in the jar, and as the jar cools, the rubber seal helps form a negative pressure space that seals the lid onto the jar.
There’s three types of canning: steam, water and pressure. Each method has a different way to heat up the contents of the jars and kill off wee beasties.
Steam canning uses a little bit of water which is vigorously boiled to envelope the jars in hot steam to raise the temperature of the jar contents. I personally don’t use a steam canner. I realize that the thermo-conductive potential of hot gas is the same as hot liquid, but something about it gives me the willies… I can’t believe that a hot gas is enough to sterilize my food. Additionally, most canning books that I have tested their recipes in water bath or pressure canners. And, by “testing” recipes, I’m not talking about tasting only for flavor, but also to ensure the food is sterile and sealed. Untested recipes could mean unsealed jars or not sterile foods. I’m not willing to take the risk of converting recipes to steam canning from other canning methods.
Water bath canning uses boiling water at 220F (or thereabouts, depending on your altitude) to sterilize the jar contents. However, some wee beasties still thrive at temperatures above 220F, but, lucky for us, they can’t survive in acidic, sweet or salty environments. So, if a food is sweet, salty or sour (e.g. jams, pickles, naturally acidic fruit) then you only have to heat it up to 220 to kill off most of the wee beasties, then the sweet, salt or acid keeps the other beasties from metabolizing and spoiling your food. A water bath canner is nothing fancy, just a deep pot with a lid.
Unfortunately, if your food isn’t sweet, salty or sour, then heating it up 220F only kills off some of the wee beasties, leaving the hearty high-temperature beasties to thrive in your foods. This is how you kill people with botulism… Foods that aren’t sweet, salty or acidic, like vegetables and meats, don’t have a second method for retarding spoilage, so you have to get the food REALLY REALLY hot to kill off the wee beasties. The only way to get stuff in jars hotter than 220F is through increasing the pressure – hence the third method of canning is pressure canning. Because of the amount of heat and pressure necessary, low-acid vegetables like beans (green or shelled), potatoes, corn, peas, mushrooms, and all meats, eggs or fish MUST be pressure canned to kill off the wee beasties. A pressure canner is a special pot with a tight lid, an air-tight seal and a valve or weight to adjust the pressure.
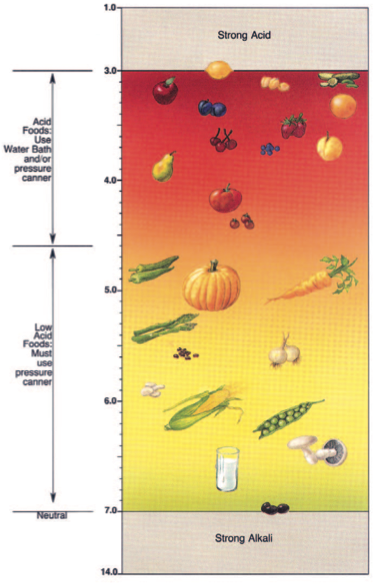
Water Bath or Pressure Can? Technically, any food will be sterilized using pressure canning. But with sweet, salty or acidic foods, pressure canning is overkill. The amount of heat and pressure applied to the food to get it sterile will break down tender fruits, turn pickles into mush, and make jams hard and unspreadable. If your food is really sweet, salty or acidic, then water bath can it – it’s gentler on the food. There are some foods that are marginal in their sweetness, saltyness or acidity. For example, tomatoes are acidic, so whole tomatoes can be water bath canned, but when you cook tomatoes (heat reduces acid) with onions (low acid), and bell peppers (low acid) to make tomato sauce, you may reduce the acid enough to require pressure canning. Some fruits are acidic when unripe and less acidic (more sweet) when ripe (e.g. apples, pears) so the ripeness of the fruit may necessitate pressure canning. The solution is to test the acidity using pH strips or a pH meter and either add lemon juice or vinegar to bring the acid up and water bath can, or to pressure can the low-acidity food. According to the USDA Complete Guide to Home Canning, (Guide 01, page 4) the cutoff point is 4.6 pH. Lower than that (more acidic) and your food is fine to water-bath can. More than that (less acidic) then your food must be pressure canned. (Note most foods fall into the range of 3.0 to 7.0 pH, and few foods are alkali or basic and have pH between 7.0 and 14.0.) Additionally, any food with meat, regardless of how acidic, MUST be pressure canned. So, if you add italian sausage to your tomato sauce, it MUST be pressure canned.
In summary, avoid steam canning unless you have specific recipes that are tested using a steam canner. Follow the flowchart to determine if you water bath or pressure can the food.
The guy at the farmer’s market did a double-take when I asked him for 9 dozen ears of corn. He though I had asked for 9 ears of corn. And at $6-9 PER DOZEN I was rethinking my decision and checking the amount of cash I had in my wallet for this venture. The prices were the same inflated, yuppie-priced, markup flimflam that I’ve come to expect at our farmer’s market. I’m used to paying Wisconsin Fertile Farmland prices of $1-2 per dozen ears – and typically getting a baker’s dozen (13) for that price. No wonder some people believe that eating locally is financially unachievable for everybody. He was the lowest price at the market at $6/doz, but I talked the guy down to $5/doz… Still too pricy…
I’m not much of a fan of canned corn – I’d much rather have it frozen. I tried canned corn a few years back and the end product turned starchy and mushy. It was more like creamed corn than canned. Plus, frozen corn turns into 6″ x 6″ x 1″ building blocks that we use to make dividers in our chest freezer. We can keep the layers more distinct and keep the fruits and vegetables separate.
I follow the process that my mom taught me a few years back:
1.
Husk the corn. Tip: Husk the corn outside. Neither mops nor vacuum cleaners are good at picking up corn silks.
2.
Wash the corn and cut off any bad spots.
3.
I prefer to cut the kernels from the cob rather than using any of those special corn cutters. I find a sharp knife makes the least amount of mess and splatter. Corn cutters aren’t usually as sharp and spray kernels everywhere. Plus, if you have a cob that is curved, corn cutters won’t work at all. Cut the kernels from the cob. Tip: Find a bowl with a footed base – a deep lip on the bottom of the bowl used to keep the bowl upright. Turn the footed bowl upside down in your Big Damn Bowl and use the foot to hold onto the ear of corn while you cut. It stablilzes the bottom of the ear of corn allowing you to cut all the way down to the bottom of the ear of corn without hitting the bottom of the bowl.
4.
In a nonstick skillet, saute 1 tbsp of butter with 2 cups of kernels on medium-high heat for about 3 minutes or until the kernels turn darker yellow and smell really good. Add a big pinch of salt if you’d like. Vegans: use vegetable oil instead of vegan butter spread. I tried it one year with the vegan butter spread and it left a harsh chemical taste in the corn.
5.
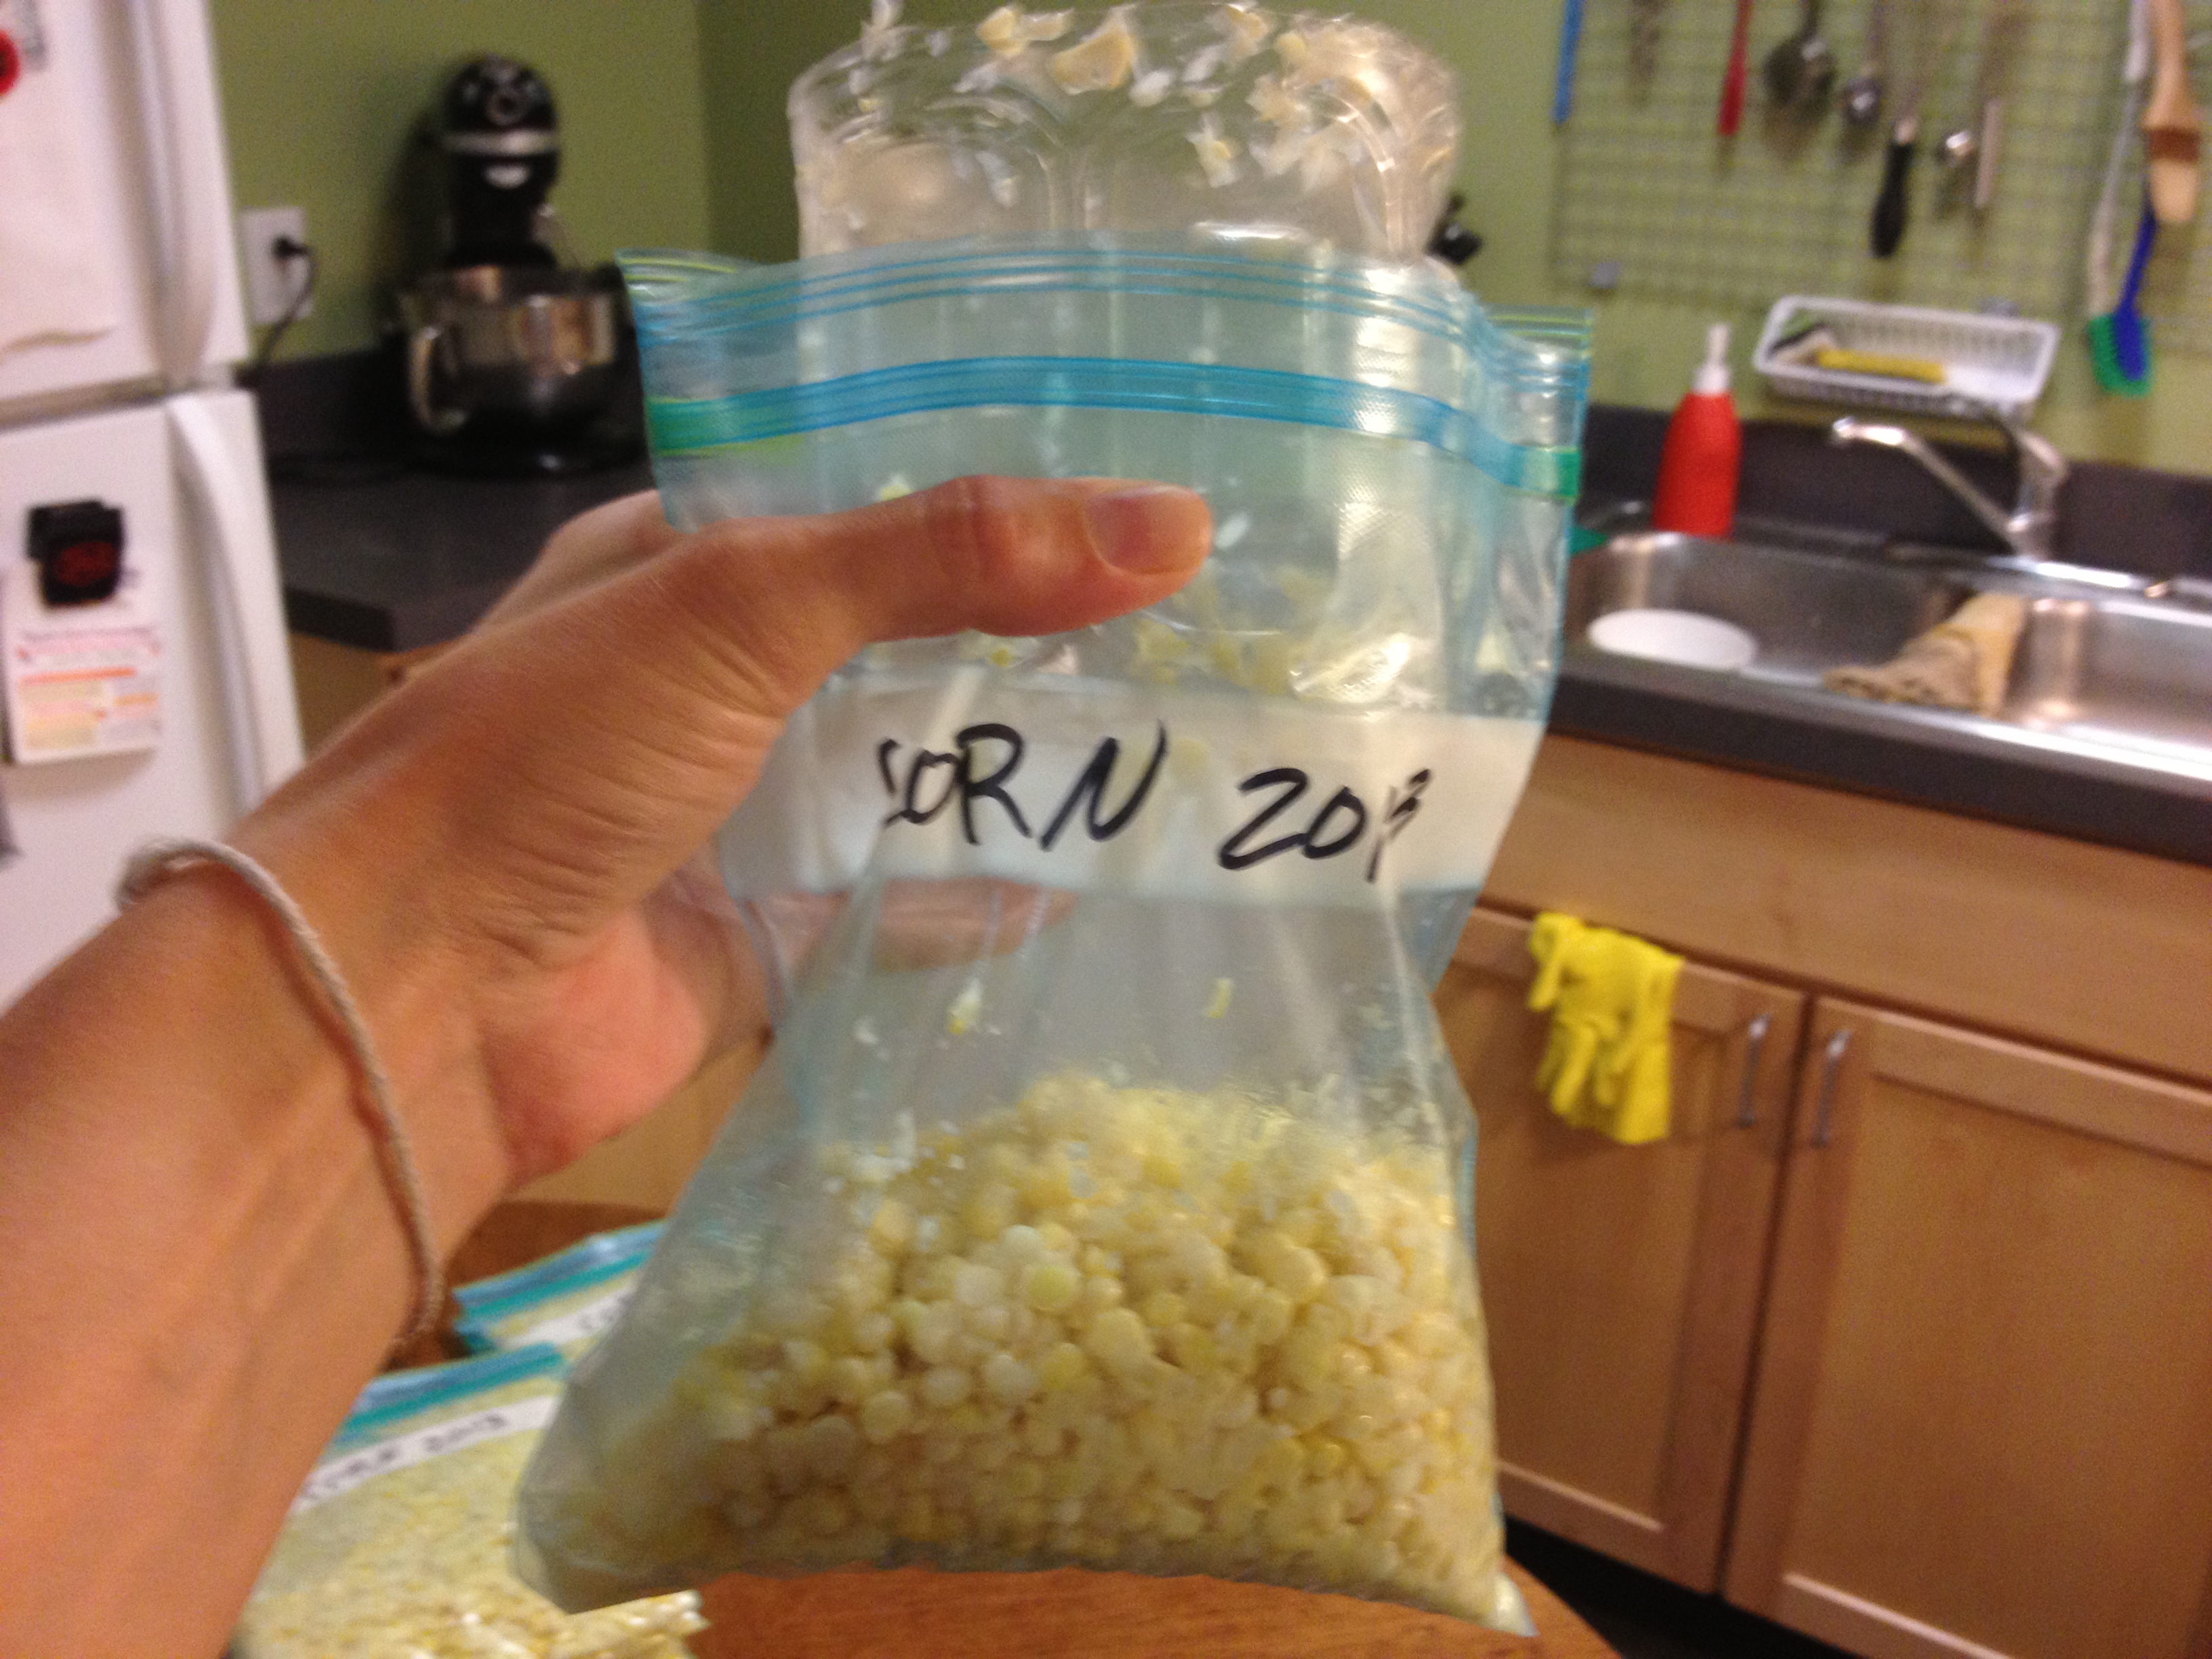
After sauteeing the corn, let it cool for a few minutes, so you don’t melt the plastic zipper bags. While you’re waiting for the batch to cool, sautee the next batch and label your plastic zipper bag.
6.
Load 2 cups of cooked kernels into a plastic zipper bag. Use your bag filler. Spread the kernels evenly through the bag and press out the air.
7.
Stack the bags into a box or cake pan so they will freeze flat. Freeze.
A big goddamn bowl is essential for successful canning. My mom inherited my big bowl when we moved out to New Hampshire. I had inherited it originally from my mom’s mom… I made it through strawberries without one, but I’m staring down a bushel of green beans and I’m not going to screw around. I NEED a big bowl.
To give you a sense, the new big damn bowl is 20-quarts in size. I put a widemouth pint jar in the big damn bowl in order to give you a sense of size. A big damn bowl needs to be large enough in order to successfully wash half a bushel of beans, or hold the kernels cut off a dozen ears of corn, or bathe small infants. Big.
Look for the story of sauerkraut… As made in the big damn bowl.


 A water bath canner with a rack to hold jars.
 A pressure canner with a gauge to tell the inside pressure.