This is the last week of vegetables from Cedar Circle. In the fall, Cedar Circle transitions to a pick up CSA model, where we would have to drive up to their farm every other week to pick up our vegetables. We decided the extra driving lessons so worth it, so we signed up with a different CSA for the fall/winter share.
I’m surprised to see we continue to get corn from the farm. There’s also a tiny little head of butter crisp lettuce, which I love to make into Thai style lettuce wraps.
Part of putting food by is that I feel responsible for my larder. I want to cook the best food from the ingredients I have preserved. I also want everything to last as long as it can. I cried the first time I broke a canning jar, and don’t even ask why I hate rutabagas. I have had nightmares about opening my pantry and hundreds of rats streaming out, leaving nothing behind but some crumbs.
My heart broke today when I found mold in my dried tomatoes. I hadn’t kept up with their curing, and there must have been some pockets of moisture left. Plus it’s been humid here, so that doesn’t help.
I went through all of my tomatoes and checked for mold. Then I went through the dried apricots-all were okay.
If “a pint’s a pound the world around” and disregarding the weight of the jars, I have put by 165.5 lbs of food in jars… More than my body weight! I’m proud. Very proud.
What’s left? I like to put by a few jars of gingered pears, but the pears don’t come ripe until mid-October. In addition, I may get the bug and put by some apple pie filling or spiced apple rings, but that won’t be too much of an effort. I’m not a fan of canned squash, pumpkin or potatoes. Those go into the kuhlschrank instead. So that’s about it for my 2013 canning.
So, I found three packets of unflavored gelatin in my pantry today. You know what that means? HOMEMADE MARSHMALLOWS! I lubed up the stand mixer, got some cooking spray and set to my task.
Alton Brown has an episode of Good Eats, (Season 11, Episode 12, “Puff the Magic Mallow”) where he describes making marshmallows. It’s an involved process that requires boiling a sugar syrup to the “soft ball” stage then whipping the hot sugar syrup into gelatin, and continuing to whip as the mixture cools and the gel sets with lots of air lofted in… The final product is super-duper sticky… it took Pidi about 6 minutes to lick a smear off the floor. Go ahead and follow his recipe… I cut my marshmallows into squares.
Once the marshmallows were set and cut… S’mores!
Campfire-free S’Mores
Start the broiler preheating. Arrange the rack about 6″ below the heating element.
Line a cookie sheet with parchment. Arrange 2 graham cracker squares per person. Take the marshmallows and tear in half lengthwise, exposing the sticky inner surfaces. Stick marshmallows to the graham cracker. Cut chocolate into small, irregular pieces – about 1 cm on each side. Stick into the marshmallow at odd angles, leaving marshmallow exposed.
Broil for 1-3 minutes, depending on the heat of your broiler and your preference for toasted or burnt marshmallows. Since these are cooking via the direct heat of the broiler element, you can leave the oven door open an inch and watch the cooking, so you can remove the s’mores when they’re done to your liking.
Once they’re out of the oven, let them rest for a minute or two (if you can wait that long) to set up. Eat them open-faced, or press two graham crackers together to make a more traditional “sandwich” style s’more.
This was the last weekend of major canning for the year. Sam and I made 20 pints of Salsa, following the recipe from the USDA Home Canning Guide.
I’ll have some wrap-up statistics later this week. But, for now, let’s start with the basics:
18 lbs of roma-style tomatoes. 5 lbs with our CSA. 10 lbs @ $1.60/lb (Seconds). 3 lbs at $4/lb (Firsts).
2 lbs tomatillos for $3/lb.
3 lovely anaheim chilies for $0.75/each.
3 bell peppers at $1/ea.
3 yellow onions for $2.
To that we added:
4 jalapinos from our CSA.
1 lb Garlic from our CSA.
1/2 lb red onion from our CSA.
2 cups lemon juice.
3 tbsp salt
1 tbsp black pepper
4 tbsp cumin
2 tbsp dried ancho chili powder
4 tbsp dried oregano
4 tbsp minced fresh cilantro
We did most of the pepper, onion and garlic chopping the night before and the WHOLE FRIDGE reeked of onions. I’m not doing that again next year. But it did save us about an hour of chopping.
The salsa before cooking. I like the color contrast of the red onions.
Going back to the earlier post on when to water bath can vs pressure can, tomato salsa is one of those marginal products that, depending on the ratio of onions/peppers/garlic (low acid vegetables) vs tomatoes (high acid vegetables), the overall acidity may be too low to water bath can. In this recipe I add 2 cups of lemon juice to ensure that, no matter how many peppers and onions I add to the salsa (and I like a LOT of peppers in my salsa) the acidity will certainly be high enough to water bath can my salsa. Good thing too, because pressure canned salsa gets much too over-cooked and is more like a smooth taco sauce than a chunky salsa. In addition to tomatoes, I add tomatillos to my salsa. Tomatillos have more pectin than ripe tomatoes, and so they add thickness and body to the salsa as it cooks.
We ended up with 20 pints of salsa. We water-bath canned 18 pints, then ran out of jars, and put 2 pints (a quart, for those inclined to the backwards English system of measure…) into the fridge for use later this week. We’ll make Chicken Tortilla Soup for dinner one night, and I may split the remainder for Sam and I to take to work to share.
The salsa after cooking for 30 minutes, just before being canned. Note the rings on the inside of the pot. The salsa reduced about 2 inches during the 30 minutes of vigorous boiling.
I need some ideas, quick, about what to do with 4 cups of tomato liquid. It’s not tomato purée, it’s the liquid that I got after straining the jelly and the seeds from middle of a bunch of tomatoes. It’s much thinner than tomato purée, and doesn’t have any fiber in it. What should I do with this?
Over the past few weeks, my kitchen has exploded with Veg. I thought it would be funny to do an inventory, instead of taking a picture of the CSA…
Top shelf: Grapes. Local eggs.
Middle shelf: Growler of beer from Harpoon. Kale, Bok Choi, 6 ears of sweet corn. 3 red heads of cabbage. 1 green head of cabbage. 1 quart homemade Sauerkraut.
Bottom Shelf: Radishes. 3/4 head of red cabbage. Pesto. 5 lbs carrots. 1 lb green beans. Celery. Cheese.
Left Drawer: Romaine lettuce. 3 cucumbers. 2 zucchini. 10 jalapinos.
Right drawer: 3 heads of lettuce. Arugula. Swiss Chard.
On the Counter:
Peck of local apples. 5 Carmen peppers to be pickled. 4 peaches. 2 sweet potatoes. a seedless watermelon.
Out on the kitchen table:
Cherry tomatoes. Garlic and onions. An avocado. Bosc Pears. Gala apples.
On top of all of the canning, salsa-ing, and saucing, I also dry tomatoes. Home-dried tomatoes aren’t much like the store-bought variety. Production driers are much more efficient than home models and mass-produced dried tomatoes typically go through a handful of steps to reach their final state – salting to soften the flesh of unripe tomatoes, juicing to remove the seeds and jelly, flash-cooking to kill off any microbes, and then finally, drying in a temperature and humidity controlled environment. I’m sure somewhere there’s a farmer laying halved tomatoes on muslin in the Mediterranean sunshine, but I certainly can’t afford his product…
A note on the types of tomatoes to dry… I tried to dry slicing tomatoes, cut into slices or wedges, but neither came out good. I typically dry roma tomatoes that are shaped like pears and 3-5″ long. The insides of these tomatoes have more flesh than jelly, and few inner compartments to hold the jelly and seeds.
Putting Food By has, by far, the best method for drying tomatoes. My tomatoes come out pliable and flavorful and keep their red color. Their method has four steps:
Wash the tomatoes. Cut in half and remove the seeds and jelly. Tear out any pith or rib, resulting in a uniformly-thick tomato “cup.”
Lay the tomatoes on a cutting board, cut-side-up, and sprinkle with 1 tsp salt per 1 lb tomato. Weight with another cutting board. Let rest for an hour.
After resting, boil 1″ of water in a deep stock pot. Place the tomatoes cut-side up in a single layer in a metal drop-in steamer basket or a Chinese bamboo steamer. Tip out an juices that accumulated in the center of the tomato. Steam for 3-4 minutes until the flesh is hot and softened. The tomatoes have been over-steamed if the tomato falls apart into mush. The steam blanch locks in the reds color, kills off surface microbes and pre-heats the flesh so the total drying time is less than 6 hours.
Preheat your dryer to 120-135F. Transfer the tomatoes, cut side down, to the drying racks. Dry until the tomatoes are leathery but pliable. Rotate the trays every hour by moving the tomatoes closest to the heating element away from the heat. Once the tomato edges are dry, flip the tomatoes over so the cut side is on top. No dryer is perfect, and the tomatoes are all different sizes and thicknesses, so all of the tomatoes don’t come to dry at the same time. Keep an eye on the dryer, checking every hour, and pull out the tomatoes that get dry first. Rotate the tomatoes that are thicker or are taking more time to dry to the warm spots in the dryer nearest to the heating element.
To help explain the texture of a well-dried tomato, I’ve made this short video on YouTube that illustrates a well-dried tomato and tomatoes that are over- and under-dry. Hope this helps!
Once the tomatoes are dry, they need to be cured for a few days. Put them in a big container with lots of room for them to move. Shake the container twice a day and check for any mold. The curing step does two things. First, the tomatoes aren’t evenly dry and this step helps even out the overall moisture – the over-dry edges get a bit more moisture and the moist middles dry out a little more. Second, if mold is going to develop, it will develop in these first few days, so you can pull out the moldy tomatoes before the mold spreads to the whole batch.
After a week, pack the tomatoes into zipper bags or a recycled canning jar. Keep out of direct sun.
This weekend was another 55 lbs of tomatoes into jars. I was expecting to can 40lbs, but I got an extra “surprise” 15 lbs in my CSA box this week. I canned and dried tomatoes all weekend. Cost was $50, plus the extra 15 lbs built-into our weekly CSA cost. I ended up with 21 quarts of tomatoes. I’ll love it come February, when my Superbowl Chili is made with home-canned tomatoes… Until then, I’m getting a bit sick of ’em.
Next weekend is salsa – a less-involved process, since I don’t have to skin or seed the tomatoes.
Do you know about La Tomatina? In the center of Buñol, a town in Spain, the town erects a gigantic pole, ties a ham to the top, and covers the pole with lard. This is the Phallic Imagery part of the festival. People congregate and form a human tower in order for one person to get to the top of the slippery pole and cut down the ham. Once the ham is down, the Yonic (opposite of Phallic) Imagery portion of the celebration begins. Huge truckloads of tomatoes are emptied into the streets and people throw tomatoes at each other. Tomatina means tomato-throw. Chaos and hooliganism follows.
At about this time in the canning season, I feel like I’m in the streets of Buñol, and being pelted with tomatoes from all sides.
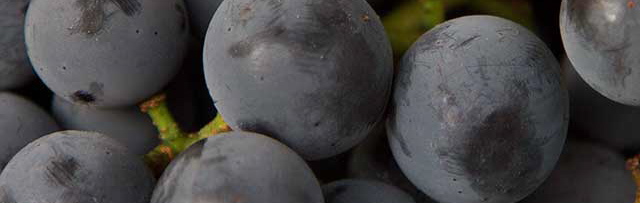

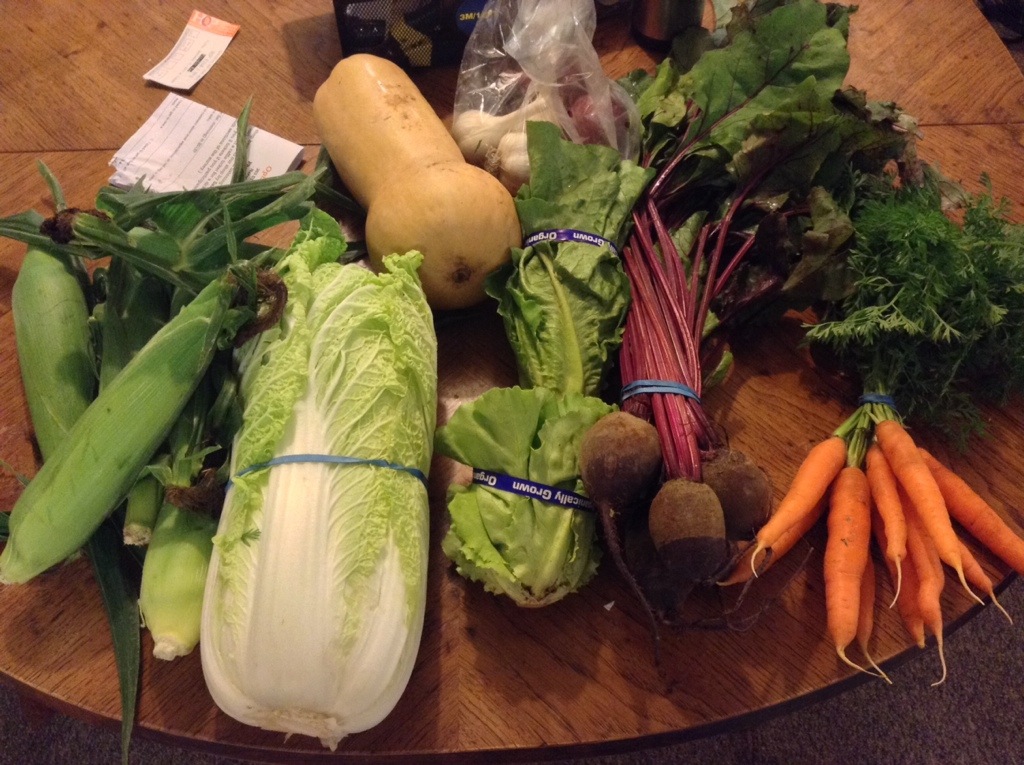

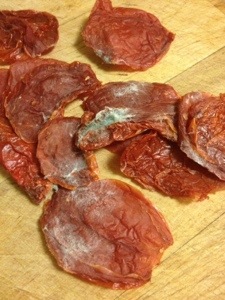


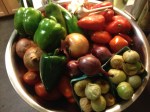
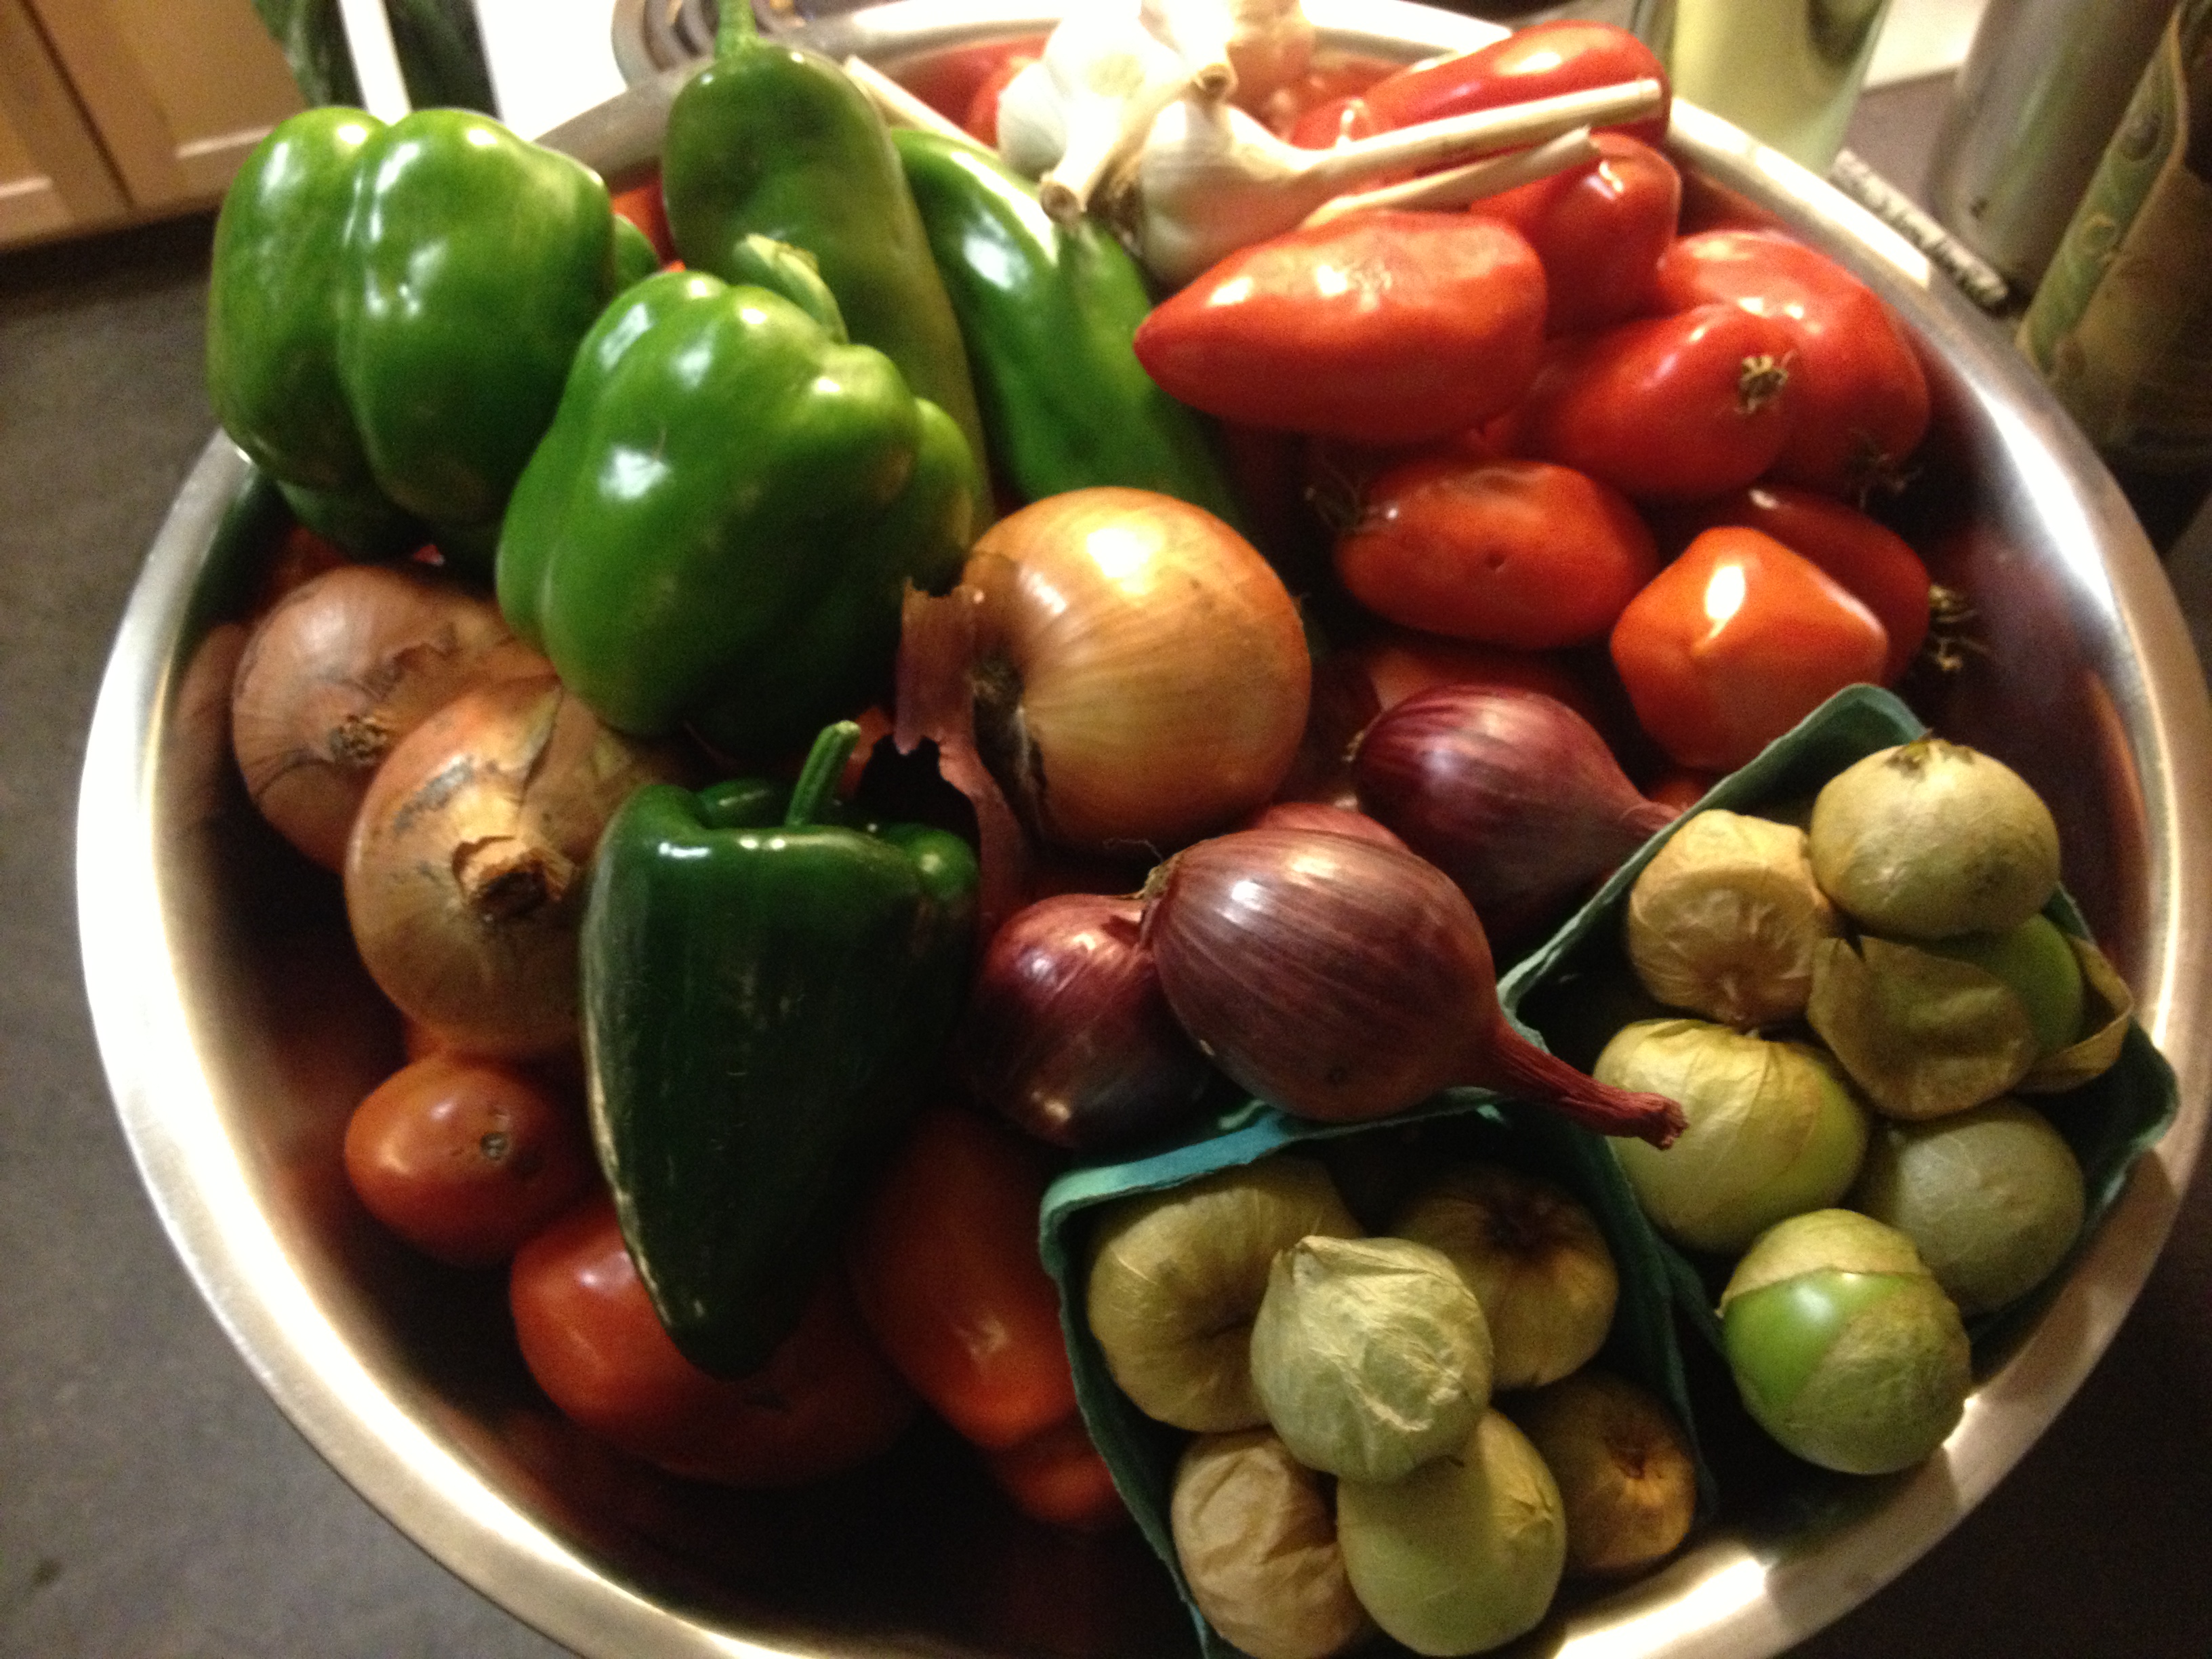
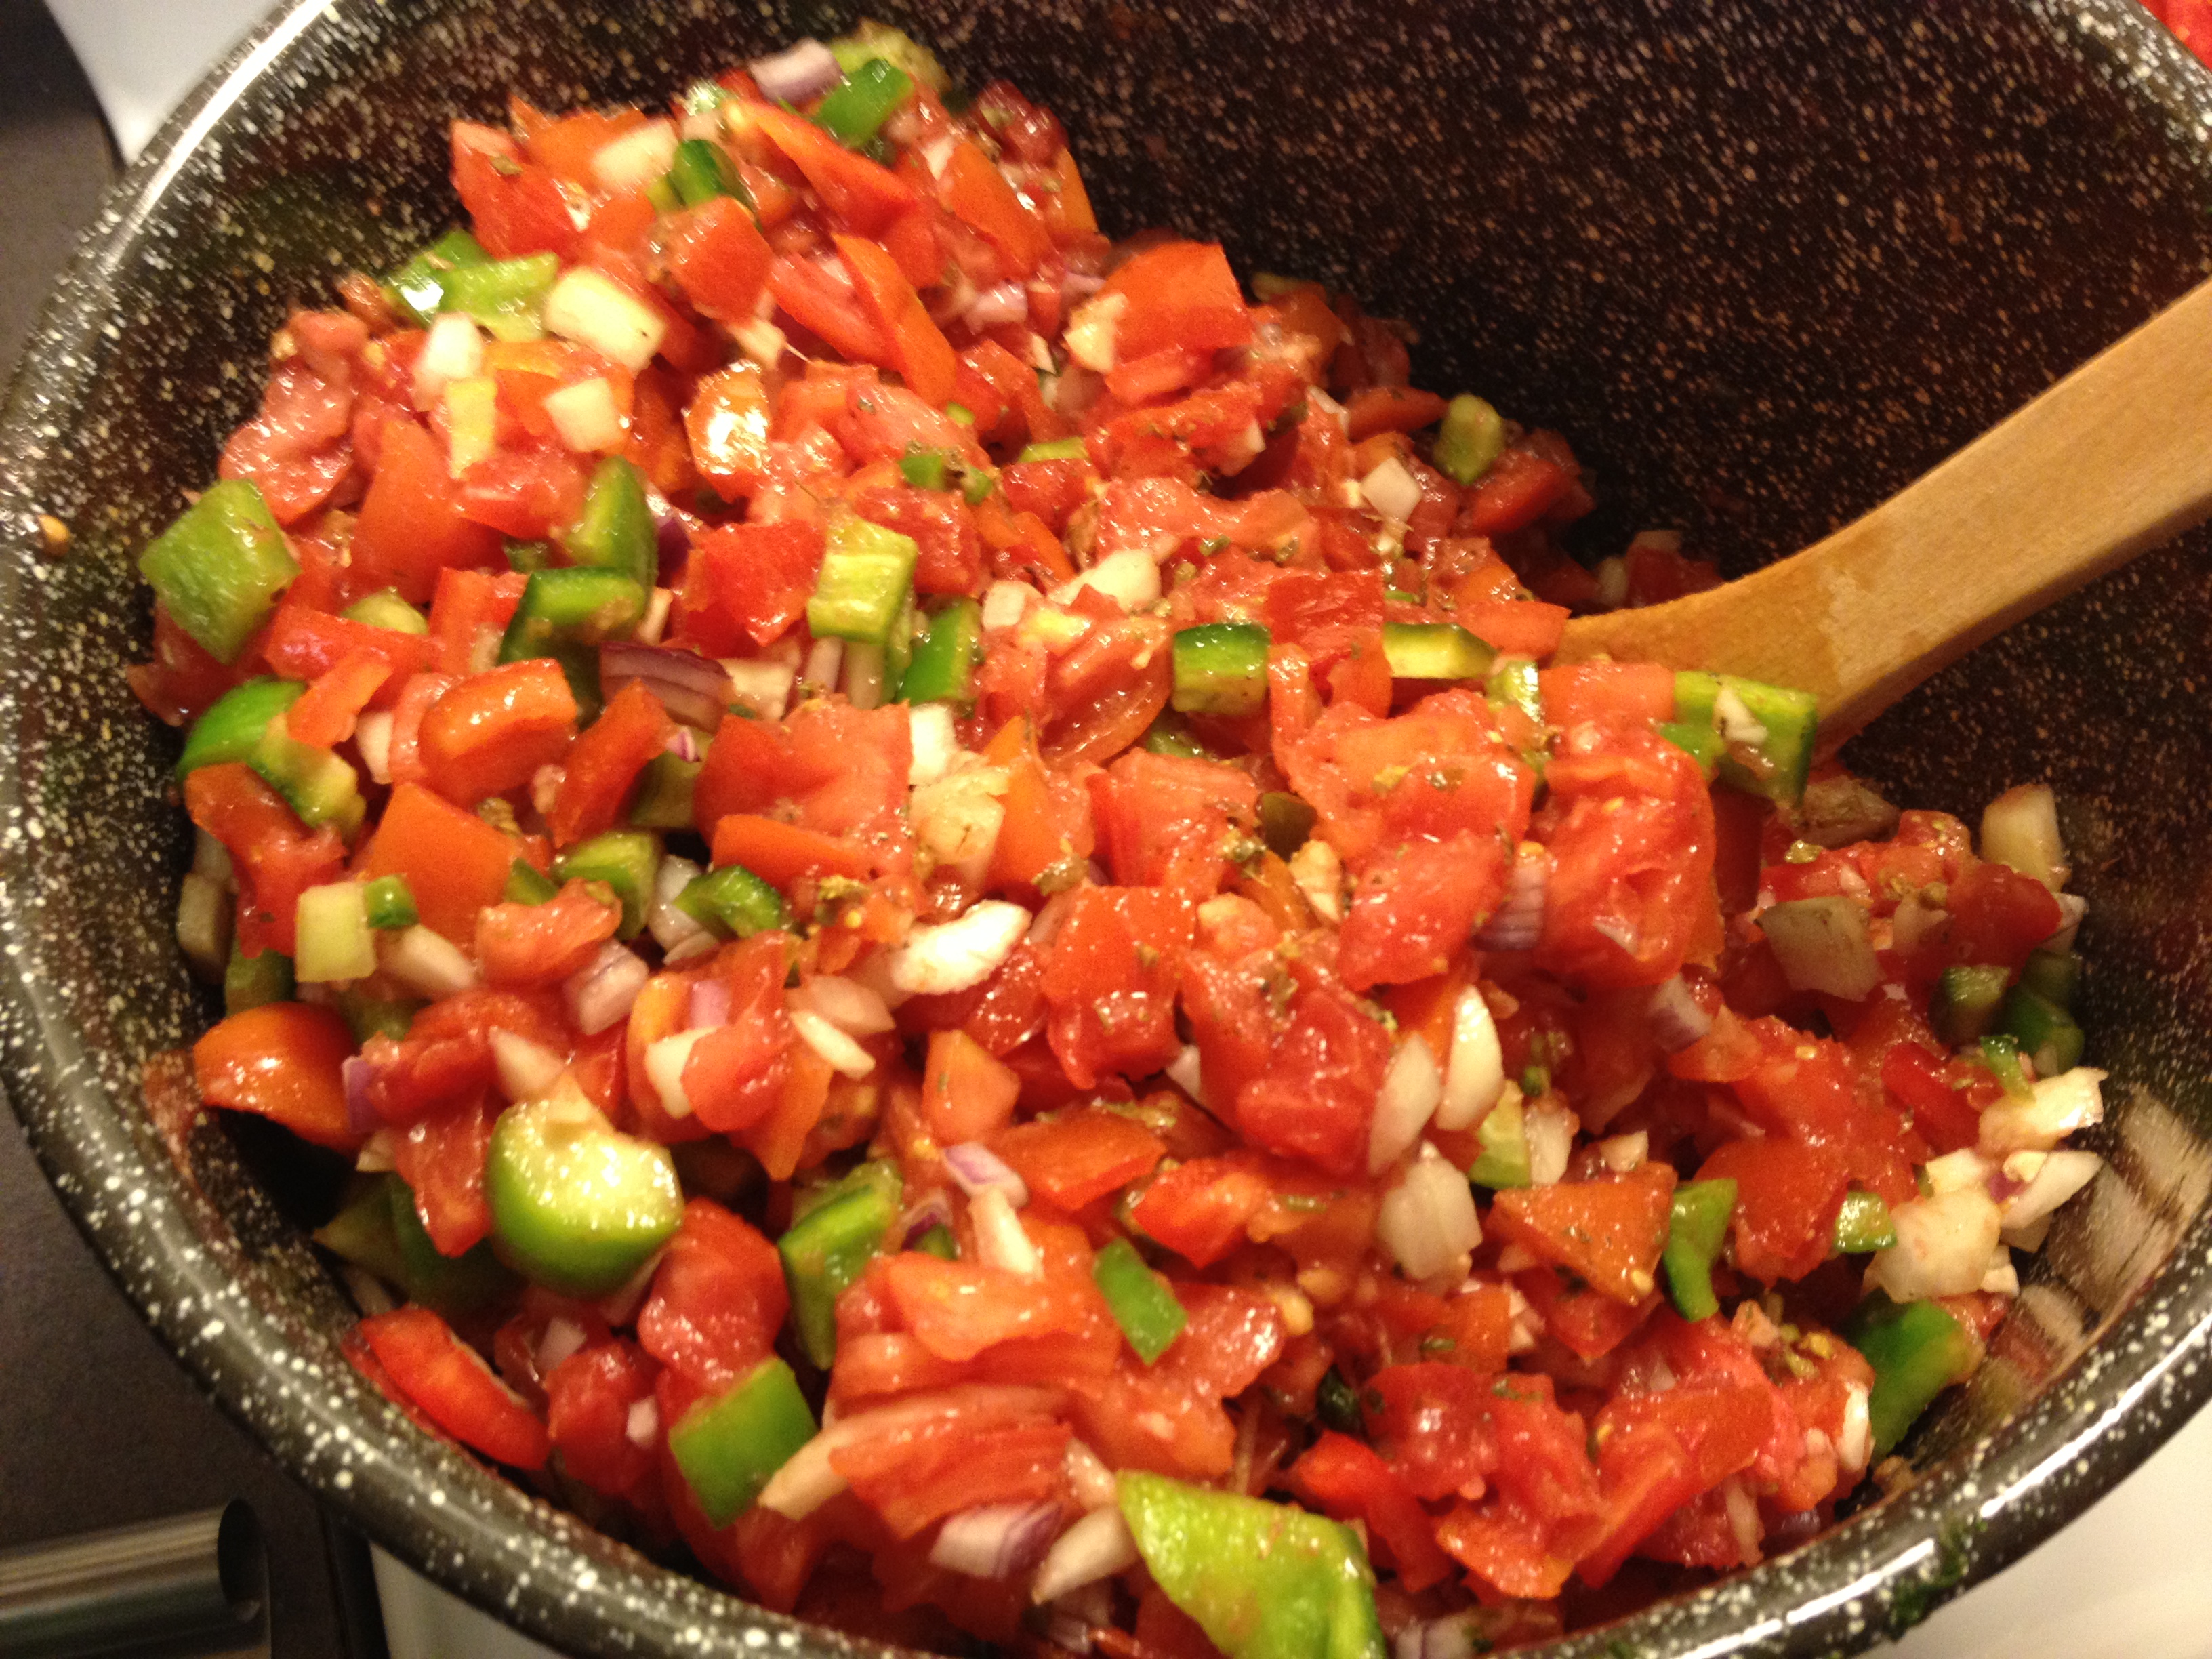


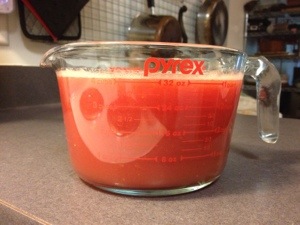

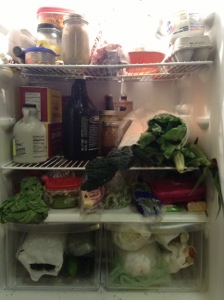
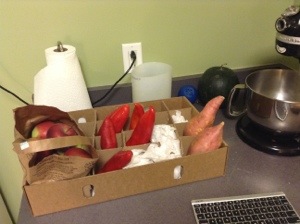

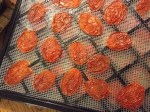


 Photo from Adventures with Dan