ReLocavore: Redefining "local"

Back to Wisconsin, my cheesehead friends


3 Comments

I said 9 dozen, not 9 ears…

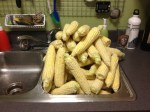
The guy at the farmer’s market did a double-take when I asked him for 9 dozen ears of corn. He though I had asked for 9 ears of corn. And at $6-9 PER DOZEN I was rethinking my decision and checking the amount of cash I had in my wallet for this venture. The prices were the same inflated, yuppie-priced, markup flimflam that I’ve come to expect at our farmer’s market. I’m used to paying Wisconsin Fertile Farmland prices of $1-2 per dozen ears – and typically getting a baker’s dozen (13) for that price. No wonder some people believe that eating locally is financially unachievable for everybody. He was the lowest price at the market at $6/doz, but I talked the guy down to $5/doz… Still too pricy…

I’m not much of a fan of canned corn – I’d much rather have it frozen. I tried canned corn a few years back and the end product turned starchy and mushy. It was more like creamed corn than canned. Plus, frozen corn turns into 6″ x 6″ x 1″ building blocks that we use to make dividers in our chest freezer. We can keep the layers more distinct and keep the fruits and vegetables separate.

I follow the process that my mom taught me a few years back:

Husk the corn.

1.

Husk the corn. Tip: Husk the corn outside. Neither mops nor vacuum cleaners are good at picking up corn silks.

 Wash the corn and cut off any bad spots.

2.

Wash the corn and cut off any bad spots.

Cut the kernels from the cob.

3.

I prefer to cut the kernels from the cob rather than using any of those special corn cutters. I find a sharp knife makes the least amount of mess and splatter. Corn cutters aren’t usually as sharp and spray kernels everywhere. Plus, if you have a cob that is curved, corn cutters won’t work at all. Cut the kernels from the cob. Tip: Find a bowl with a footed base – a deep lip on the bottom of the bowl used to keep the bowl upright. Turn the footed bowl upside down in your Big Damn Bowl and use the foot to hold onto the ear of corn while you cut. It stablilzes the bottom of the ear of corn allowing you to cut all the way down to the bottom of the ear of corn without hitting the bottom of the bowl.

Saute the kernels with butter.

4.

In a nonstick skillet, saute 1 tbsp of butter with 2 cups of kernels on medium-high heat for about 3 minutes or until the kernels turn darker yellow and smell really good. Add a big pinch of salt if you’d like. Vegans: use vegetable oil instead of vegan butter spread. I tried it one year with the vegan butter spread and it left a harsh chemical taste in the corn.

5.

After sauteeing the corn, let it cool for a few minutes, so you don’t melt the plastic zipper bags. While you’re waiting for the batch to cool, sautee the next batch and label your plastic zipper bag.
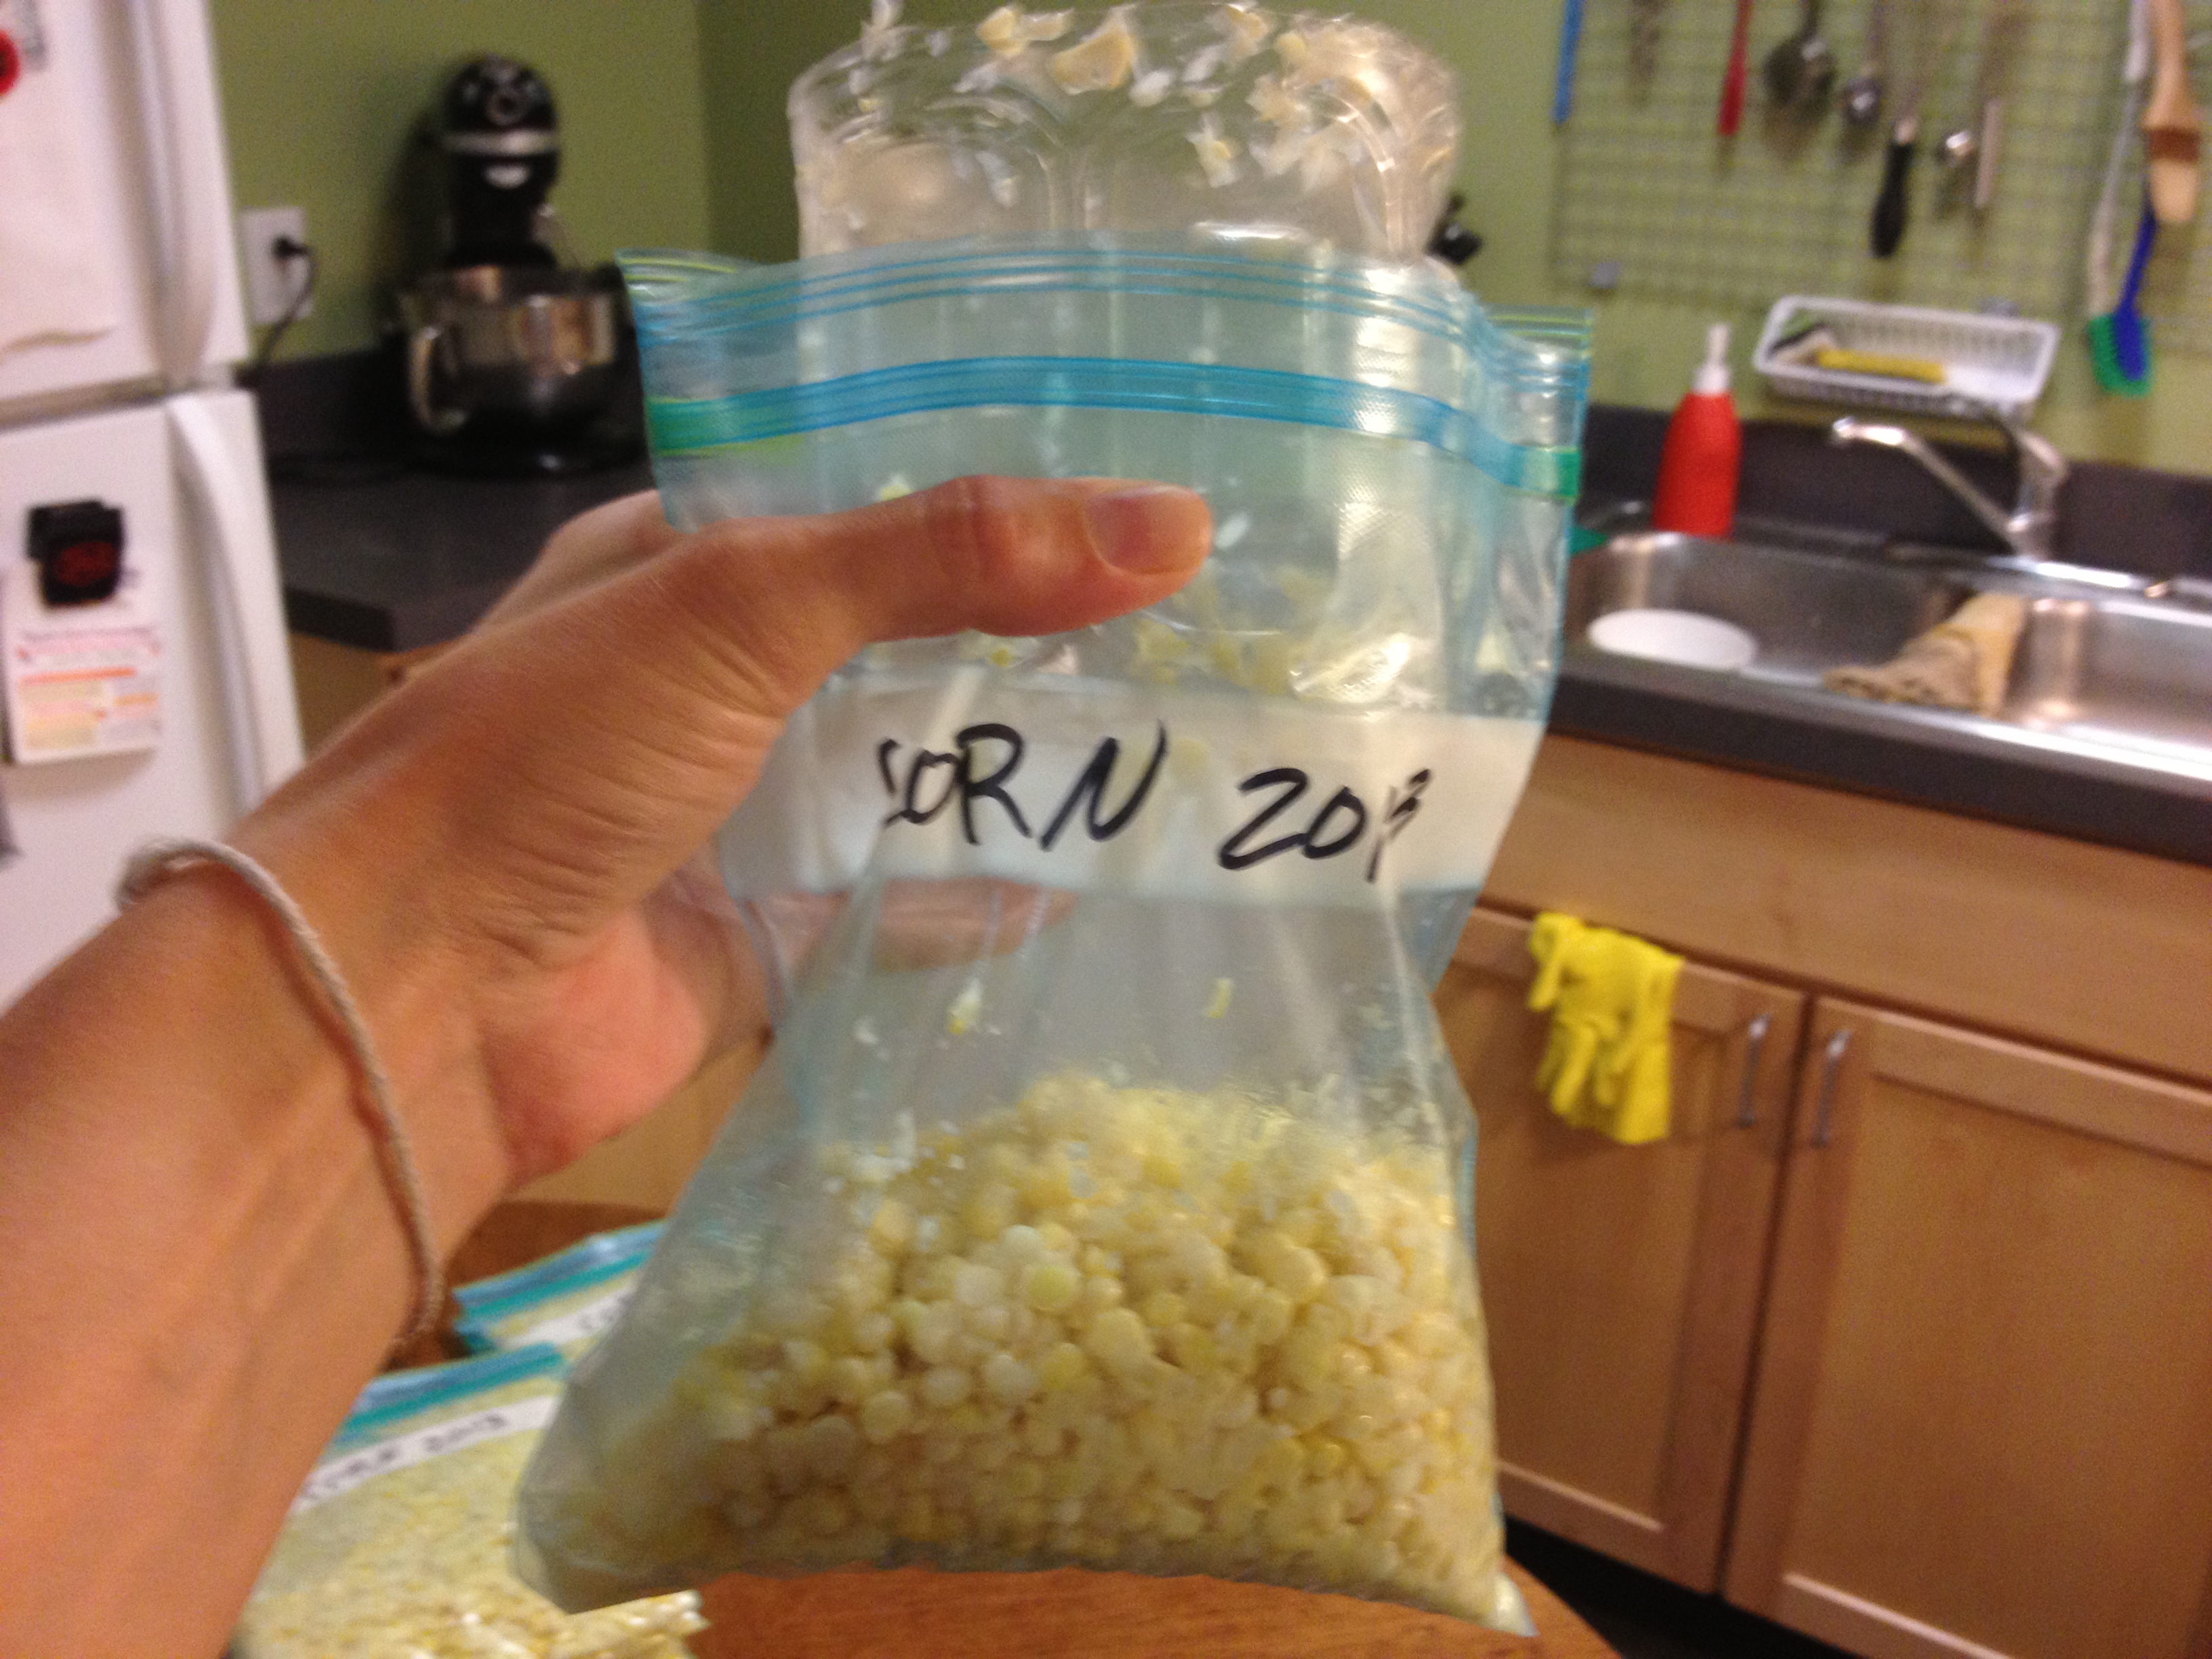
Load into labeled zipper bags.

6.

Load 2 cups of cooked kernels into a plastic zipper bag. Use your bag filler. Spread the kernels evenly through the bag and press out the air.

2013-08-18 11.47.40

7.

Stack the bags into a box or cake pan so they will freeze flat. Freeze.


1 Comment

Mushroom Week Day 4: Mushroom Burgers

Mise En Place... with a bit of tea and snacking along...

Mise En Place… with a bit of tea and snacking along… Annotations made with Skitch.

EDIT: There’s pictures now… Now I can only apologize for  the lack of a final picture of a cooked burger. 

So, I’ve found there’s two types of “mushroom burger” – the first is a portobello cap between a bun – a grilled mushroom cap sandwich, as it were. The other is macerated mushrooms with other stuff, made into a patty, and eaten between a bun. This recipe the latter type. But, since it’s a Cooks Illustrated recipe (yet again!) there’s a LOT more to it.

Disclaimer: I didn’t do much of the cooking tonight. Sam had the day off, so he did 95% of the cooking. My contributions were: microwaving frozen peas, opening a can of corn, microwaving said corn, and toasting burger buns. So much of this post is based on Sam’s narrative of making of mushroom burgers.

As an aside, all Cooks Illustrated recipes are sometimes more complex than they need to be… This is the extra work the writers at Cooks put into developing recipes that are reliable, not simple. Cooks is NOT concerned with novice  chefs that can’t read a recipe. They expect you to know your way around your well-equipped kitchen. That being said, all of the reliability of their recipes comes with a trade off. Sometimes the steps seem completely unnecessary and pointless. (note my discussion about rehydrating porcini mushrooms from Tuesday) But, when I’m cooking one of their recipes, I follow their instructions religiously.

Onto the mushroom burgers (So says Sam)… Sam doesn’t think this recipe made a “mushroom burger,” just a really good “veggie burger.” There wasn’t enough mushroomyness for him. In the recipe, the mushrooms were only one of four main components. The recipe called for  lentils, bulgur wheat, and pakno breadcrumbs, with mayonnaise to bind it together. So the overall impression was not “mushrooms” it was “patty of stuff.” We brainstormed how to make the whole thing more “mushroomy” and the only good idea we could come up with was to use dried shiitake mushrooms ground to a powder as a binder and a way to absorb more moisture. I also though about a “stuffed mushroom burger” where a portobello cap was grilled, then stuffed with mushroom filling and finished under indirect heat, and served on a bun. It would be a hybrid of the mushroom cap sandwich and the veggie burger.

So they’re a time-consuming but tasty substitute to Gardenburgers. We’ll have to do some tests to see how well the formed patties can freeze. Having these on hand in the freezer would make me more likely to cook them again. I’ve come to expect veggie burgers to be a quick dinner, not a 45-minute prep that required the food processor.

Sorry for the lack of pictures – I didn’t take any since I wasn’t cooking. There’s a few pictures hiding on the actual digital camera (I take all my photos on my iPhone), but I don’t know how to get to them…