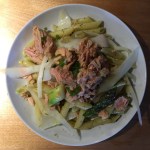
Mushroom Ragu. Fan-stupid-tastic.
Of all of the recipes I have ever cooked, this is the best. There have been recipes that are easier (mapo tofu), that I make more frequently (pasta primavera), that I save for special occasions (tonkatsu), or that I work hard to enjoy the indulgence (e.g. calzones). This recipe tastes the best, cooks the fastest, and is the most reliable. The whole impetus of Mushroom week was the mushroom and wild rice soup from last night, plus my LOVE for this recipe. I hope everyone tries it out.
You’ll find porcini mushrooms at high-end grocery stores, the internet or mail-order. Give them a smell, if you can get into the packaging. They should smell strong of earth and woods.
This is also another recipe that would be easy to convert to vegetarian or vegan. Substitute chicken broth for mushroom or vegetable broth (or water…) and either omit the pancetta or substitute some other faux-meat. If you do omit the pancetta, add extra olive oil (a tablespoon maybe?) and cook the tomato paste (step 2) until it is very brown, but not burnt. This will make sure there are lots of interesting maillard reactions to produce meaty flavors. You’ll be happy to give it the extra minute or two.
I want to emphasize how important it is to rinse and strain the porcini mushrooms. They come dried and there’s always some grit in the dried mushroom. This recipe reconstitutes the mushrooms in chicken broth to form tasty mushrooms, and a VERY rich flavorful broth. It may seem unnecessary to pick the mushrooms out of the broth with a pair of forks, or to filter the broth through a coffee filter, but DO IT. These steps make sure there is no grit left in the mushrooms or the broth. Grit will RUIN this recipe.
The first time I made this recipe, I totally skimped on the de-gritting of the porcini. I just dumped the mushrooms through a wire strainer over a measuring cup, transferring all of the grit into my recipe. It was not good, let me tell you…
Mushroom Ragu
Serves 4

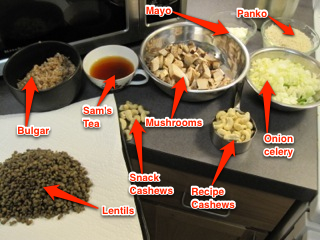
Mise en place for Mushroom ragu. From top left: porcini mushrooms, pancetta, crushed tomatoes, parmesan cheese, spaghetti, portobellos, chicken broth and a bowl holding the olive oil, garlic, rosemary and tomato paste.
1 oz dried porcini mushrooms, rinsed well
1 cup low-sodium chicken broth
4 oz pancetta, cut into 1/2″ pieces (substitute country ham or thick-cut bacon just fine. Don’t substitute proscuttio.)
1/2 pound (2 large) portobello mushrooms, stems and gills removed, but into 1/2″ pieces.
3 tablespoons extra-virgin olive oil
4 medium garlic cloves, sliced thin
1 tablespoon tomato paste
2 teaspoons minced fresh rosemary leaves (we used dried)
14.5 oz can of whole tomatoes
salt and pepper
1 pound spaghetti
grated pecorino Romano cheese (I substituted parmesan because I needed parmesan for another recipe I’m cooking later this week.)
1. Place porcini and broth in a small microwave-safe bowl; cover with plastic wrap and cut several steam vents in plastic with paring knife. Microwave on high power 1 minute, until broth is steaming. Let stand until mushrooms soften, about 10 minutes. Lift mushrooms from broth with fork and finely chop. Strain broth through fine mesh strainer lined with a large coffee filter into medium bowl. Set aside mushrooms and broth.
2. Heat pancetta in 12-inch skillet over medium heat; cook, stirring occasionally, until rendered and crisp, 7 to 10 minutes. Add portobellos, chopped porcini, olive oil, garlic, tomato paste, and rosemary; cook, stirring occasionally, until all liquid has evaporated and tomato paste starts to brown, 5 to 7 minutes. Add reserved chicken broth, crushed tomatoes, and their juices; increase heat to high and bring to simmer. Reduce heat to medium-low and simmer until thickened, 15 to 20 minutes. Season with salt and pepper to taste.
3. While sauce simmers, bring 4 quarts water to boil in a large dutch oven. Add 1 tablespoon salt and pasta; cook until al dente. Drain pasta, reserving 1/2 cup cooking water, and return to pot. Add sauce to pasta and toss to combine. Adjust consistency with reserved pasta water and season with salt and pepper to taste. Serve, passing pecorino separately.
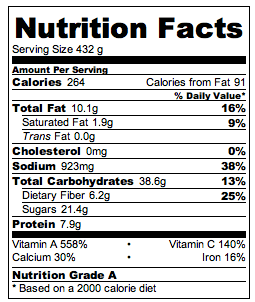
Per Serving (with no added cheese):
Calories: 641
Total Fat: 25.1 g
Sodium: 715 mg
Carbs: 74.3g
Protein: 28.4g

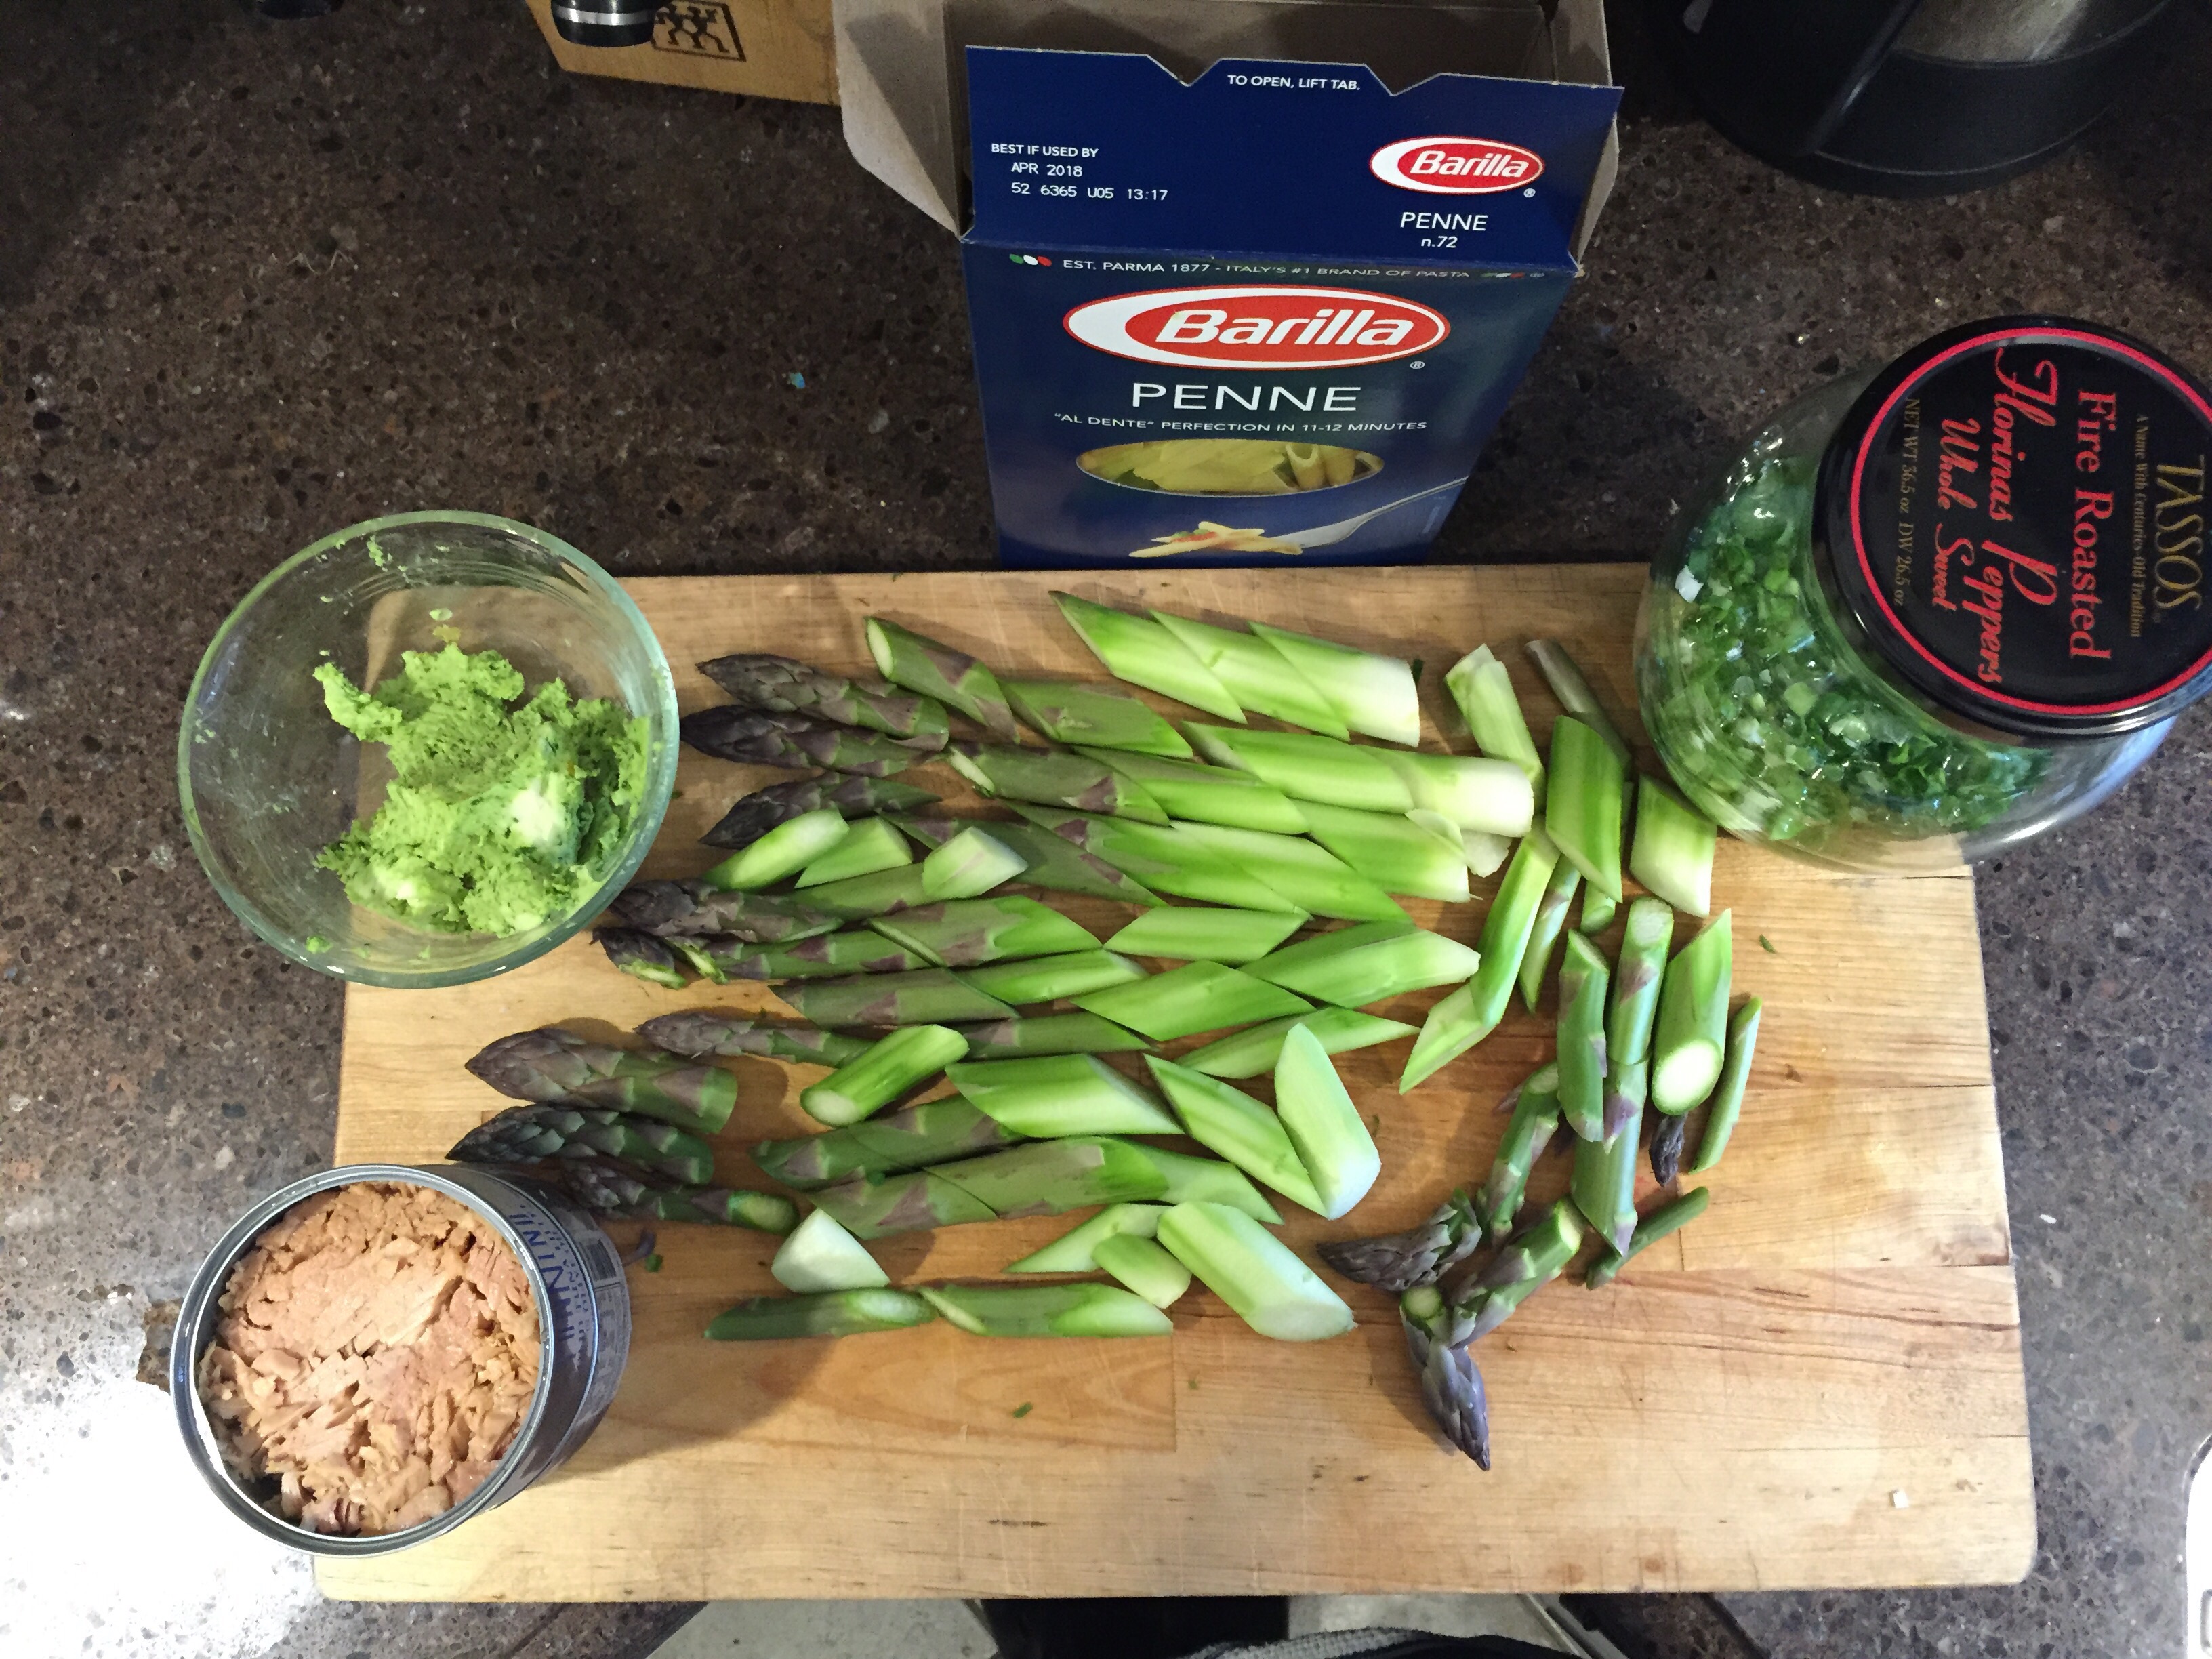 Today was the first CSA delivery from Root 5 Farm. We got fresh asparagus. Definitely a day for Pasta with Asparagus.

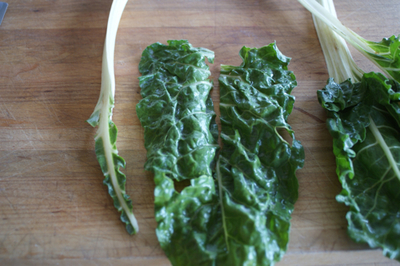
 Escarole (Via InMyBox.Wordpress.com)