ReLocavore: Redefining "local"

Back to Wisconsin, my cheesehead friends


2 Comments

No Cursing at the Caselot Sale

This year’s Caselot controversy was over Barilla pasta.  The company has been in hot water after their Chairman made some blowhard comments about “family values” and using homosexuals in their advertisements.  This led to a boycott and lots of Liberal rage (and NPR coverage). Nothing wrong with Liberal rage, mind you… But, when I dug into the order form for the Caselot sale, there was organic pasta at $1.83 per pound and Barilla pasta at $0.98 per pound. I can’t stomach the thought of buying organic pasta.* BUT, I also was conflicted about supporting a company making pretty terrible comments. More than that, I was really surprised that the COOP would purchase that much pasta from a rather controversial company-must have been a timing issue.

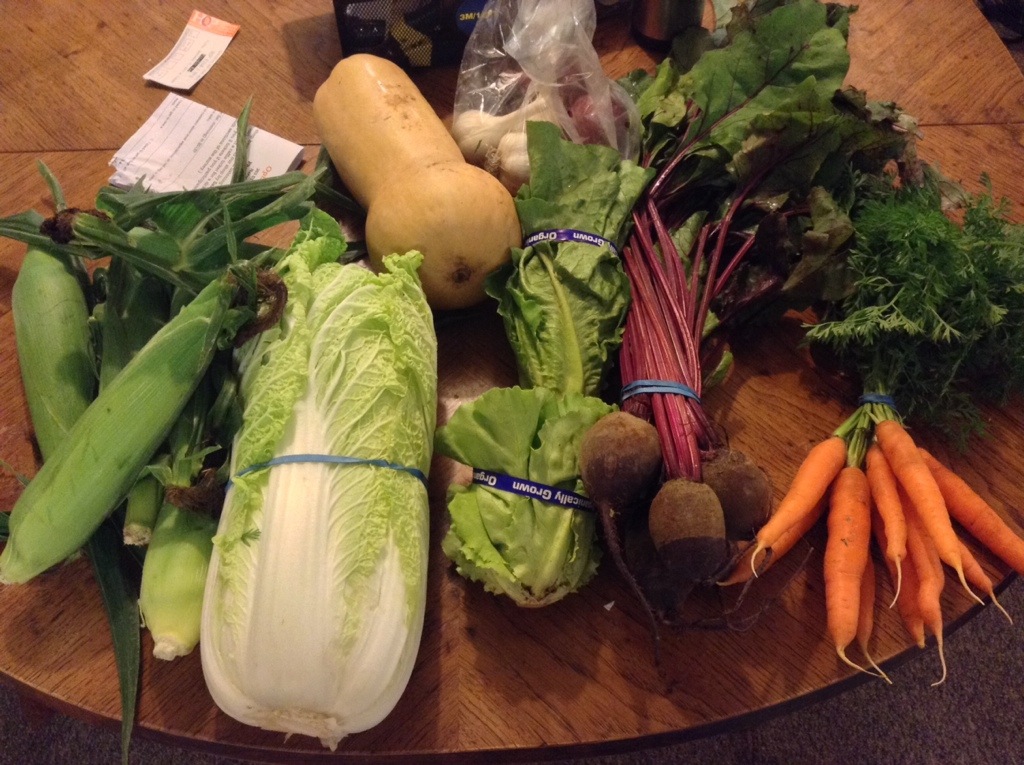
If you remember, last year I had quite a time at the COOP Caselot Sale. Thankfully, as you’ve been reading, I was able to put food by this season, so I didn’t have to buy tomatoes, green beans and the like at the Caselot sale. Instead, we took advantage of the Caselot sale to stock up on canned black, pinto and garbanzo beans, frozen peas and cleaning products. Plus, Clif Bars at $0.90/ea and olive oil for $30/gallon. In fact, we went Thursday morning at 9am before Sam went to work, and were in and out in under 30 minutes. Success!

*As a sidenote, in the organic v local debate, I’m firmly on the Local side. I often don’t spend extra on organic foods when conventional foods are available. Local+Organic > Local+Conventional > Remote+Conventional > Remote+Organic

2013-10-10 09.12.51

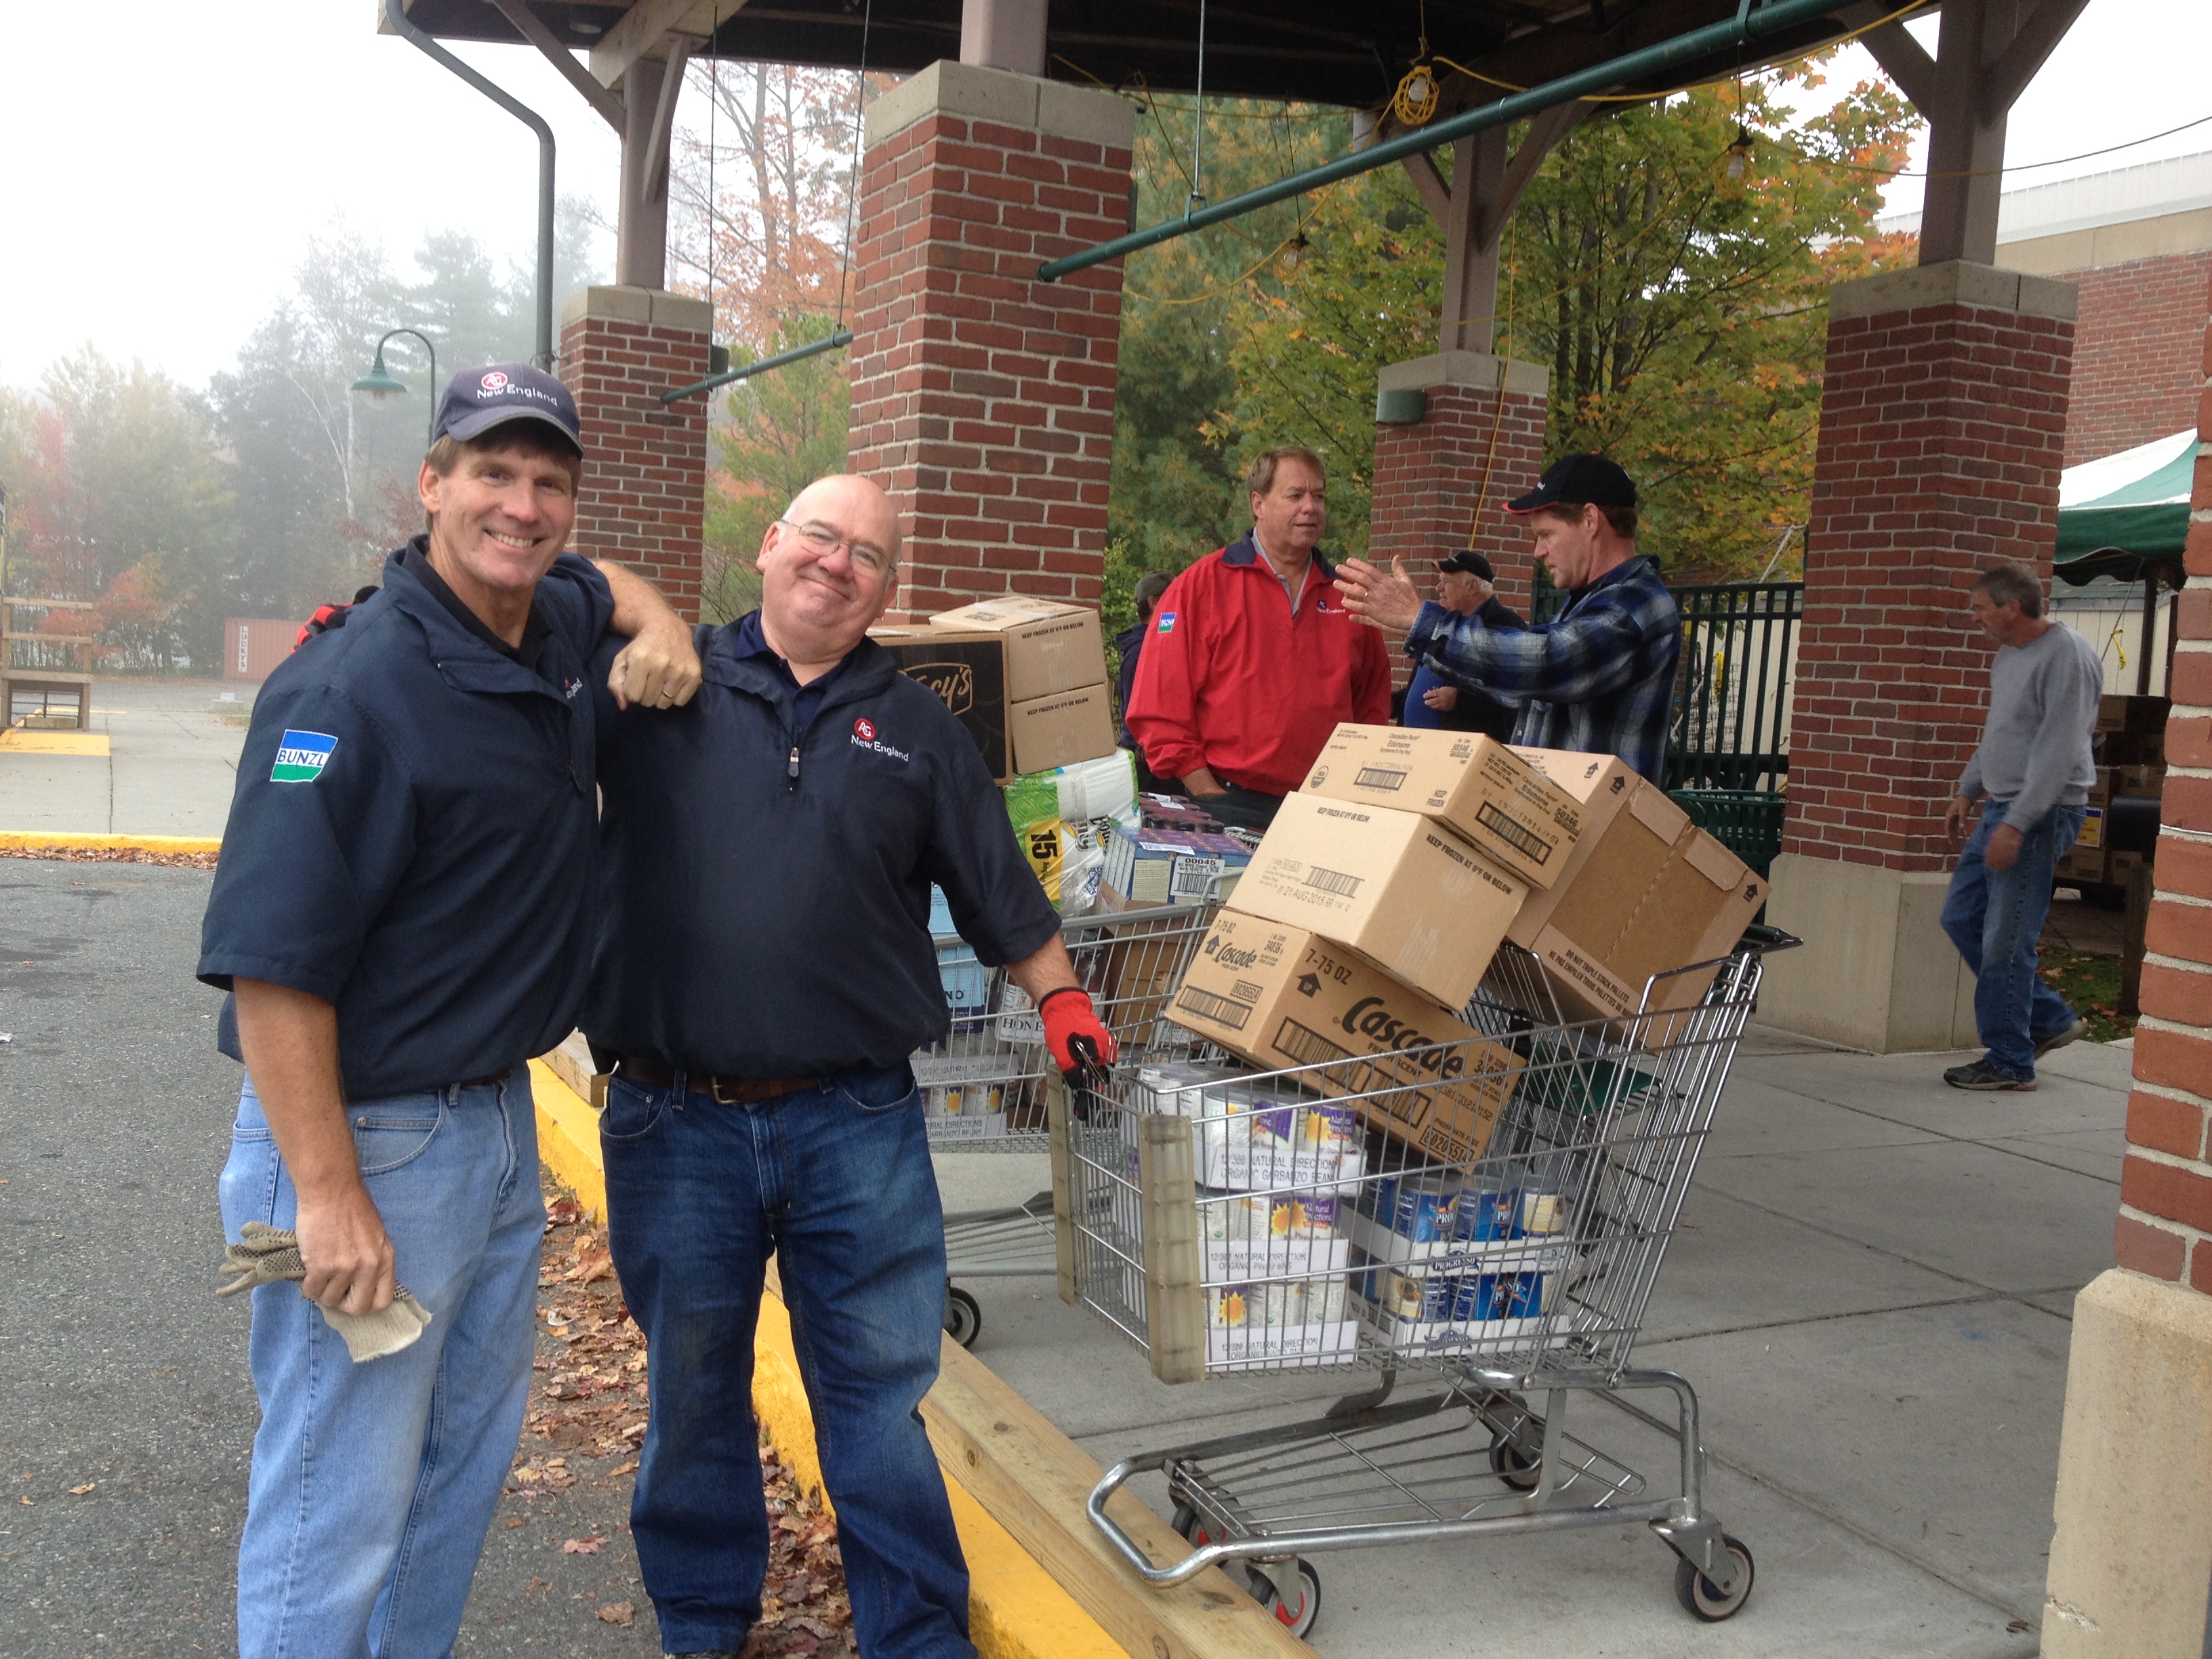
The guys that fulfilled my caselot order. (Note the thick fog at 9:25am…)


1 Comment

My chest freezer is a 15-cubic-foot frozen sedimentary rock

ChestFreezerFairy

The Chest Freezer Fairy. If you set out a dish of homemade jam, she’ll leave presents in your chill chest. Mostly frozen food, but the occasional frozen human finger has shown up.

Thinking back to your Elementary School Geology class, rocks come in three forms, igneous, sedimentary and some other type that I certainly can’t spell. Metamorphic? Point is, sedimentary rocks are made from silt and sand and other types of stuff that piles up in layers and gets packed down by the weight of the stuff on top of it.

My chest freezer is a 15-cubic-foot frozen sedimentary rock.

As we put food by, I freeze bags of stuff, and pile it into the chest freezer. Down at the bottom are the frostbit remnants of previous years’ preserving. Above that goes the strawberries and blueberries in the spring, through other fruits, herbs, corn all the way to the broccoli that sits at the top.

Once the fall comes, a massive geologic event hits the chest freezer.

We don’t eat our food in the order it went into the chest freezer, so each Fall I have to stir up the layers, bringing the spring fruits to the top and moving some of the fall vegetables to the bottom. To do this, I don thick gloves to protect my hands from frostbite (learned that lesson real quick) and I have to unload the whole chest freezer, spread out piles of corn, strawberries, etc, across the floor, then reload the whole thing in a mixed-up order.

I often find presents in the bottom of the chest freezer left by the Chest Freezer Fairy. This year I found some chicken stock frozen into 1-cup cubes, ham hocks, and Japanese fried tofu pockets to make Inarizushi. We’ve got a 4-rib bone-in pork roast that I should defrost and cook into something yummy. I moved the strawberries from the bottom to the top, and made room for the broccoli that should be arriving next week sometime.

We’re getting close to the end of the season of putting food by, and into the season of eating it all up.


1 Comment

Canning Pears

We had a SNAFU last week with the fruit box. We signed up for summer fruit (think peaches) and fall fruit (apples). Through some strange administrative glitch, we had an overlap between our summer and winter CSAs, and we ended up with two boxes of fruit. Not to look a gift horse in the mouth, we put up a bunch of the unexpected fruit.

The boxes had 16 ripe pears-Bartlett and Bosc. There is no way that Sam and I could eat 16 ripe pears before they went south. Out came  the water bath canner and most of those pears ended up in jars.  We were able to fit 6 pear halves into each quart without squashing them too much-these were big pears. I made 6 cups of super-light syrup to fill the jar space. We ended up with 5 quarts and one pear left over for breakfast.

Typically, I would can my pears with ginger. The combination is really special. But, doing this at 9pm on Friday with the stuff I have in the house, I wasn’t able to make the best. Farnum hill will have some pears ripe in a few weeks, and I’ll can a load of them with ginger.


3 Comments

Pickled Red Bell Peppers

Two weeks ago it was really really hot. 90+ degrees hot. In that heat, i was supposed to pickle a peck of peppers. But… The first step in pickling a peck of pickled peppers is roasting them over an open flame. I really didn’t want to heat up the house with the broiler. Instead, I sat out in the back yard with the camp stove and roasted peppers.

Roasting Chiles over the camp stove. Underneath the stove is the slab of marble that Sam uses in the oven when he bakes bread. It was a great work surface, but it's NEVER coming camping with us...

Roasting Chiles over the camp stove. Underneath the stove is the slab of marble that Sam uses in the oven when he bakes bread. It was a great work surface, but it’s NEVER coming camping with us…

The peppers had been marinading in the fridge for two weeks, so I got to crack the jar and have a taste. Just as you’d expect, the peppers are slightly sweet and slightly tangy, with great flavors of oregano. We will definitely be enjoying them on crispy pizza.

Pickled  Sweet Bell Peppers

  • 1/2 Cups White Vinegar
  • 1/2 Cups Cider Vinegar
  • 1/2 Cups Dry White Wine
  • 1/2 Cup Water
  • 4 tbsp granulated sugar
  • 2 tbsp dried oregano
  • 4 tsp salt
  • 4 Cloves Garlic
  • 6 sweet red bell peppers

(Prepare canning jars, lids and rings. This recipe made 1 pint of peppers.)

  1.  Roast the red bell pepers until the skins are blackened and blistery. Either use the flame of a gas burner, or an oven broiler on highest heat. Once roasted, put the peppers in a plastic container or paper bag, to allow the residual heat to steam the peppers. Let the peppers sit for 15-30 minutes to cool.
  2. Using a paper towel, rub the blackened skin off the bell pepper. Slice the pepper in half and remove the gills and seeds. Slice the peppers into large 2″ squares.
  3. Peel the garlic cloves and thinly slice.
  4. Mix the vinegars, wine and water in a sauce pan over medium-high heat. Add the sugar, salt, and oregano. Bring just to the boil then turn down the heat to low. Don’t let it simmer because it will reduce the amount of water and concentrate the acid. Just keep it hot.
  5. Pack layers of pepper and garlic slices into clean, sterile widemouth pint jars. Once full, pour over the hot brine.
  6. Knock the air bubbles out of the jar by either tapping on the counter or using a chopstick. Clean the rim of the jar with a clean paper towel. Fit the lid and screw on the ring.

At this point, if you are just making one or two jars, put them in the fridge to marinade and eat them within two months. Let the peppers marinade at least 48 hours before tasting. Otherwise, if you want to preserve the peppers, proess in a water bath canner for 15 minutes.


1 Comment

Tomatillos and Salsa Verde

Image stolen from healthy-delicious.com

A surprise in our CSA was 5 lbs of tomatillos. I would have rather had them around when I was making salsa two weekends ago, but better late than never, eh? Unfortunately, there were no tomatoes in the box – this was a mixed blessing. I eyed the mixed bag of chiles that had been accruing in the bottom of our crisper drawer – I had no idea what types of chiles where in there and how hot they were…

I decided to make tomatillo salsa, aka salsa verde, and roll the dice with the chiles. Big mistake.

I planned on making green chile enchiladas. However, after tasting the salsa (OMG!) I had to run to the store and buy mild store-bought green enchilada sauce to cut the heat in my homemade salsa. I used about 1 part salsa verde to 5 parts enchilada sauce. The enchiladas came out great.

Paint-Peeling Salsa Verde

  •  5 chiles. If you have a choice in the matter, opt for 3 mild chiles like poblanos, and 2 hot chiles like jalapiños. If you’re looking to take a layer off your tongue, use mixed chiles found in the crisper drawer.
  • 10 to 12 tomatillos
  • 2 large onions
  • 5 cloves garlic
  • 1 tbsp oil
  • 1 tsp oregano
  • 1 cup stock (vegetable, mushroom or chicken)
  • salt
  • 1/2 cup packed cilantro leaves
  • 1/4 cup lime juice


1. Roast the vegetables: Turn on the broiler to high and give extra time to heat up the oven. Arrange one oven rack at the topmost position and the second oven rack at the bottommost position. Place the tomatillos in a baking dish and put on the bottom rack of  the oven to roast. Place the chiles in a separate pan and place 4 to 6  inches below the broiler. Turn chiles to expose a new surface to the heat of the broiler, about 2 or 3 minutes or until  the side facing the broiler is blackened and blistered. Once roasted, put the peppers in a plastic container or paper bag, to allow the residual heat to steam the peppers. Let the peppers sit for 15-30 minutes to cool. Allow the tomatillos to roast in the residual heat in the oven until their skin splits or looks brown.

2. Prep the Vegetables:  Using a paper towel, rub the blackened skin off the peppers. Slice the pepper in half and remove the gills and seeds. Mince the peppers. Roughly chop the tomatillos with a knife or with 3 to 5 pulses of the food processor. Dice the onions. Mince the garlic. Chop the cilantro leaves. Juice the lime.

3. Cook the salsa: Heat a large saucepan over medium heat. Heat the oil to shimmering and add the onions and garlic. Sweat for 5 minutes. Add the chiles, tomatillos, oregano and stock. Cook for 10 to 15 minutes until thickened. Allow to cool.

4. In the blender or food processor, puree batches of salsa until smooth. Return to saucepot. Add cilantro and lime. Sir to combine.

Adjust the salt to taste.


3 Comments

How’d the Sauerkraut Come Out?

2013-09-29 15.41.03A few weeks ago, I started the Sauerkraut – or the salted, shredded cababbage as it was known back then… Now it’s matured into full-fledged sauerkraut. And it tastes like sauerkraut. It has a little bit more character than store-bought kraut, especially because it has less salt and because I haven’t applied any heat to kill off the culture. Otherwise, it’s mostly interchangable with the store-bought product.

In total, we had 4 pounds of cabbage and that became 1 quart and 1 pint of finished kraut.  (6 cups for the non-canning inclined).

That’s just enough for a batch of Cabbage Rolls and one dinner of kielbasa, mashed potatoes, and sauerkraut.

Now I have to figure out what to do with 4 pounds of red cabbage…


Leave a comment

This week in Veg: the last delivery of the Summer CSA.

This is the last week of vegetables from Cedar Circle. In the fall, Cedar Circle transitions to a pick up CSA model, where we would have to drive up to their farm every other week to pick up our vegetables. We decided the extra driving lessons so worth it, so we signed up with a different CSA for the fall/winter share.

I’m surprised to see we continue to get corn from the farm. There’s also a tiny little head of butter crisp lettuce, which I love to make into Thai style lettuce wraps.

20130928-113231.jpg


1 Comment

My heart breaks a little

Part of putting food by is that I feel responsible for my larder. I want to cook the best food from the ingredients I have preserved. I also want everything to last as long as it can. I cried the first time I broke a canning jar, and don’t even ask why I hate rutabagas. I have had nightmares about opening my pantry and hundreds of rats streaming out, leaving nothing behind but some crumbs.

My heart broke today when I found mold in my dried tomatoes. I hadn’t kept up with their curing, and there must have been some pockets of moisture left. Plus it’s been humid here, so that doesn’t help.

I went through all of my tomatoes and checked for mold. Then I went through the dried apricots-all were okay.

20130920-211226.jpg


2 Comments

Canning Inventory for 2013

Here’s the full inventory of everything I’ve canned this season:

If “a pint’s a pound the world around” and disregarding the weight of the jars, I have put by 165.5 lbs of food in jars… More than my body weight! I’m proud. Very proud.

What’s left? I like to put by a few jars of gingered pears, but the pears don’t come ripe until mid-October. In addition, I may get the bug and put by some apple pie filling or spiced apple rings, but that won’t be too much of an effort. I’m not a fan of canned squash, pumpkin or potatoes. Those go into the kuhlschrank instead. So that’s about it for my 2013 canning.

Who’s hungry?