You know, I may frame this and hang it up in my kitchen.
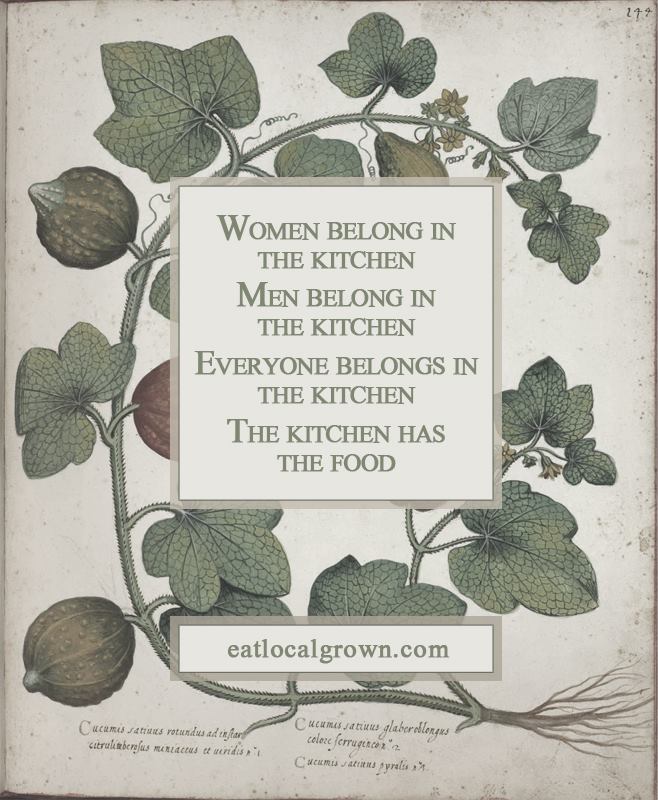

You know, I may frame this and hang it up in my kitchen.
Bacon, ZUCCHINI, Lettuce and Tomato Sandwich. The BZLT. We pronounce it the BEE-Zult.

The trick here is to grill the bacon, then cook the zucchini strips in the remaining bacon fat. We use the panini grill for cooking bacon because the fat runs off and the two-sided cooking makes for flat, crispy strips of bacon. Perfect! The zucchini picks up a nice bacon flavor and crispy grill marks.
Add toasted bread, mayo (homemade please), lettuce and tomato for the perfect summer sandwich.
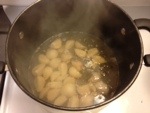
Zucchini Boats: A Zucchini-Topped Zucchini
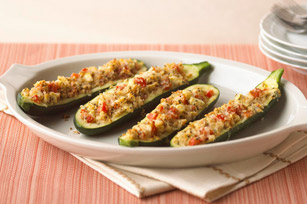
Image from Kraft.com
Three steps:
For the ignorant clods across the ocean, a courgette in the US uses the Italian term: zucchini. I’ve found some great new recipes by searching for the French term.
Hey y’all. You can now email me at addi@relocavore.com!
The CSA has returned! This year we will be trying out Your Farm. We hope that their business model – mainly CSA with a stand at the Norwich Farmer’s Market, will be more amenable. We’re already very happy with them – we signed up with their winter CSA.

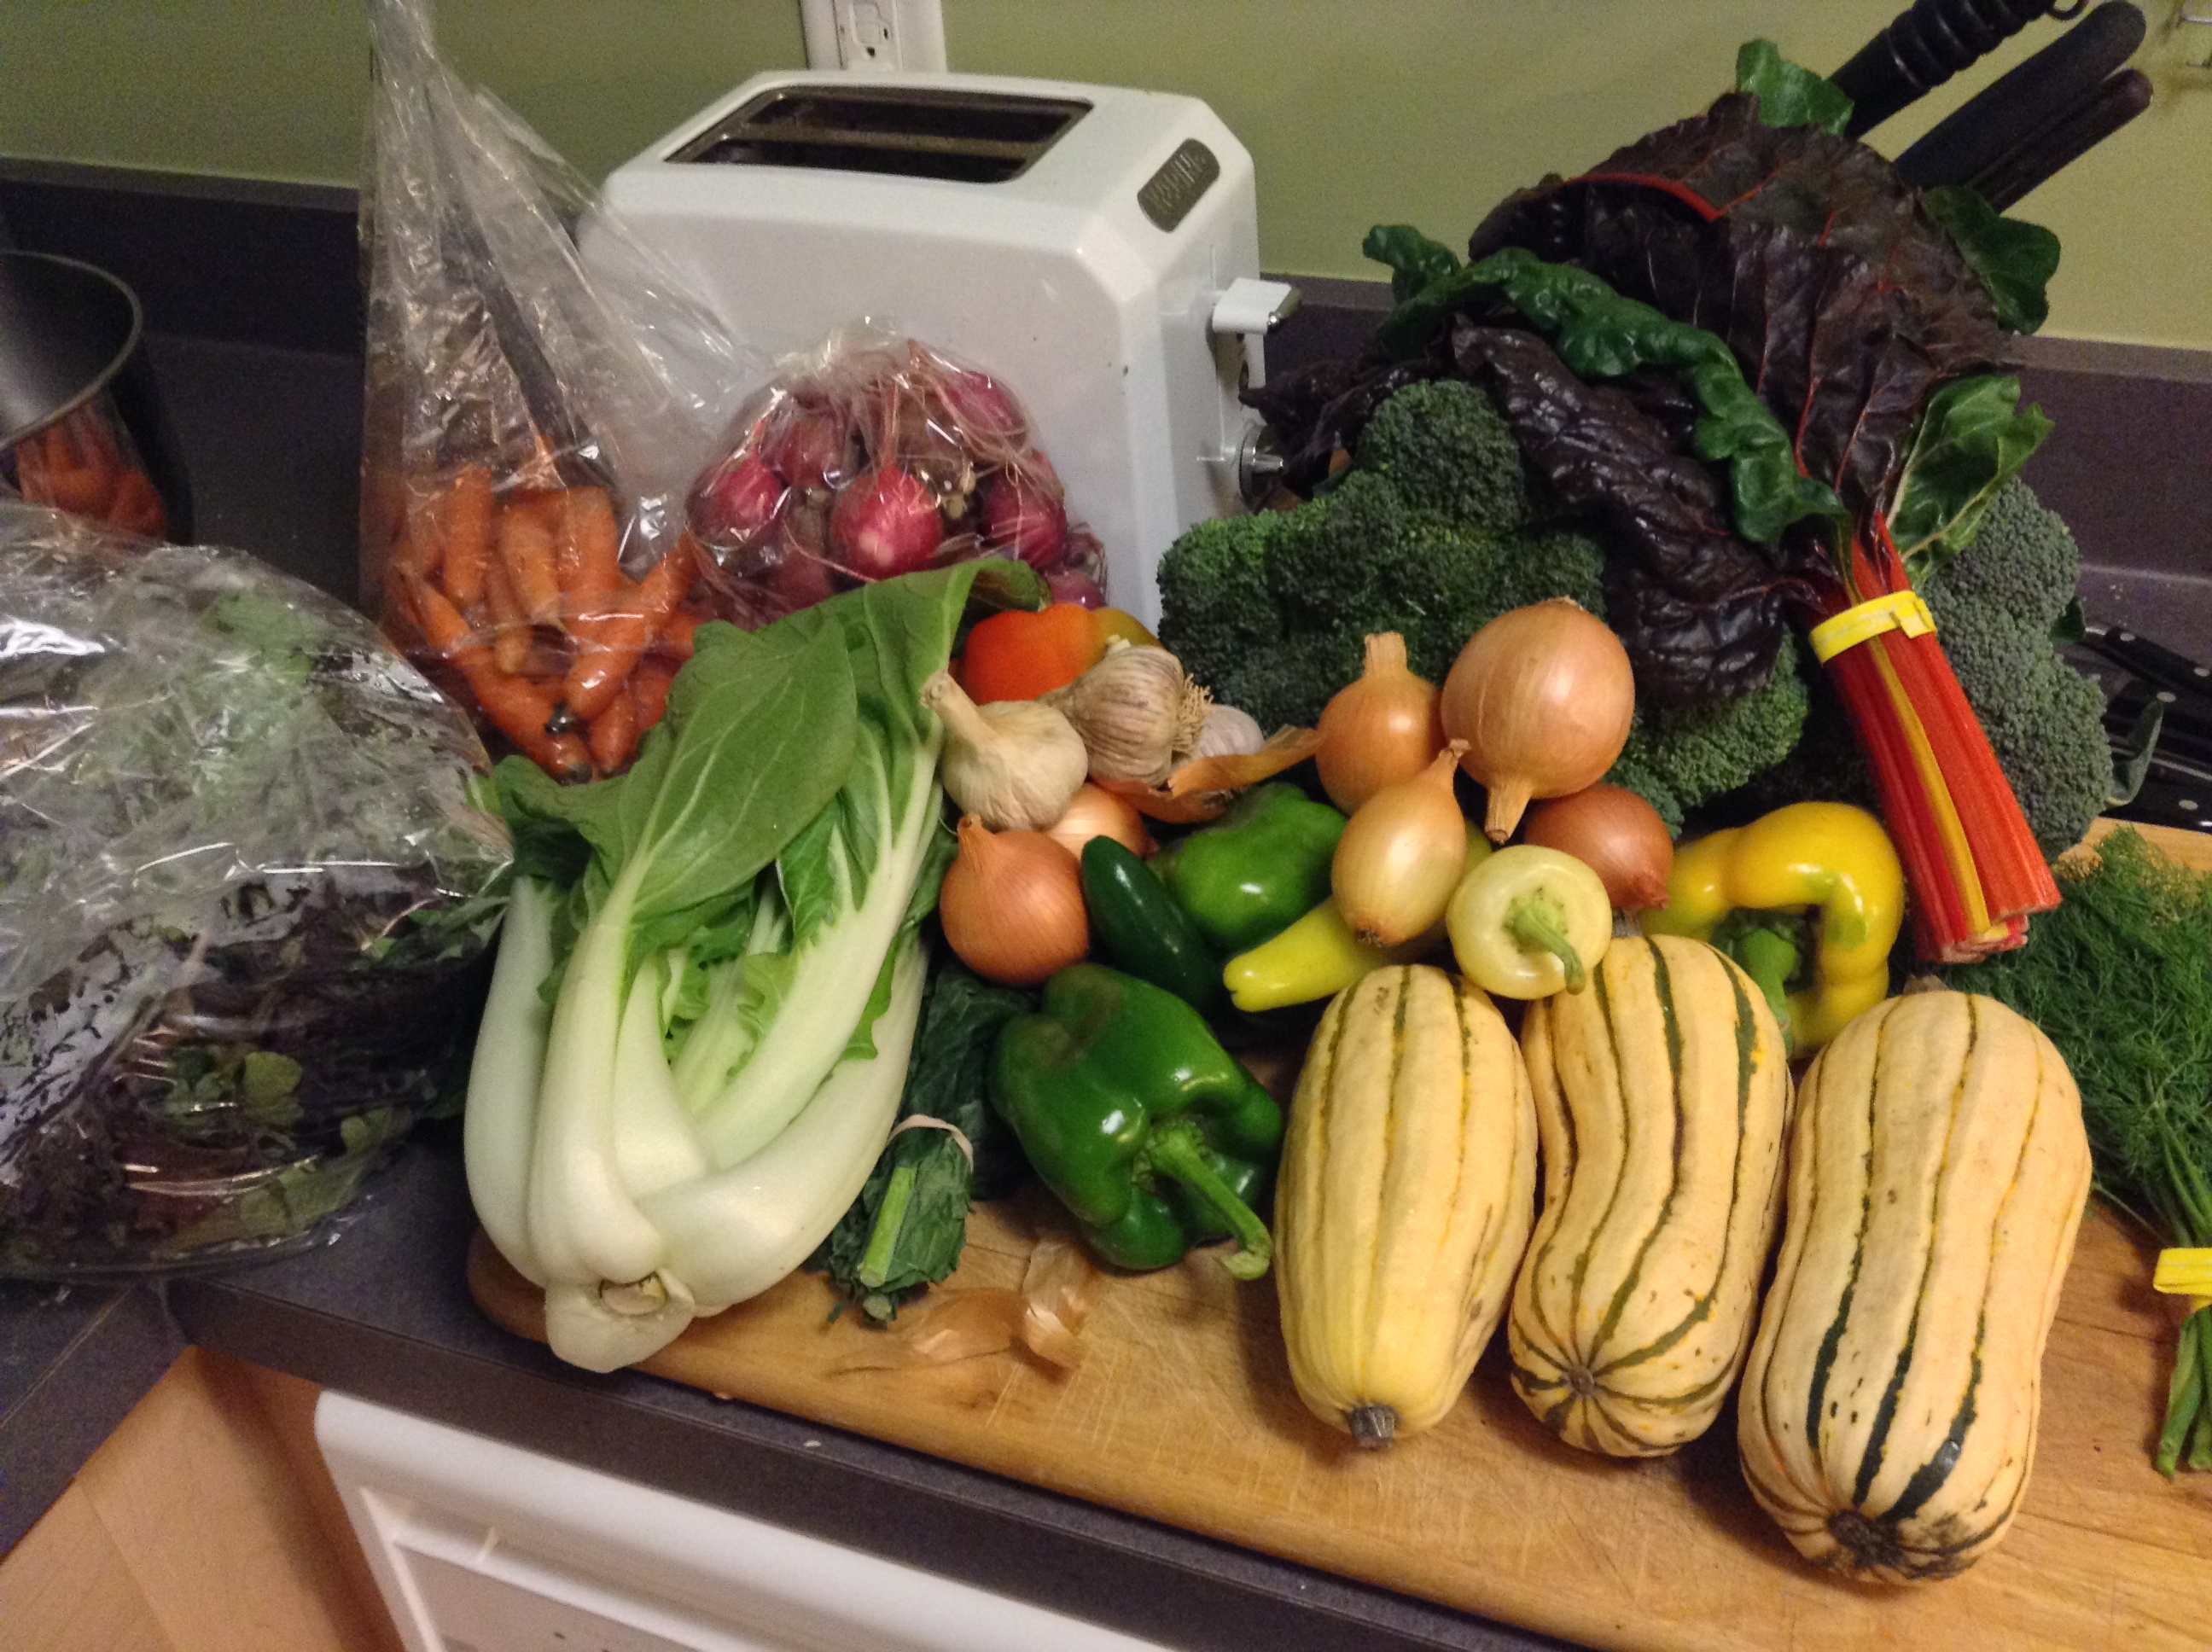
(Clockwise from top) Asparagus, boc choi, hakurei turnips, swiss chard, turtle beans (the black thing), carrots, cilantro
It does bring up the question – why both a CSA and a garden? I’m a hobby gardener, not a production gardener. This year, we won’t be able to grow enough vegetables for Sam and me to eat. For a few years, at least ,we’ll be supplementing our garden with a CSA.
Sam and I had our summer CSA with Cedar Circle Farm – one of the big two CSAs in the Upper Valley. However, we changed over to Your Farm, another large CSA for the Fall and Winter Storage Share.
We’ve been only partially happy with Cedar Circle this season. We’re used to coming from a 100% CSA farm where we were treated like investors, and we felt entitled to our “share” of the harvest at the farm. Cedar Circle, on the other hand, is part CSA, part wholesale, part farmer’s market vendor and part farm stand. They have more sources of revenue, and the CSA members are not the main supporters of their farm. What this meant in practice was we were “prepaid” customers instead of investors. I saw multiple times where the farm diverted high-profit crops (e.g. garlic scapes) to the farm stand, and the CSA members got these crops only when there was a surplus. The first harvest also went to the farm stand and farmer’s markets. There were many weeks that there were crops available for high prices at the farmer’s market that weren’t also available in the CSA boxes. We waited 3 weeks after tomatoes showed up at the farmer’s market booth before we got a tomato in our box. Additionally, we were not happy with the diversity in our box. The spring was overwhelmed with lettuce and radishes, at the expense of other spring crops like asian greens. I didn’t get a single salad turnip all year.
That being said, we were also not happy with the plan for the fall CSA from Cedar Circle. They have every week boxes through mid-December and we would have to travel to their farm – a 40 minute drive round-trip- to pickup the box on Saturday or Sunday. We started looking for a new farm, and I hope we’ve found a better place.
We’re getting our fall/winter box from Your Farm. They will delivery every other week to my health club through mid-January. The cost per box is about $5 less than Cedar Circle. I’ve also appreciated the diversity of crops they have available – more asian greens and fewer rutabagas. I hate rutabagas. I’m also excited for some of their prepared foods they offer with the fall CSA – sauerkraut, home canned tomatoes, pesto, dilly beans. They also freeze farm surplus and include it in the CSA delivery – corn, beans, asparagus, pesto… As always, I’ll try to post pictures of our boxes to give everybody a sense of what we’re munching on all winter.
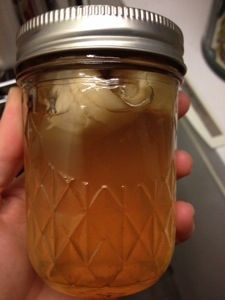
I’m hoping to make something tasty this weekend with a 5-bone rib-in pork roast that has been sleeping in my chest freezer. Somehow the idea of pork and garlic really appealed to me, but so did the idea of honey glazed ham. Bringing these two concepts together, I made roast garlic jelly which I will use to baste the pork roast.
Unfortunately, what I wanted to make was roasted garlic JAM – with lots of chunks of roasted garlic and a little sweetness. Best-laid plans of mice. I ended up with Jelly instead – wine, vinegar, sugar infused with roast garlic. To make it a bit more interesting, I added the garlic cloves back into the jars, but they floated up to the top and separated from the jelly. I guess I’ll just roast more garlic to use with the pork roast.
We had a SNAFU last week with the fruit box. We signed up for summer fruit (think peaches) and fall fruit (apples). Through some strange administrative glitch, we had an overlap between our summer and winter CSAs, and we ended up with two boxes of fruit. Not to look a gift horse in the mouth, we put up a bunch of the unexpected fruit.
The boxes had 16 ripe pears-Bartlett and Bosc. There is no way that Sam and I could eat 16 ripe pears before they went south. Out came the water bath canner and most of those pears ended up in jars. We were able to fit 6 pear halves into each quart without squashing them too much-these were big pears. I made 6 cups of super-light syrup to fill the jar space. We ended up with 5 quarts and one pear left over for breakfast.
Typically, I would can my pears with ginger. The combination is really special. But, doing this at 9pm on Friday with the stuff I have in the house, I wasn’t able to make the best. Farnum hill will have some pears ripe in a few weeks, and I’ll can a load of them with ginger.
Two weeks ago it was really really hot. 90+ degrees hot. In that heat, i was supposed to pickle a peck of peppers. But… The first step in pickling a peck of pickled peppers is roasting them over an open flame. I really didn’t want to heat up the house with the broiler. Instead, I sat out in the back yard with the camp stove and roasted peppers.
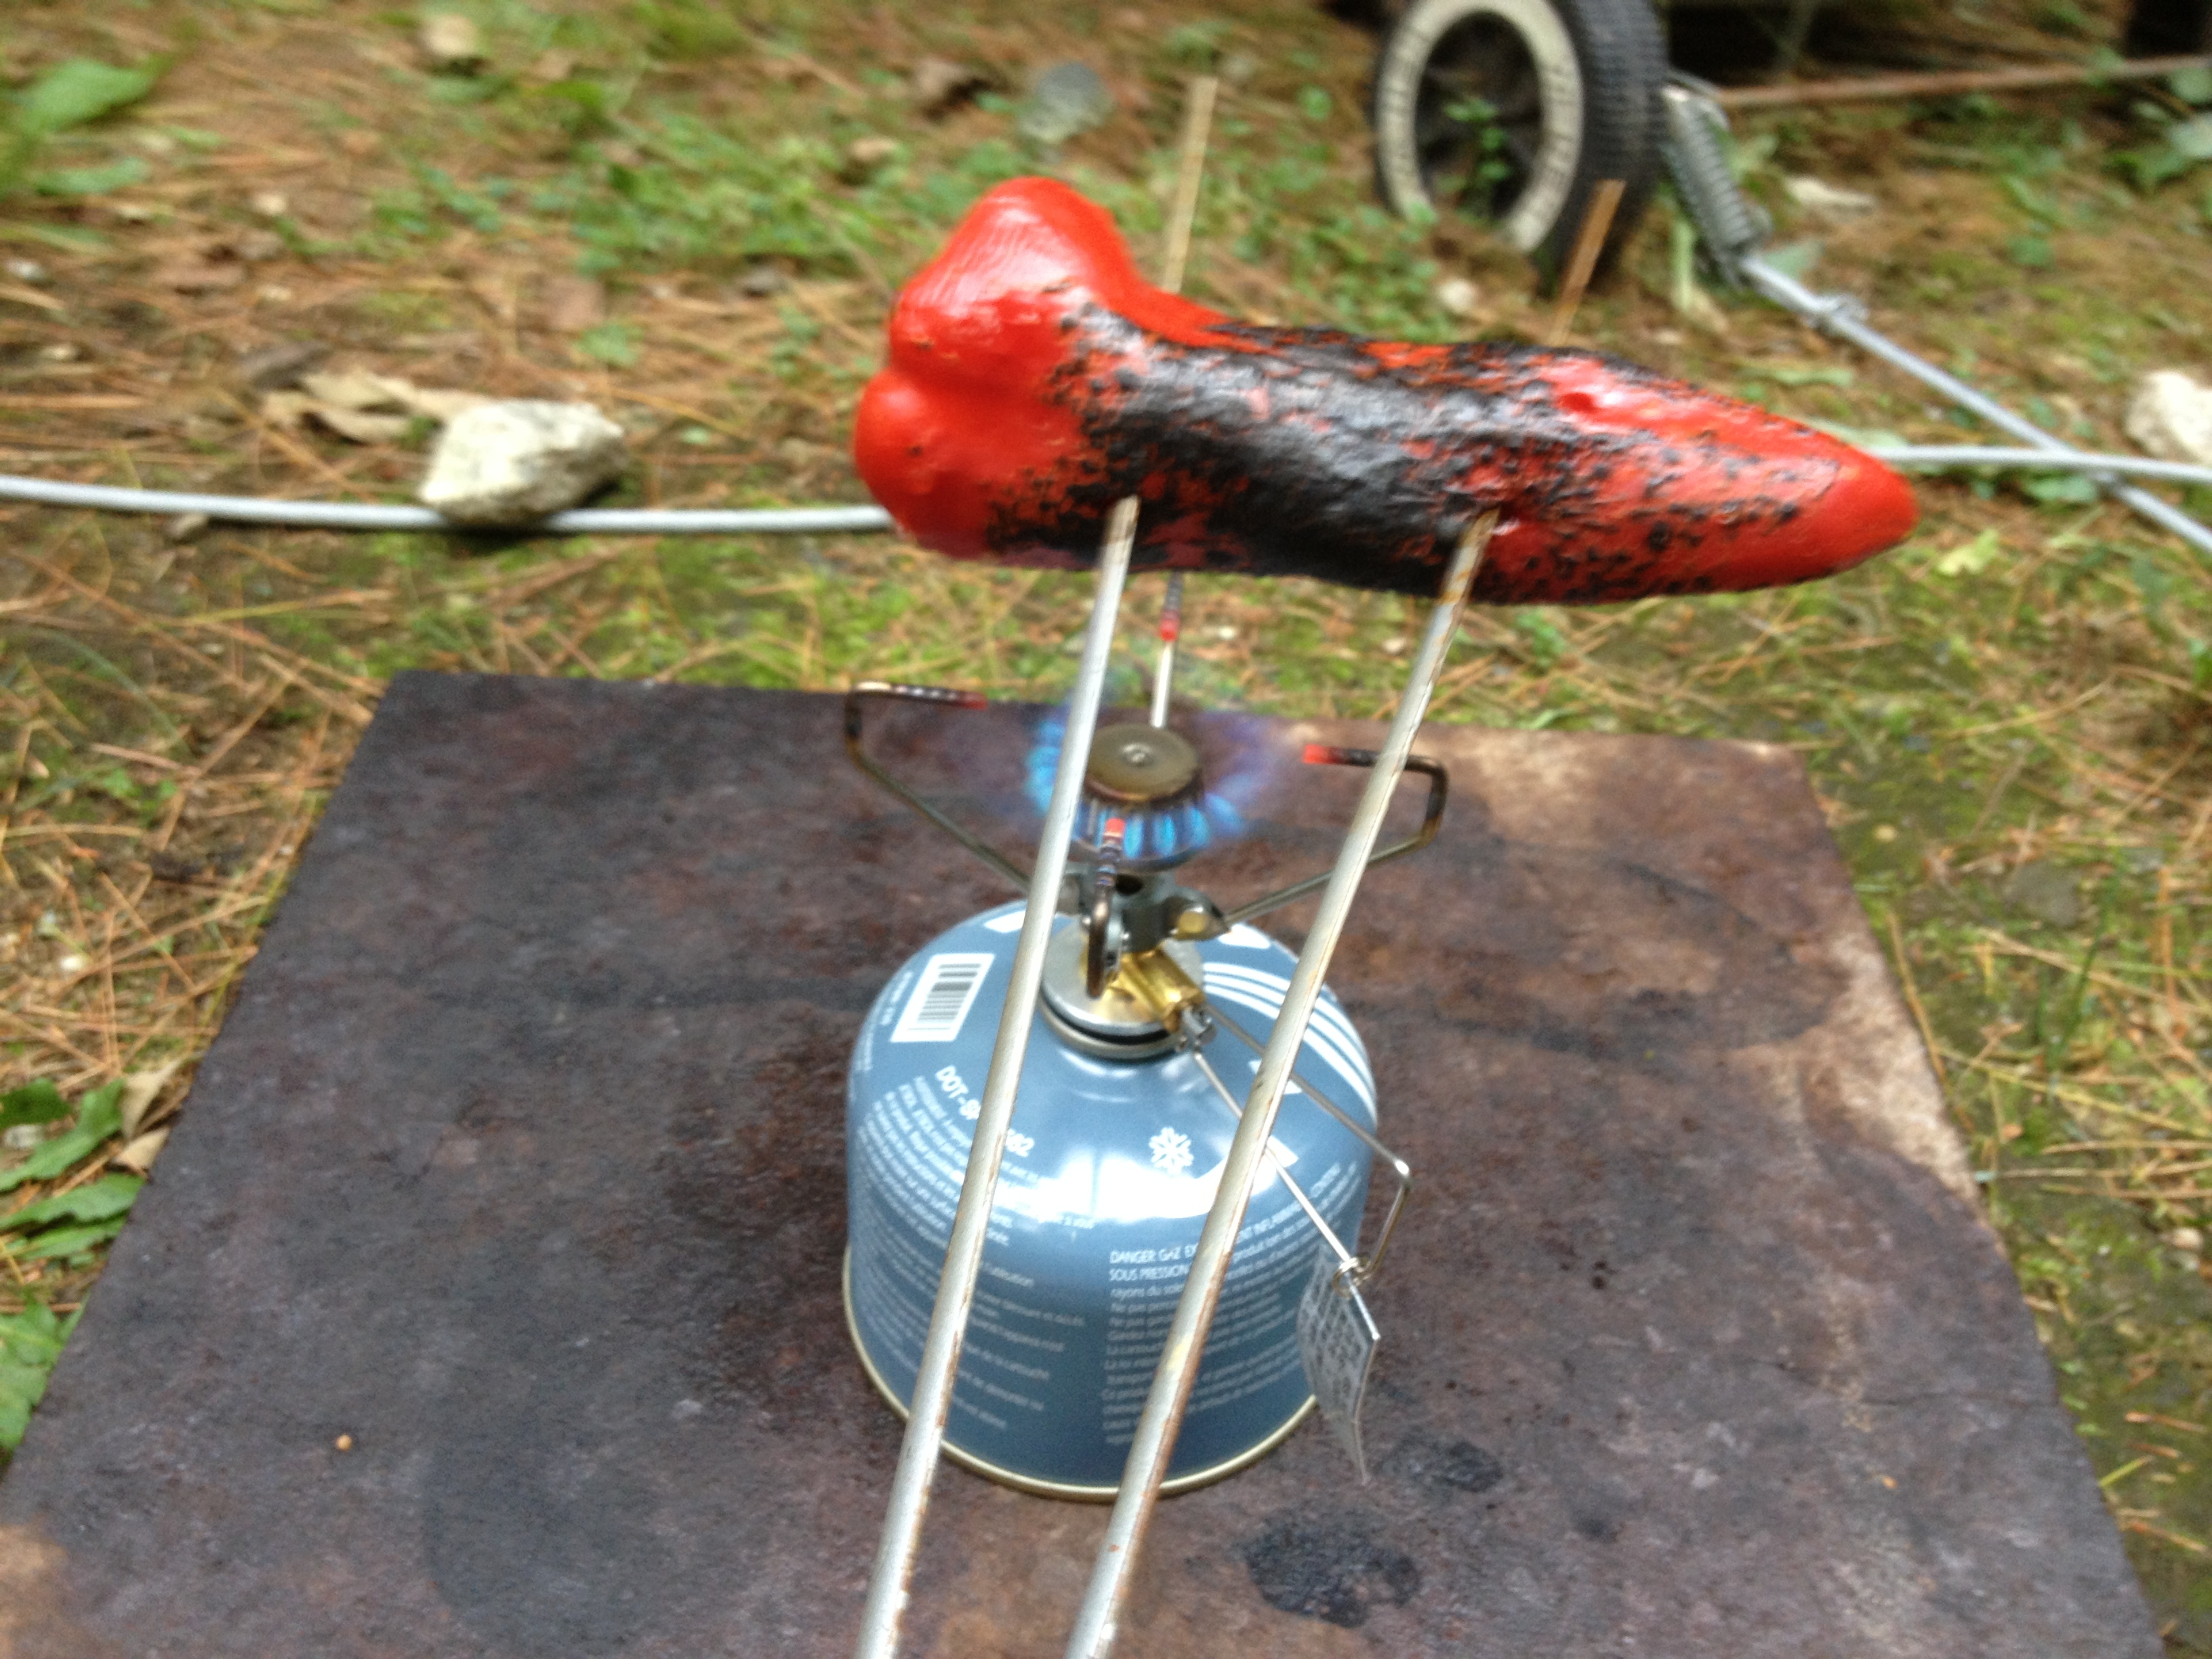
Roasting Chiles over the camp stove. Underneath the stove is the slab of marble that Sam uses in the oven when he bakes bread. It was a great work surface, but it’s NEVER coming camping with us…
The peppers had been marinading in the fridge for two weeks, so I got to crack the jar and have a taste. Just as you’d expect, the peppers are slightly sweet and slightly tangy, with great flavors of oregano. We will definitely be enjoying them on crispy pizza.
Pickled Sweet Bell Peppers
(Prepare canning jars, lids and rings. This recipe made 1 pint of peppers.)
At this point, if you are just making one or two jars, put them in the fridge to marinade and eat them within two months. Let the peppers marinade at least 48 hours before tasting. Otherwise, if you want to preserve the peppers, proess in a water bath canner for 15 minutes.
