ReLocavore: Redefining "local"

Back to Wisconsin, my cheesehead friends


Leave a comment

Relocavore Guest Post: Shakshouka, or eggs cooked in tomato

By Sal Cania

Israeli culture is a fascinating intermixing of many traditions and their foods, in large part due to their geography, but more importantly because of the history the modern state that resides in the hotly contested region has. Early settlers hailed mostly from Eastern Europe, bringing with them many of the local foods they had incorporated into their culture after their several millennia long Diaspora. But, as is common in many settler colonial societies of the era, they fervently adopted local fare. Hummus? Palestinian. Couscous? Lebanese. Shakshouka? Tunisian. Many of these dishes are known in the United States now by their Israeli versions, and that is in no small part because of the Jewish Diaspora that has roots in many regions around the country.

135023_660790703249_2081111753_o
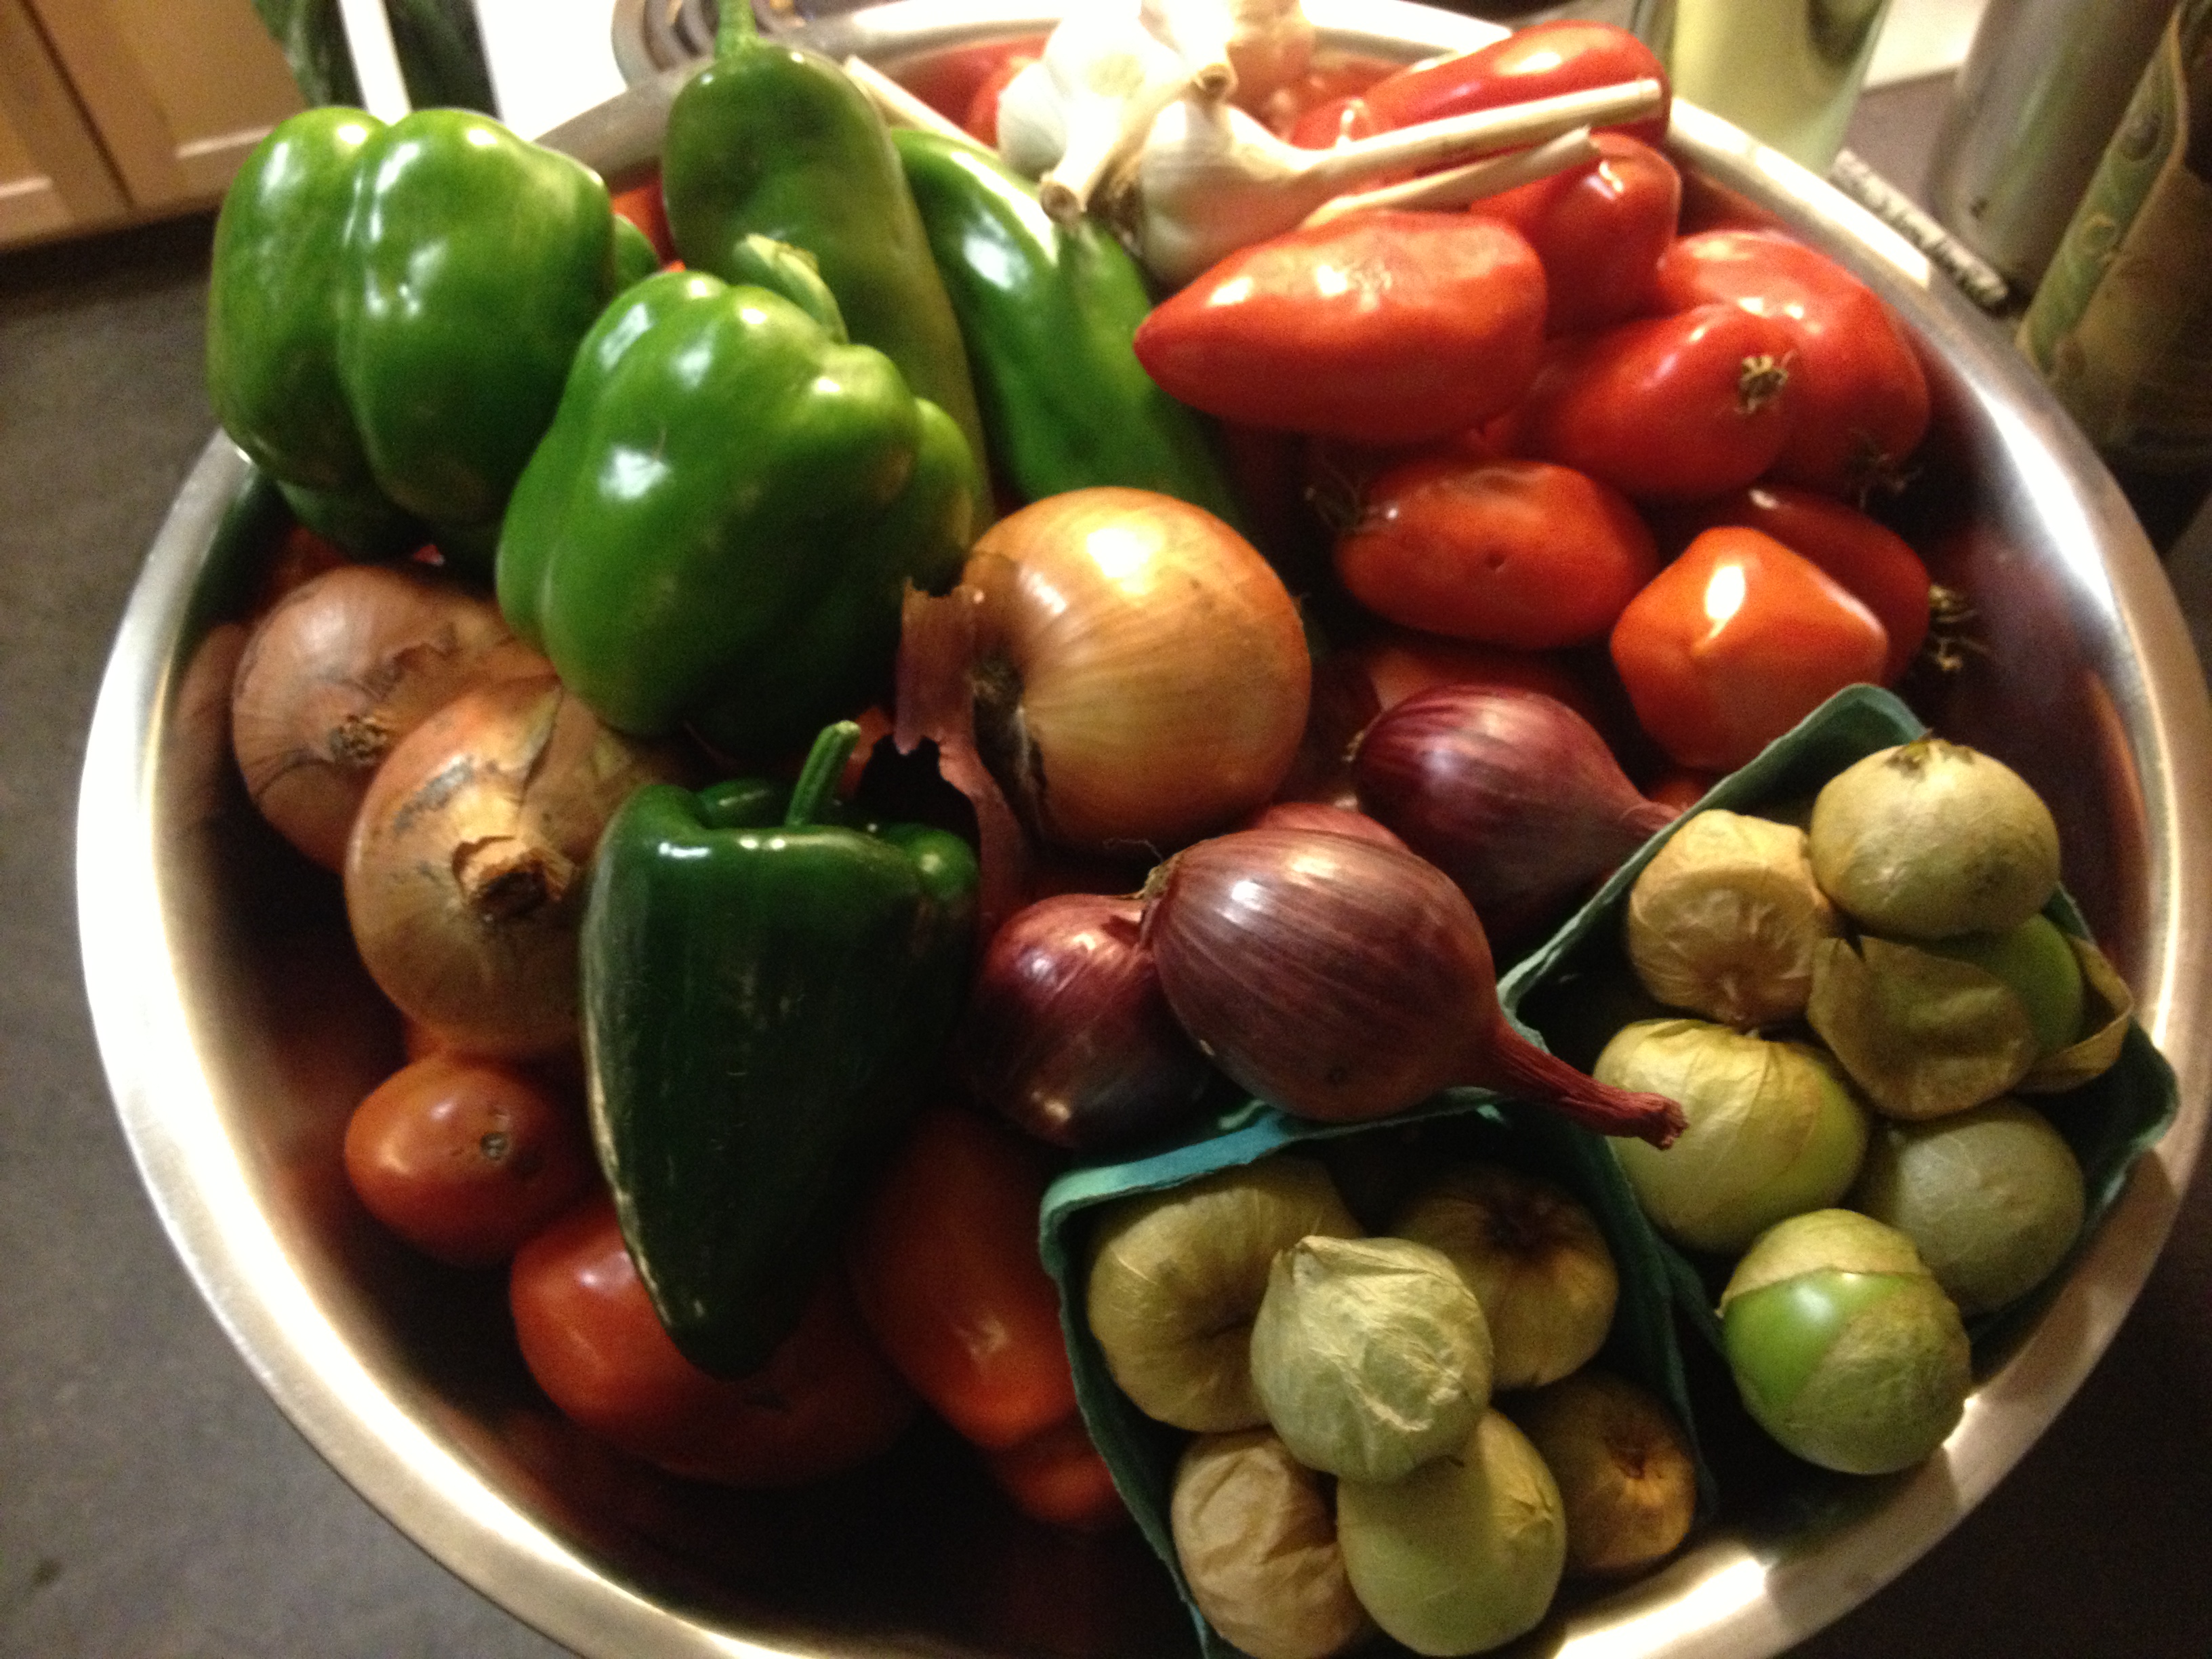
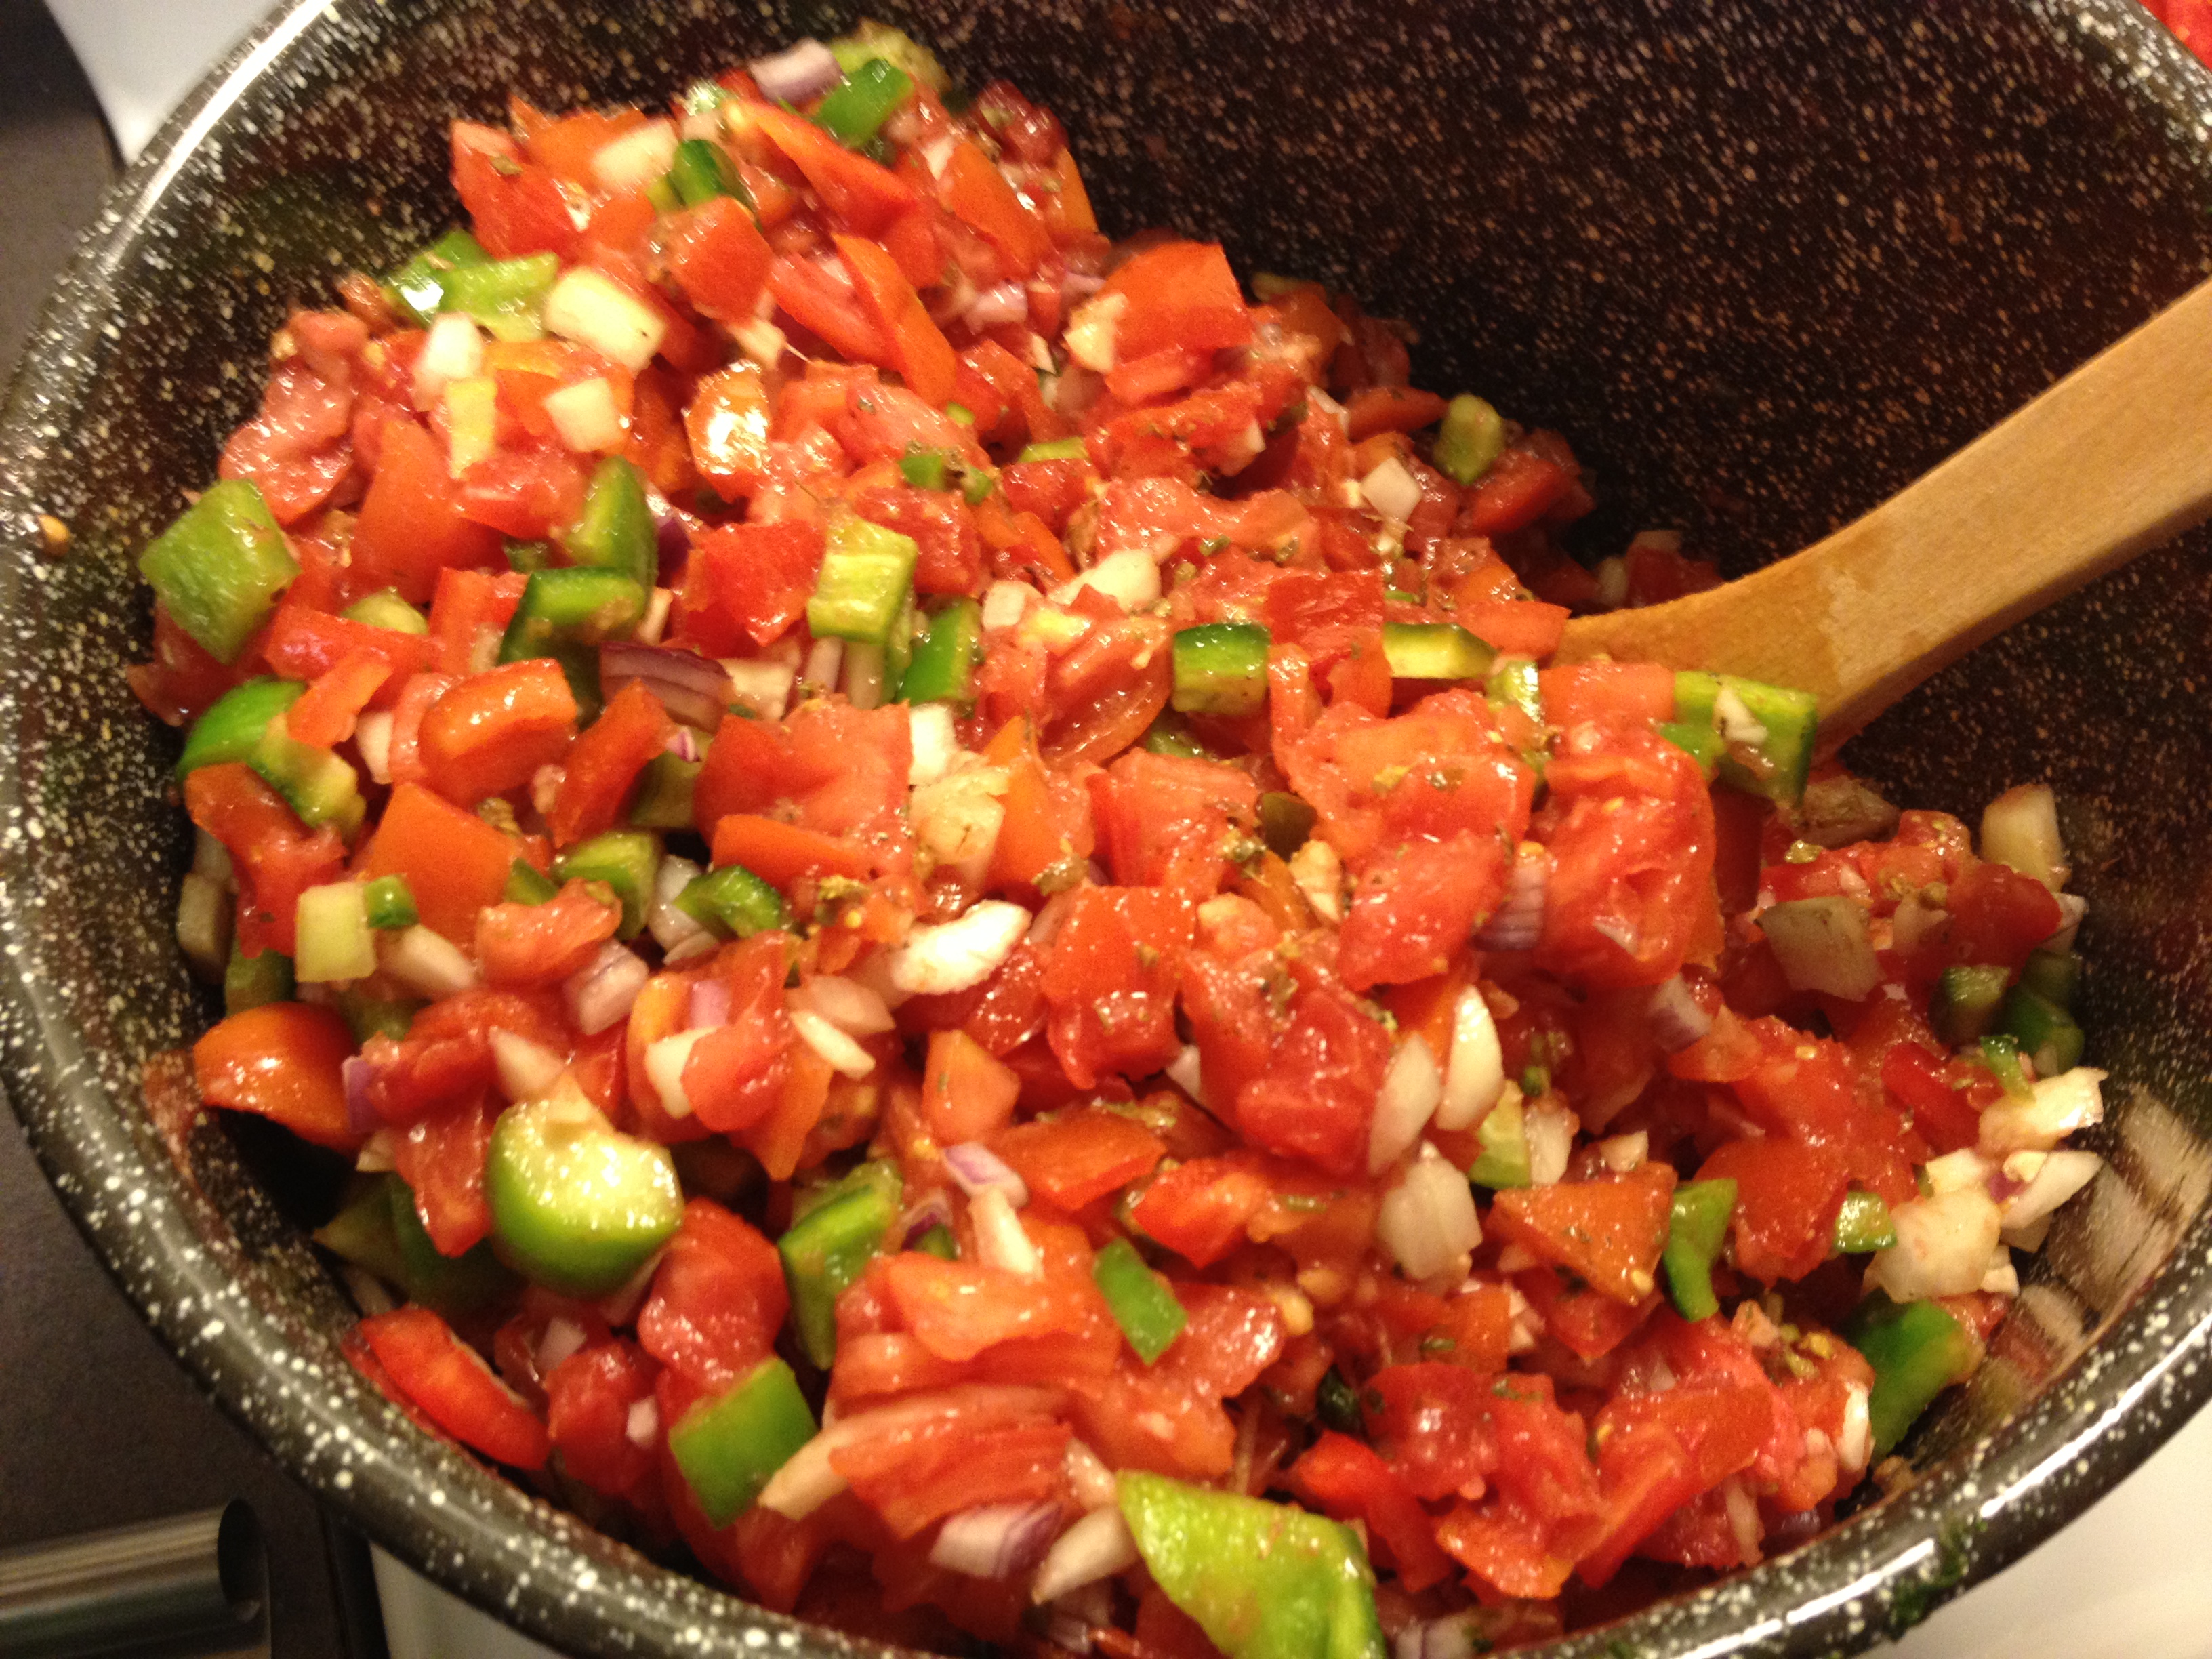
One dish in particular, Shakshouka, roughly translated from Arabic as a “mixture”, is a delicious composition of tomatoes, peppers, onions, cumin, and the star of the show: poached eggs. It’s currently a staple dish in many North African diets, as well as sharing traits with similar cuisine in Mexico, Turkey, and Spain. This is not surprising, since the meal is nutritious, inexpensive, and simple.

I first discovered this little gem when I traveled to Tel Aviv and Jerusalem in 2012 as part of a scouting trip for the business school I worked at. Our goal was to sample aspects of Israeli culture, food, and learn about the business climate and major industries present in their economy. As you can imagine, food and drink took center stage pretty quickly, largely because the trip organizer had planned a number of fantastic dining experiences to draw us in. Sitting in a board room at an Intel processor factory was somewhat less interesting.

Shakshouka, mainly served for breakfast on trip, was the one plate I went for each day. Alongside pita for dipping and the traditional smoked/pickled fish that Israelis love to eat for breakfast, I was easily full until 2pm. Lunch, after a morning plate of Shakshouka, was not even important. We ate it anyway, because they served plenty of other amazing treats, and kept the [Israeli] wine flowing all day long.


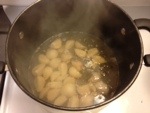
Fast forward to May of 2014, when my wife found this great recipe for the dish, I realized that I had actually forgotten about my Shakshouka experience. Looking to try new things to complement our usual Vermont summer evening meals, we went for it. To start out, we followed this recipe to a “T”, and it came out very well, if a bit dry, but I suspect that was because we left it on for the full simmer time. This is a meal, after having now cooked it, that I can see being extremely versatile and offering opportunities to change out ingredients without adversely changing the overall concept. See: huevos rancheros.

In this age of post-colonialism, a dish that successfully made its way around the Middle East has somewhat ironically come now to Vermont, not at the tip of a sword, but rather the internet. It’s a fitting example of the change we’ve seen over the last century, but also a reminder that some things stay the same. Plus, who wouldn’t like spicy poached eggs in tomato sauce? My fellow Italians, take note.


4 Comments

Roasted Garlic Jelly

20131023-174148.jpg

I’m hoping to make something tasty this weekend with a 5-bone rib-in pork roast that has been sleeping in my chest freezer. Somehow the idea of pork and garlic really appealed to me, but so did the idea of honey glazed ham. Bringing these two concepts together, I made roast garlic jelly which I will use to baste the pork roast.

Unfortunately, what I wanted to make was roasted garlic JAM – with lots of chunks of roasted garlic and a little sweetness. Best-laid plans of mice. I ended up with Jelly instead – wine, vinegar, sugar infused with roast garlic. To make it a bit more interesting, I added the garlic cloves back into the jars, but they floated up to the top and separated from the jelly. I guess I’ll just roast more garlic to use with the pork roast.

20131023-174159.jpg


6 Comments

I got caught stealing apples

The Implement

The Implement

My neighbor Cindy and I walk our dogs past this Orthodontist office that has an tree just hanging full of wonderful, ripe, flawless apples. Tasty apples, too – I’ve eaten a few that I could reach from the ground – Juicy and not too tart, with firm flesh. Just wonderful apples going to waste on the tree.

I vowed to steal them.

I figured there’s no orthodontist that sees patients on Saturdays – so I drove over in my car, parked under the tree and climbed onto the roof. Wouldn’t you know it, I could only reach a handful of apples. The fruit hung from the branch, just out of my reach. Many people would give up in defeat, but something about these apples lit a fire under my butt. I needed help and a way to reach the apples.

Pidi and I went to West Lebanon Feed and Supply to buy an Apple Picker. It’s a wire basket on the end of a pole with some rake-like fingers to pluck fruits from high up in the tree. I splurged the extra dollars to get the full 15′ model. I was going to get those damn apples come hell or high water. I called up Cindy and recruited her to my cause. Petty Crime and Free Apples. I mean, who doesn’t want that?

Evidence of the crime.

Evidence of the crime.

Now armed with implements and a co-conspirator, I load up the car and drive back to the Orthodontists office. I’m standing on the roof of my car and Cindy’s down on the ground unloading the apples from my picking basket into a bushel box. We have about half a bushel when up drives a guy in a black Porsche 911 from the 1970s. Instead of dropping the pole and running, I hopped off the roof of my car, walked up with a big smile and an armload of apples. I asked if he wants an apple. I ask if these are his apples. My heart is pounding in my chest.

The Porsche 911. The Orthodontist. Yes, I'm still standing on the roof of my car.

The Porsche 911. The Orthodontist. Yes, I’m still standing on the roof of my car. Aren’t those great boots?

Turns out, this is the orthodontist who owns the apples we’re stealing. He also happens to be a very nice guy and willing to trade pie for calling the police. He needs to wash his Porsche, so decided to come over to his office where, I guess, all orthodontists keep power washers. Coincidence? I don’t think so. I suspect somebody tipped him off that there were hooligans stealing his apples. He seemed surprised to find reasonably nice people willing to pick his apples for him for free. What’s an orthodontist going to do with a bushel of apples? Kids in braces aren’t supposed to eat them…

Free apples. I mean, who wouldn't want that?

Petty crime and free apples. I mean, who doesn’t want that?

We picked a bushel of apples off his tree over the course of an hour. The orthodontist power-washed his Porsche and we all went home happy.

The apples were beautiful. I had to throw out 3 of the whole bushel. I made applesauce and got about 12 pints. I felt guilty keeping all of these free apples for myself, so I left a pile on the stoop of the orthodontist’s office, gave a bunch to my neighbors, and sent Cindy home with a weeks’ worth of fruit. She was my co-conspirator…

I think I may recruit Sam to go with me to steal a few more… I’m craving an apple pie.


2 Comments

Attack of the Killer Tomatoes: Part 3. The Salsa

2013-09-14 17.13.42This was the last weekend of major canning for the year. Sam and I made 20 pints of Salsa, following the recipe from the USDA Home Canning Guide.

I’ll have some wrap-up statistics later this week. But, for now, let’s start with the basics:

  • 18 lbs of roma-style tomatoes. 5 lbs with our CSA. 10 lbs @ $1.60/lb (Seconds).  3 lbs at $4/lb (Firsts).
  • 2 lbs tomatillos for $3/lb.
  • 3 lovely anaheim chilies for $0.75/each.
  • 3 bell peppers at $1/ea.
  • 3 yellow onions for $2.

To that we added:

  • 4 jalapinos from our CSA.
  • 1 lb Garlic from our CSA.
  • 1/2 lb red onion from our CSA.
  • 2 cups lemon juice.
  • 3 tbsp salt
  • 1 tbsp black pepper
  • 4 tbsp cumin
  • 2 tbsp dried ancho chili powder
  • 4 tbsp dried oregano
  • 4 tbsp minced fresh cilantro

We did most of the pepper, onion and garlic chopping the night before and the WHOLE FRIDGE reeked of onions. I’m not doing that again next year. But it did save us about an hour of chopping.

2013-09-15 10.22.07

The salsa before cooking. I like the color contrast of the red onions.

Going back to the earlier post on when to water bath can vs pressure can, tomato salsa is one of those marginal products that, depending on the ratio of onions/peppers/garlic (low acid vegetables) vs tomatoes (high acid vegetables), the overall acidity may be too low to water bath can. In this recipe I add 2 cups of lemon juice to ensure that, no matter how many peppers and onions I add to the salsa (and I like a LOT of peppers in my salsa) the acidity will certainly be high enough to water bath can my salsa. Good thing too, because pressure canned salsa gets much too over-cooked and is more like a smooth taco sauce than a chunky salsa. In addition to tomatoes, I add tomatillos to my salsa. Tomatillos have more pectin than ripe tomatoes, and so they add thickness and body to the salsa as it cooks.

We ended up with 20 pints of salsa. We water-bath canned 18 pints, then ran out of jars, and put 2 pints (a quart, for those inclined to the backwards English system of measure…) into the fridge for use later this week. We’ll make Chicken Tortilla Soup for dinner one night, and I may split the remainder for Sam and I to take to work to share.

2013-09-15 10.48.28

The salsa after cooking for 30 minutes, just before being canned. Note the rings on the inside of the pot. The salsa reduced about 2 inches during the 30 minutes of vigorous boiling.


8 Comments

What can I do with 4 cups of tomato liquid?

I need some ideas, quick, about what to do with 4 cups of tomato liquid. It’s not tomato purée, it’s the liquid that I got after straining the jelly and the seeds from middle of a bunch of tomatoes. It’s much thinner than tomato purée, and doesn’t have any fiber in it. What should I do with this?

20130915-153757.jpg


4 Comments

Drying Tomatoes

20130908-201638.jpgOn top of all of the canning, salsa-ing, and saucing, I also dry tomatoes. Home-dried tomatoes aren’t much like the store-bought variety. Production driers are much more efficient than home models and mass-produced dried tomatoes typically go through a handful of steps to reach their final state – salting to soften the flesh of unripe tomatoes, juicing to remove the seeds and jelly, flash-cooking to kill off any microbes, and then finally, drying in a temperature and humidity controlled environment. I’m sure somewhere there’s a farmer laying halved tomatoes on muslin in the Mediterranean sunshine, but I certainly can’t afford his product…

A note on the types of tomatoes to dry… I tried to dry slicing tomatoes, cut into slices or wedges, but neither came out good. I typically dry roma tomatoes that are shaped like pears and 3-5″ long. The insides of these tomatoes have more flesh than jelly, and few inner compartments to hold the jelly and seeds.

Putting Food By has, by far, the best method for drying tomatoes. My tomatoes come out pliable and flavorful and keep their red color. Their method has four steps:

  1. Wash the tomatoes. Cut in half and remove the seeds and jelly. Tear out any pith or rib, resulting in a uniformly-thick tomato “cup.”
  2. Lay the tomatoes on a cutting board, cut-side-up, and sprinkle with 1 tsp salt per 1 lb tomato. Weight with another cutting board. Let rest for an hour.
  3. 20130908-201919.jpg

  4. After resting, boil 1″ of water in a deep stock pot. Place the tomatoes cut-side up in a single layer in a metal drop-in steamer basket or a Chinese bamboo steamer. Tip out an juices that accumulated in the center of the tomato. Steam for 3-4 minutes until the flesh is hot and softened. The tomatoes have been over-steamed if the tomato falls apart into mush. The steam blanch locks in the reds color, kills off surface microbes and pre-heats the flesh so the total drying time is less than 6 hours.
  5. Preheat your dryer to 120-135F. Transfer the tomatoes, cut side down, to the drying racks. Dry until the tomatoes are leathery but pliable. Rotate the trays every hour by moving the tomatoes closest to the heating element away from the heat. Once the tomato edges are dry, flip the tomatoes over so the cut side is on top. No dryer is perfect, and the tomatoes are all different sizes and thicknesses, so all of the tomatoes don’t come to dry at the same time. Keep an eye on the dryer, checking every hour, and pull out the tomatoes that get dry first. Rotate the tomatoes that are thicker or are taking more time to dry to the warm spots in the dryer nearest to the heating element.

20130908-201959.jpg

To help explain the texture of a well-dried tomato, I’ve made this short video on YouTube that illustrates a well-dried tomato and tomatoes that are over- and under-dry. Hope this helps!

Once the tomatoes are dry, they need to be cured for a few days. Put them in a big container with lots of room for them to move. Shake the container twice a day and check for any mold. The curing step does two things. First, the tomatoes aren’t evenly dry and this step helps even out the overall moisture – the over-dry edges get a bit more moisture and the moist middles dry out a little more. Second, if mold is going to develop, it will develop in these first few days, so you can pull out the moldy tomatoes before the mold spreads to the whole batch.

After a week, pack the tomatoes into zipper bags or a recycled canning jar. Keep out of direct sun.


4 Comments

Pantry Refurb

Pantry RefurbSam and I took a drive into Boston to get more shelves for our pantry. From the before picture on the left, we needed more shelves to hold canned foods. The cardboard boxes on the bottom shelf were holding all of the jars.  I did some measuring and found we could fit a whole second shelving unit above our freezer. So we came back with some additional shelves for the left unit, and the new right unit. We also made more space for Sam’s baking fungibles, and for the cat and dog food.


1 Comment

Onion Conifiturra

None of my canning cookbooks or guides had a recipe for onion jam, so I turned to the internet.
Fortunately for me, I found this recipe from Serious Eats for Onion Confiturra. A confiturra (or confitura) is the Spanish or Portuguese word for a “preserve” or “conserve.” It seemed like a tasty recipe, so I figure I could bank some onions on it. I found sweet onions at the farmer’s market for a reasonable price and herbs were in abundance this week.

Woah Nelly! Did this smell GOOD when it was cooking. Onions and rosemary! Yes, Please!

And the taste? Fantastic. Not too sweet, not too sour. It has wonderful umami flavors and just a little bit of carmelized onion taste. The texture is very soft, with noticeable pieces of onion. 4 pounds of onions made 3 cups of jam.

Some ideas of what to do with this magic sauce?

  • Serve with rustic bread and cheese
  • Spread over flatbread and bake in the oven
  • Top a warm wheel of brie
  • Add jalapiños and baste over pork chops
  • Spread on savory scones
  • Whip with butter or cream cheese to top bagels
  • Spread on a turkey sandwich
  • Spoon on top of squares of puffed pastry, fold into a triangle. Bake to make onion turnovers.

You get the point…


Leave a comment

Necessary Equipment: A Bag Filler

I have always hesitated to reveal my dark secrets to home preserving. I closely guard the tips and tricks that I use in my kitchen to help me can and preserve food quickly and efficiently. Mostly, I want you all to come to me after the Zombie Apocalypse to preserve the food necessary for the continuation of the human race. If I tell you my tips and tricks, then you may be able to save yourself… But… Give a man a fish, teach a man to fish…

One of the problems with freezing in plastic zipper bags, is that you always fight to keep the bag open while you’re filling it with food. Also, once the bag is full, you have to seal it right away because it has a tendency to tip over and spill. To solve this problem, I use a bag filler –  a rigid plastic tube that holds the bag open while I fill it.

I make my bag fillers from Gatorade bottles. Unlike other plastic bottles, they have ridges so they’re strong around the middle and won’t collapse.

Cut off the top and the bottom, and make sure not to leave sharp edges that could puncture the bag.

2013-08-18 12.35.352013-08-18 12.35.48

The bag filler can go inside the bag or the bag can go inside the bag filler… Either way, the bag stays open and is kept upright and free-standing.

2013-08-18 12.36.592013-08-18 12.36.19


6 Comments

Necessary equipment: a big damn bowl

A big goddamn bowl is essential for successful canning. My mom inherited my big bowl when we moved out to New Hampshire. I had inherited it originally from my mom’s mom… I made it through strawberries without one, but I’m staring down a bushel of green beans and I’m not going to screw around. I NEED a big bowl.

20130812-204449.jpg
To give you a sense, the new big damn bowl is 20-quarts in size. I put a widemouth pint jar in the big damn bowl in order to give you a sense of size. A big damn bowl needs to be large enough in order to successfully wash half a bushel of beans, or hold the kernels cut off a dozen ears of corn, or bathe small infants. Big.

Look for the story of sauerkraut… As made in the big damn bowl.