ReLocavore: Redefining "local"

Back to Wisconsin, my cheesehead friends


1 Comment

Tomatillos and Salsa Verde

Image stolen from healthy-delicious.com

A surprise in our CSA was 5 lbs of tomatillos. I would have rather had them around when I was making salsa two weekends ago, but better late than never, eh? Unfortunately, there were no tomatoes in the box – this was a mixed blessing. I eyed the mixed bag of chiles that had been accruing in the bottom of our crisper drawer – I had no idea what types of chiles where in there and how hot they were…

I decided to make tomatillo salsa, aka salsa verde, and roll the dice with the chiles. Big mistake.

I planned on making green chile enchiladas. However, after tasting the salsa (OMG!) I had to run to the store and buy mild store-bought green enchilada sauce to cut the heat in my homemade salsa. I used about 1 part salsa verde to 5 parts enchilada sauce. The enchiladas came out great.

Paint-Peeling Salsa Verde

  •  5 chiles. If you have a choice in the matter, opt for 3 mild chiles like poblanos, and 2 hot chiles like jalapiños. If you’re looking to take a layer off your tongue, use mixed chiles found in the crisper drawer.
  • 10 to 12 tomatillos
  • 2 large onions
  • 5 cloves garlic
  • 1 tbsp oil
  • 1 tsp oregano
  • 1 cup stock (vegetable, mushroom or chicken)
  • salt
  • 1/2 cup packed cilantro leaves
  • 1/4 cup lime juice


1. Roast the vegetables: Turn on the broiler to high and give extra time to heat up the oven. Arrange one oven rack at the topmost position and the second oven rack at the bottommost position. Place the tomatillos in a baking dish and put on the bottom rack of  the oven to roast. Place the chiles in a separate pan and place 4 to 6  inches below the broiler. Turn chiles to expose a new surface to the heat of the broiler, about 2 or 3 minutes or until  the side facing the broiler is blackened and blistered. Once roasted, put the peppers in a plastic container or paper bag, to allow the residual heat to steam the peppers. Let the peppers sit for 15-30 minutes to cool. Allow the tomatillos to roast in the residual heat in the oven until their skin splits or looks brown.

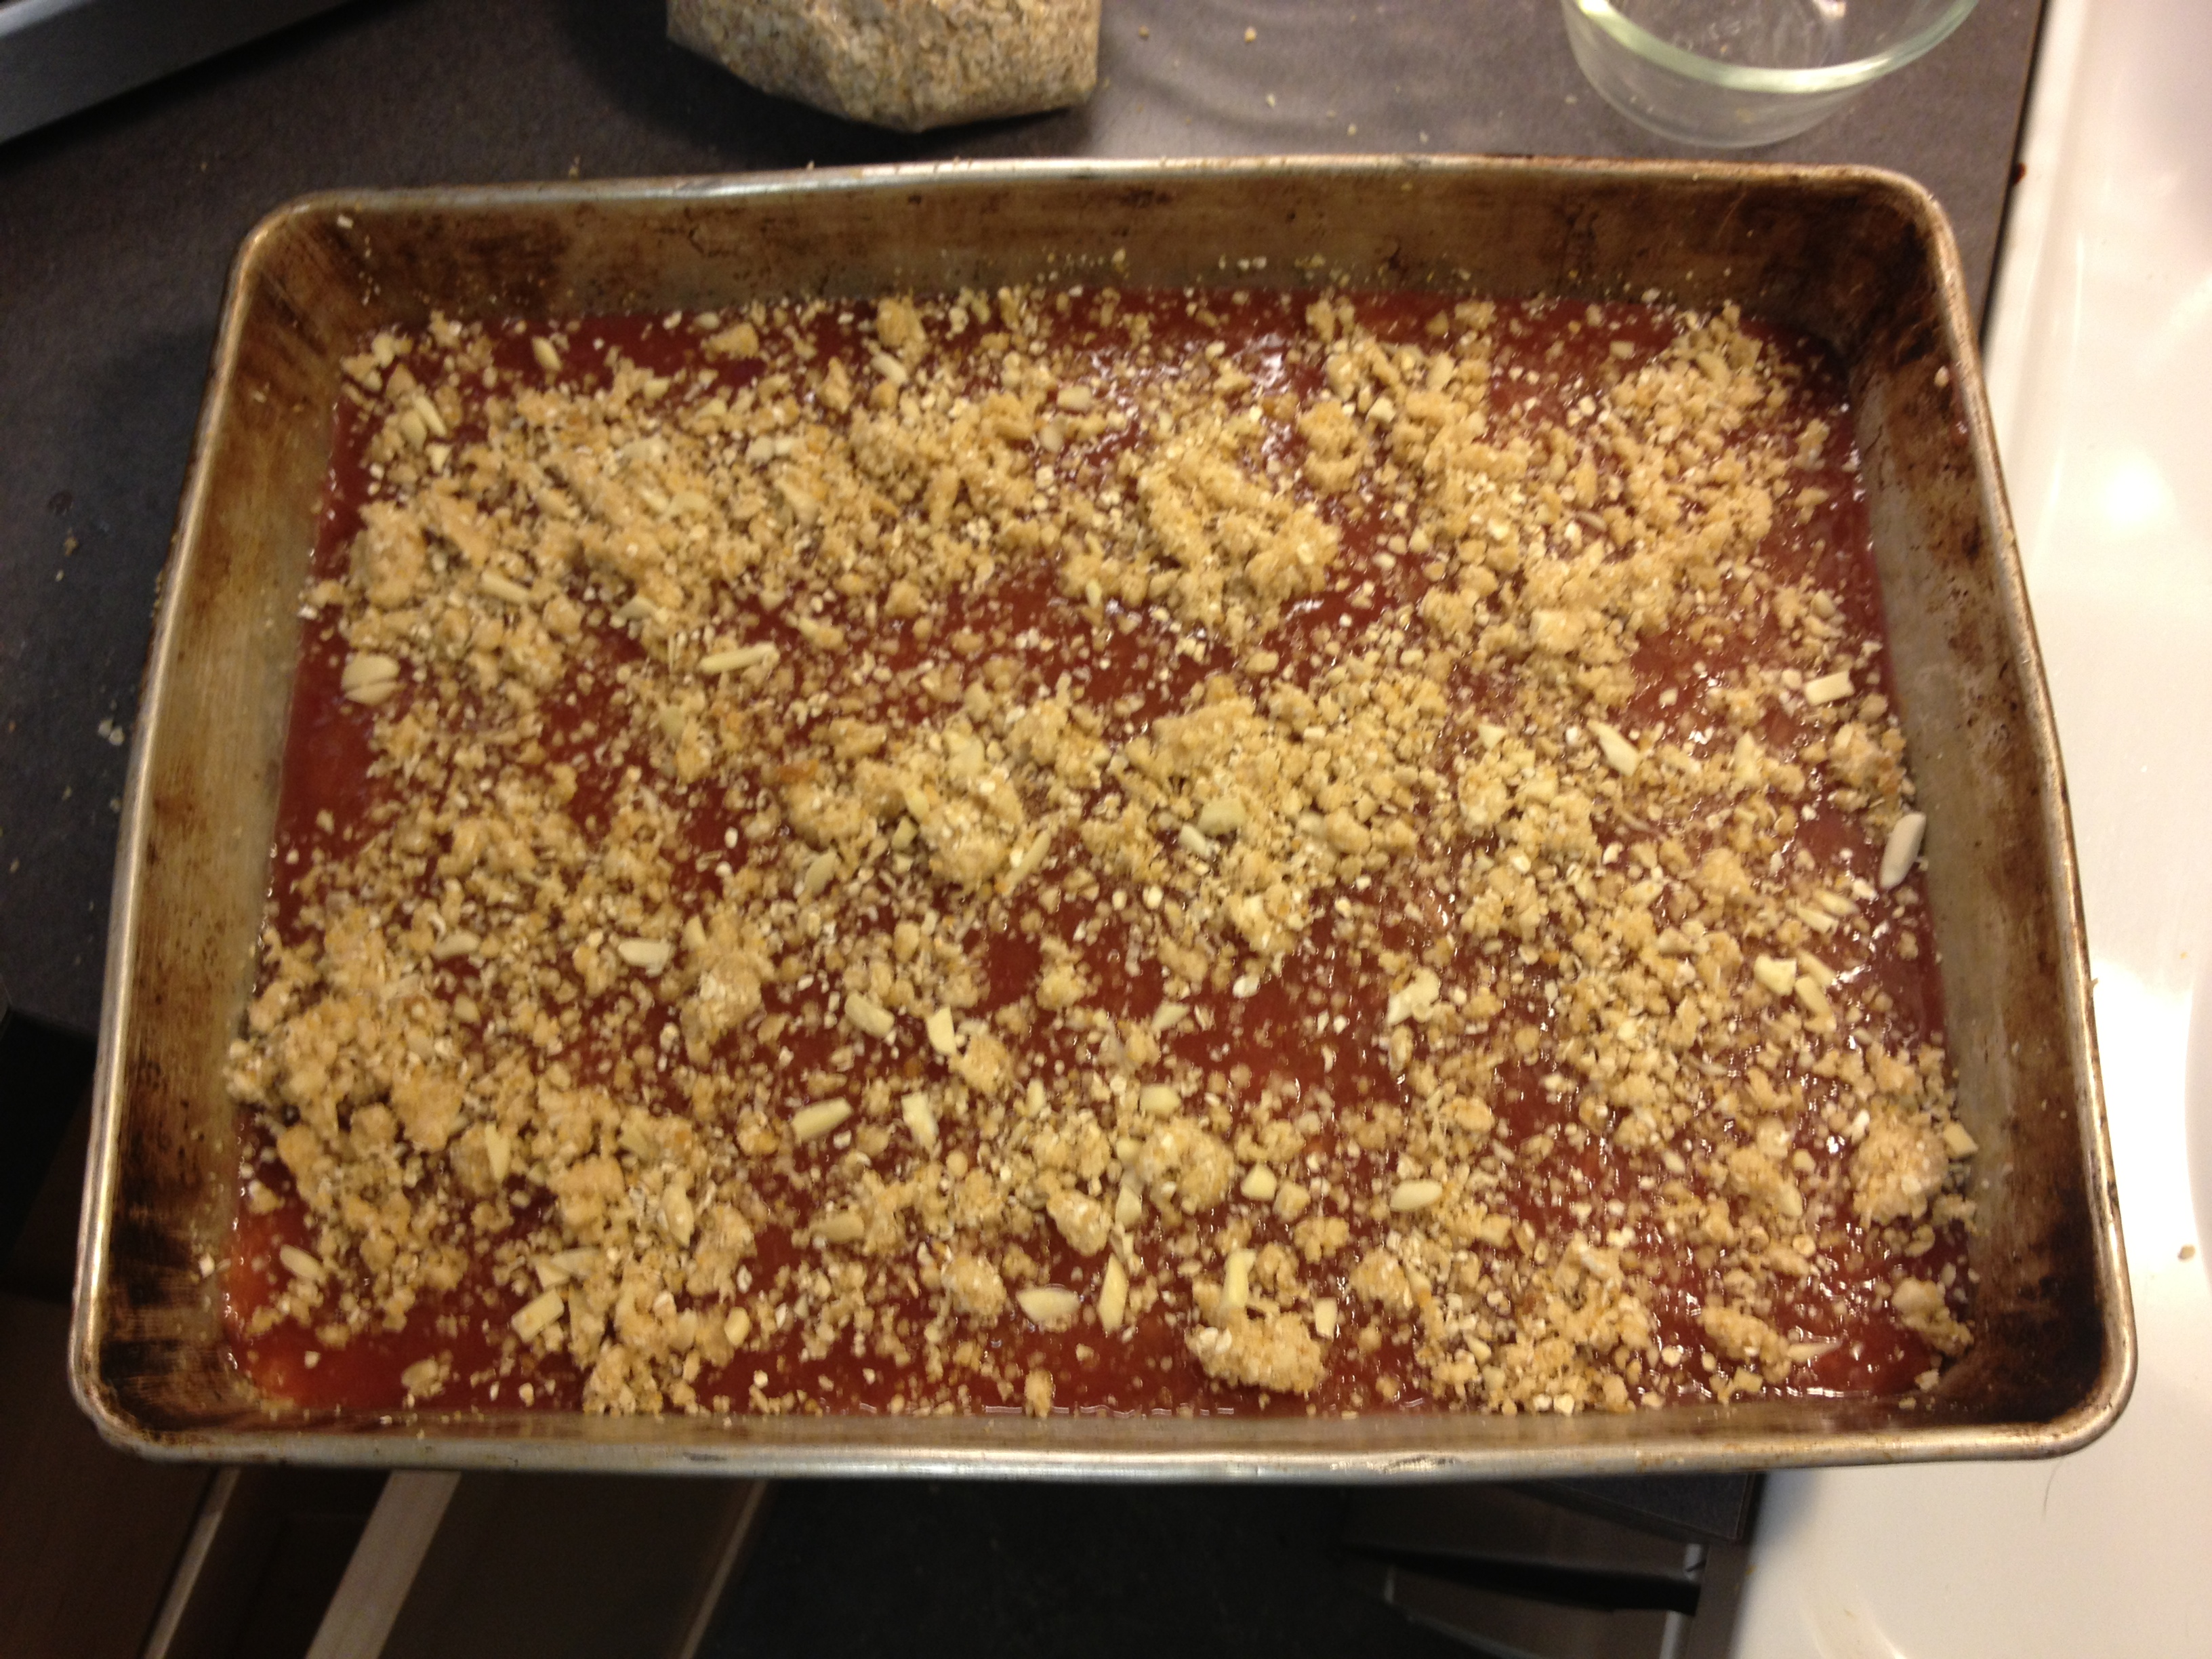
2. Prep the Vegetables:  Using a paper towel, rub the blackened skin off the peppers. Slice the pepper in half and remove the gills and seeds. Mince the peppers. Roughly chop the tomatillos with a knife or with 3 to 5 pulses of the food processor. Dice the onions. Mince the garlic. Chop the cilantro leaves. Juice the lime.

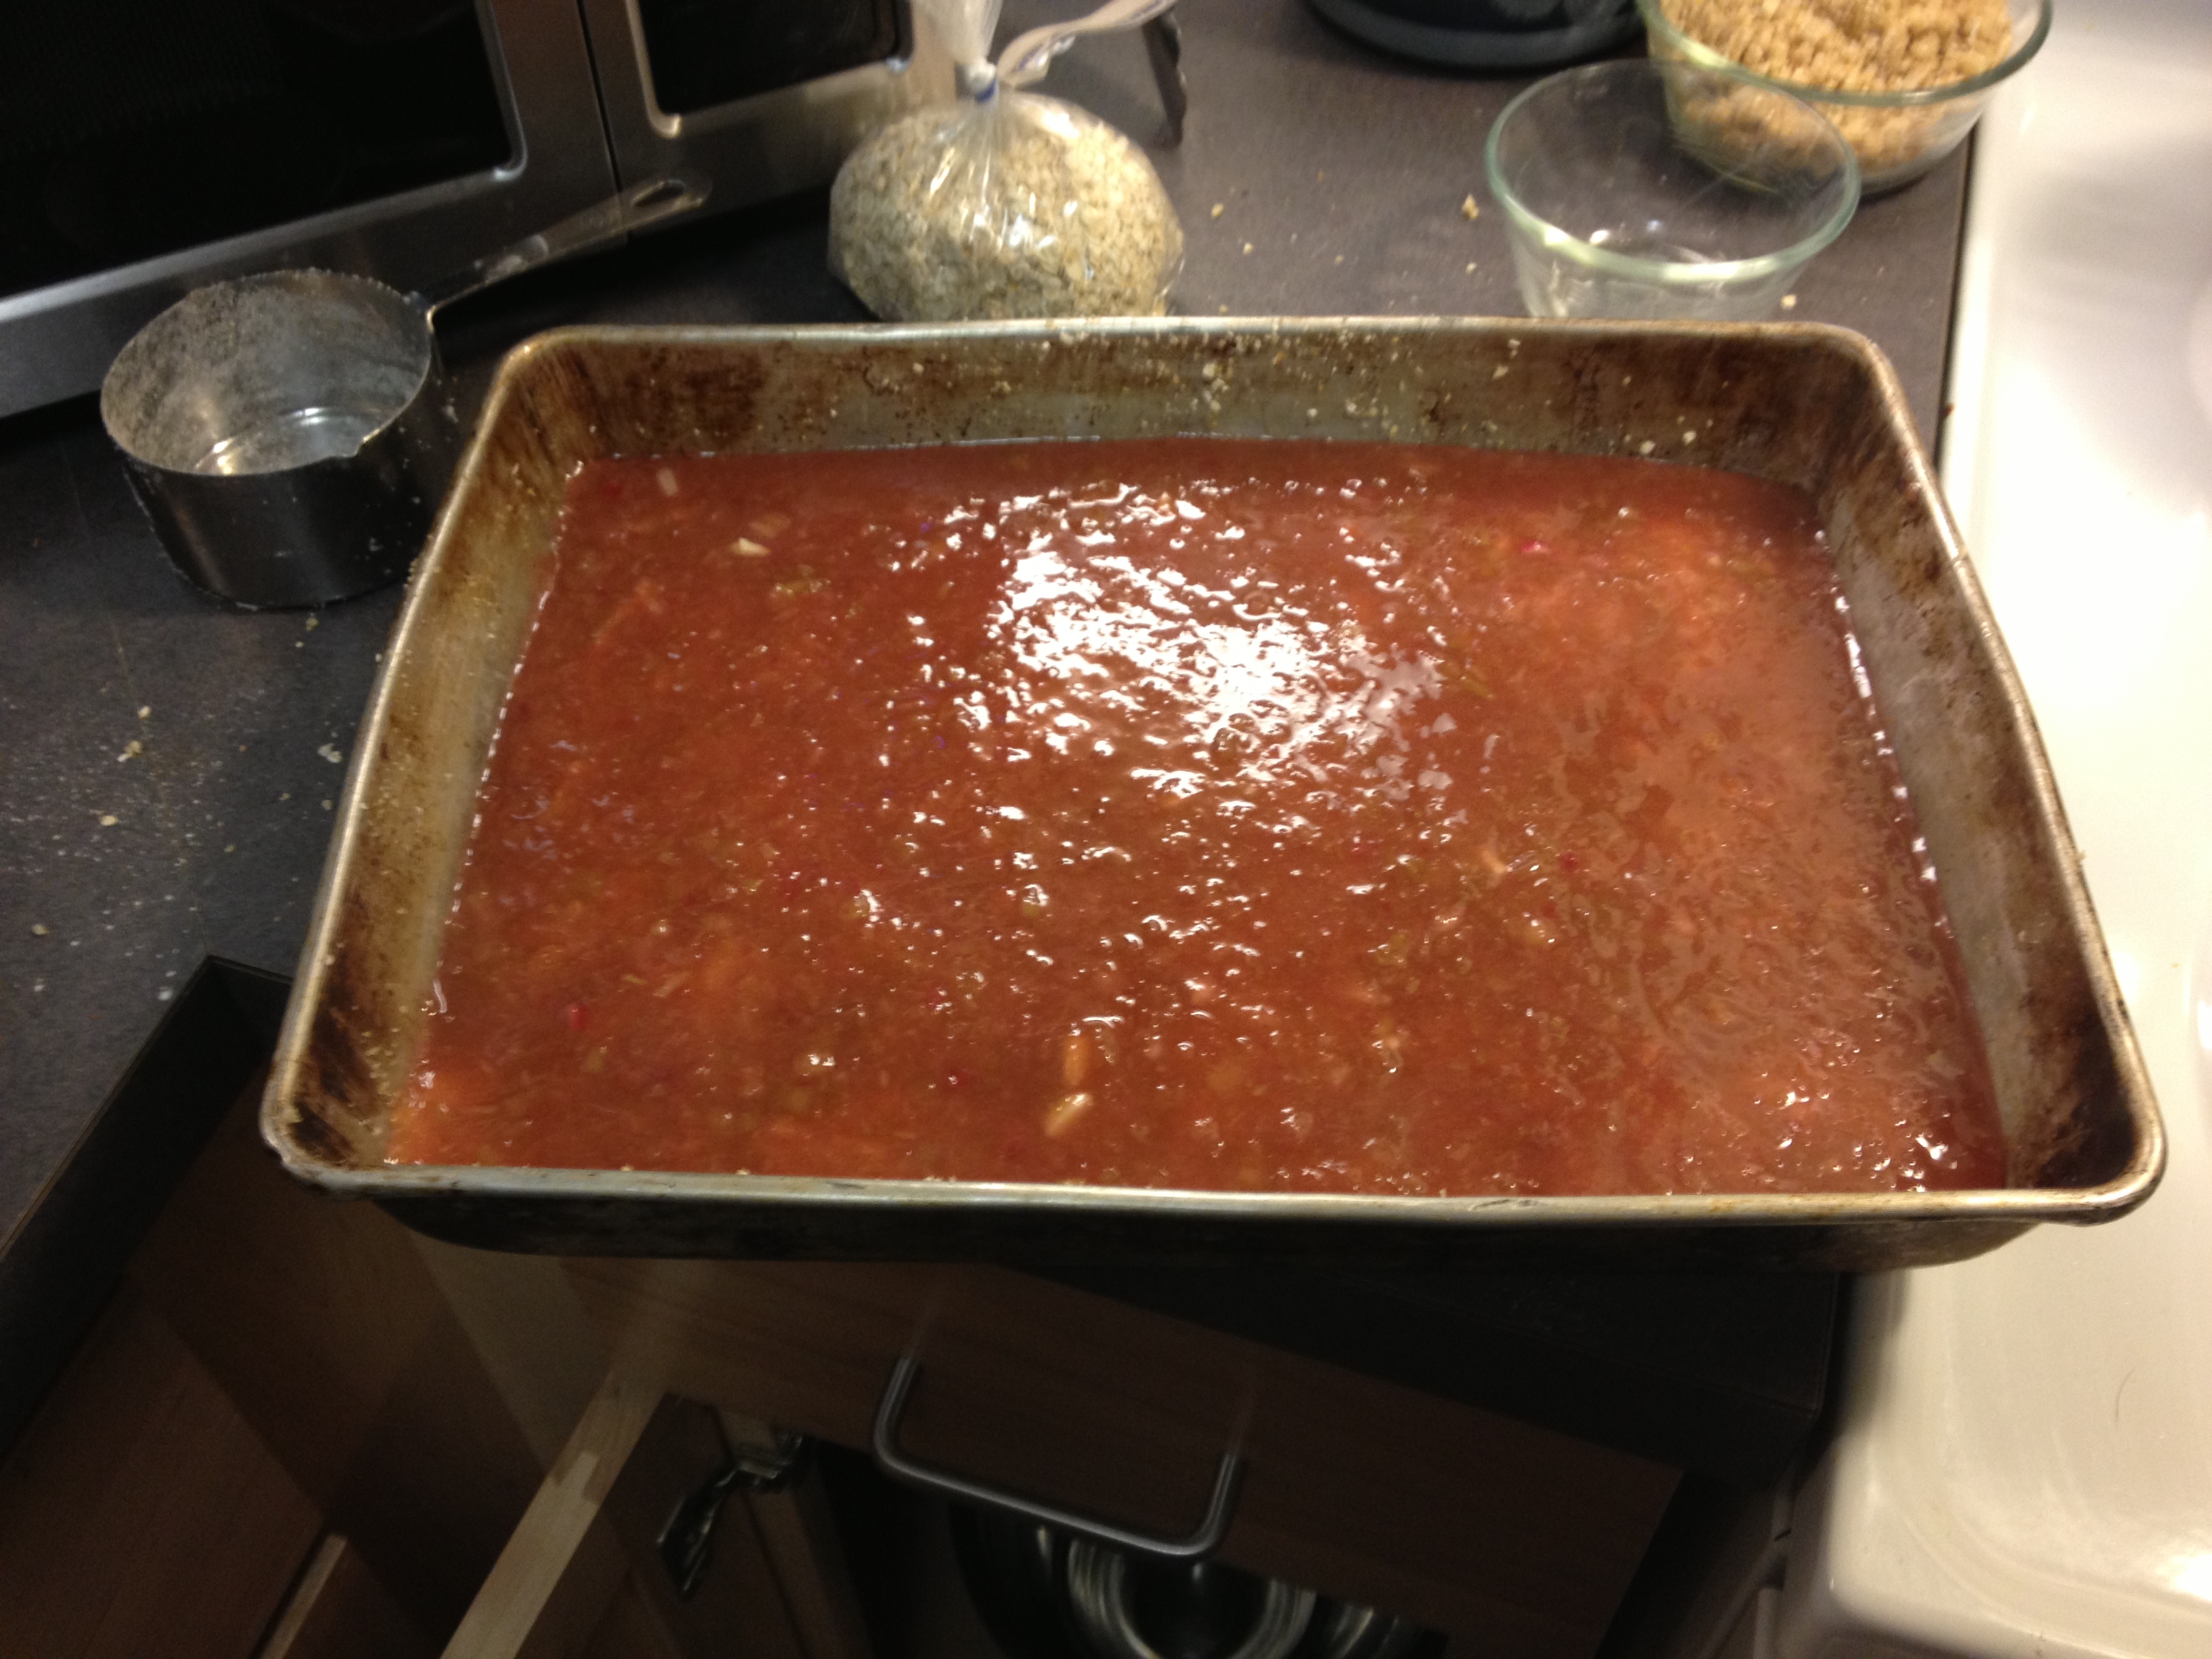
3. Cook the salsa: Heat a large saucepan over medium heat. Heat the oil to shimmering and add the onions and garlic. Sweat for 5 minutes. Add the chiles, tomatillos, oregano and stock. Cook for 10 to 15 minutes until thickened. Allow to cool.

4. In the blender or food processor, puree batches of salsa until smooth. Return to saucepot. Add cilantro and lime. Sir to combine.

Adjust the salt to taste.


2 Comments

Canning Inventory for 2013

Here’s the full inventory of everything I’ve canned this season:

If “a pint’s a pound the world around” and disregarding the weight of the jars, I have put by 165.5 lbs of food in jars… More than my body weight! I’m proud. Very proud.

What’s left? I like to put by a few jars of gingered pears, but the pears don’t come ripe until mid-October. In addition, I may get the bug and put by some apple pie filling or spiced apple rings, but that won’t be too much of an effort. I’m not a fan of canned squash, pumpkin or potatoes. Those go into the kuhlschrank instead. So that’s about it for my 2013 canning.

Who’s hungry?


2 Comments

S’Mores with Homemade Marshmallows

ImageSo, I found three packets of unflavored gelatin in my pantry today. You know what that means? HOMEMADE MARSHMALLOWS! I lubed up the stand mixer, got some cooking spray and set to my task.

Alton Brown has an episode of Good Eats, (Season 11, Episode 12, “Puff the Magic Mallow”) where he describes making marshmallows. It’s an involved process that requires boiling a sugar syrup to the “soft ball” stage then whipping the hot sugar syrup into gelatin, and continuing to whip as the mixture cools and the gel sets with lots of air lofted in… The final product is super-duper sticky… it took Pidi about 6 minutes to lick a smear off the floor. Go ahead and follow his recipe… I cut my marshmallows into squares.

Image

Once the marshmallows were set and cut… S’mores!

Campfire-free S’Mores

Start the broiler preheating. Arrange the rack about 6″ below the heating element.

Line a cookie sheet with parchment. Arrange 2 graham cracker squares per person. Take the marshmallows and tear in half lengthwise, exposing the sticky inner surfaces. Stick marshmallows to the graham cracker. Cut chocolate into small, irregular pieces – about 1 cm on each side. Stick into the marshmallow at odd angles, leaving marshmallow exposed.

Broil for 1-3 minutes, depending on the heat of your broiler and your preference for toasted or burnt marshmallows. Since these are cooking via the direct heat of the broiler element, you can leave the oven door open an inch and watch the cooking, so you can remove the s’mores when they’re done to your liking.

Once they’re out of the oven, let them rest for a minute or two (if you can wait that long) to set up. Eat them open-faced, or press two graham crackers together to make a more traditional “sandwich” style s’more.


6 Comments

Why I am a Locavore

This is as local as it gets, folks... Mom's garden peas.

This is as local as it gets, folks… Mom’s garden peas.

Sam and I traveled back to Wisconsin for a much-needed visit with our family and friends. I got to spend a few days in Madison, the place I consider my “hometown” and at my parent’s house, the place where I grew up. I was back in my original location where I became a locavore. The return to my origins, of sorts.

Looking at the wide open plains and the 40-mile views, I asked myself, Why am I a locavore? What is it about this place that made me want to eat here?

Madison is a warm, fertile environment for locavores to grow. We have really excellent year-round farmer’s markets, a great Co-op, and a bounty of CSAs, resulting in easily accessible produce for city-dwellers. Plenty of excellent restaurants feature local foods, including Le Etoile. REAP works tirelessly to promote local eating and Miriam Grunes, the head of the REAP group, is a force of locavore nature herself. Wisconsin is a farm-friendly state with acres and acres of pasturage for cows, and good soil for crops. In Madison, we were surrounded by other locavores – friends with CSA memberships, or that shopped at the COOP or that brought kale recipes to potlucks. Being a locavore was an easy as falling off a log – another thing we weirdos do in Wisconsin.

But my locavore roots go deeper than this- I realized while eating sun-warmed strawberries from my mother’s garden. I was raised a locavore. A hyper-locavore, in fact. I was raised eating each summer from the bounty of my mother’s garden: asparagus, peas, beans, tomatoes, herbs, peppers, raspberries (Oh Heaven, the Raspberries!), cucumbers, cherry tomatoes, golden oregano that supplanted the yard… Built into my childhood was the underlying premise of eating what’s seasonally available, looking forward to seasonal foods, eating seasonal foods until they were (not literally) coming out of my ears, preserving seasonal foods for eating in the off-seasons, and longing for seasonal foods when they’re not available. We were “locavores” before the word “locavore” was coined.

I was taught the tools to enable me to eat locally throughout my childhood. I remember “camping” with my classmates down at Lorado Taft (I had my first slow dance with a boy in this room…) and learning about all of the exciting nuts that you could eat that were found on the grounds. I think they just wanted cheap labor to shell black walnuts, but… The neighbor kids and I would find puffball mushrooms in the woods behind my parent’s house and cook them like scrambled eggs. I knew where ALL of the wild gooseberries grew. Mom was always canning during the summers and my sister and I would help with some of the work like frenching green beans.

Sometime during my pre-teen years, I got mad and pounded out of the house and hid away behind the raspberry canes where I knew my mom couldn’t see me from the house. My plan was to live in the garden, eating raspberries and uncooked green beans and carrots covered in dirt and never go home again… That tells you how deep this goes. At my most resourceful, I was dreaming of living off my mom’s garden.

I am a locavore because I have always been a locavore. As a kid, I was a freeloader off Mom CSA. Now, as an adult, I’m just doing what I learned when I grew up… That’s why I’m a locavore.


1 Comment

Hot Spicy Cheese Bread.

People from Wisconsin will put cheese on anything. We eat cheese that’s from cows or goats or sheep, that is new or well-aged, that has been wrapped in cloth or covered in wax. Wisconsinites (a.k.a. “Cheese heads”) will  batter and deep fry it, grill it, put it on sticks, add it to pizza, and serve it with apple pie. Most every restaurant entree comes with a bit of cheese on top. We even make beer and cheese soup.

So, it’s natural that Wisconsin would have cheese in bread, right? Stella’s bakery has been a fixture at the Dane County Farmer’s Market since  1987 serving up beautiful loaves of cheese bread still warm from the oven. According to myth, the hot & spicy cheese bread was supposed to be an empanada, a Mexican filled pastry. Walking around the market, its hard not to notice how EVERYBODY is walking around with a clear plastic bag with a red logo, and a hunk of bread inside. People tear off a piece from the loaf and eat it while walking. There’s no fancy “slicing” going on… Portable and walkable cheese bread.

If you want to try it yourself, a loaf is $17 (including shipping) and it doesn’t arrive warm from the oven.


4 Comments

Back from the Heartland

This is as local as it gets, folks... Mom's garden peas.

This is as local as it gets, folks… Mom’s garden peas.

We’re back from Wisconsin. You can look forward to a LOT of wonderful posts about local eating in Wisconsin. I also took over an hour of video at the Saturday Dane County Farmer’s Market on cheese curds, hot spicy cheesy bread, and the market itself. I hope to post videos over the next two weeks.

I did come across this piece from my RSS feeds and though y’all might like to read about the State of the CSA from Modern Farmer.

“Everyone who is helping develop marketing channels that keep local farms in business deserves a place at the table. It’s just important to recognize that these are businesses, not community-run projects or social ventures,” said Just Food’s Berger. “CSA provides a greater social benefit for the broader community.”


3 Comments

White beans and escarole with pasta.

The dinner board lists the veg on hand and the dinners we’ll make with it (I hope). I star the veg that’s going to be used in a specific recipe. FFYS means “fend for yourself”-and means that neither of us are availble to cook that night.

Each week, I strive to look over our store of vegetables and draw up a menu for our dinners. It helps me to focus my grocery and farmer’s market purchases, plus, as I’m walking home from work, I can go over the plans for dinner and be ready to prep when I walk in the door (or after Pidi and I get home from the Dog Park.) As you can see from the board, Sunday night’s dinner was supposed to be “white ends & pasta w/greens” and since it’s Sam’s day off work, he was planning on cooking. He asked me for the recipe, but I realized I had never written this recipe down anywhere. I put pen to paper (figuratively), so Sam didn’t have to develop his psychic abilities to cook recipes that I’ve made up and never written down…

Frisee-style Escarole (via OneDropDream) 
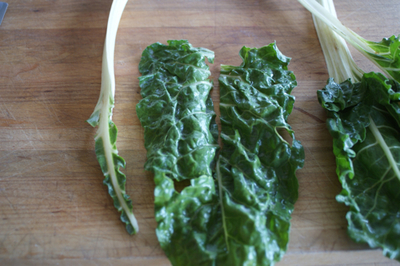
Escarole (Via InMyBox.Wordpress.com)

Escarole is a fleshy lettuce with a mild, bitter taste and is very similar (indistinguishable, I think) from endive. Sometimes, sadistic farmers grow “chicories,” blanched plants that are forced to grow into tight pointed heads. All of these veg – escarole, endive, chicories – are part of the family of Italian cooking greens. For people who don’t like cooked lettuce, think of fleshy Italian cooking greens more like spinach or kale – greens that we cook without batting an eyelash – instead of like lettuce.

Not knowing what to do with escarole, a few years ago, I turned to Farmer John’s The Real Dirt on Vegetables that recommended cooking escarole with pasta in olive oil with garlic, and to Alice Waters who has a recipe for greens and white beans in her Chez Panisse Vegetables cookbook (repo@Serious Eats). I combined the two – because who doesn’t like beans and pasta?

White beans and escarole with pasta

  • 1 head of escarole (see the picture above for sizing)
  • 14.5 oz can of small white beans, great northern beans, white kidney beans or cannelloni*
  • 1 pound small pasta that cook up to be about the same size as a bean**
  • 3-4 garlic scapes
  • olive oil
  • salt and pepper
  • 1/4 cup heavy cream (optional)
  • Shaved parmesan (optional)

*I’ve tried this with dried beans, and you need the thick bean broth from the canned beans to form the basis of the sauce. Don’t try it with dried beans.

**Ditalini is the perfect pasta for this dish since it cooks up to the same size as a bean, but it’s hard to find.  Alternatives are rotini, penne, cut spaghetti or elbow macaroni.

Prep

  1. Wash and dry the escarole and chop or tear it into 2″ pieces. Taste the core and make sure it’s not terribly bitter before including it.
  2. Mince the garlic scapes, omitting the tip of the scape, if dry, and the neck where the scape bulbs into a spade shape.

Cook

  1. Boil water with salt, and cook the pasta until al dente.
  2. While the pasta cooks, heat 1-2 tbsp olive oil in a large skillet over medium heat.
  3. Add the scapes and cook for a minute until they’re soft.
  4. Add the escarole and turn in the olive oil to wilt. If it won’t all fit in the pan (often it doesn’t…) steam the greens by adding all of the escarole to the pan and 2 tbsp water. When it steams, cover the pan for 1-2 minutes until the escarole has wilted and is more manageable. Turn the escarole in the oil to mix around the flavor.
  5. Open the can of beans and pour the whole can, bean sauce and all, into the skillet. Bring the beans and greens to a simmer. Reduce the heat to low and cook until the pasta is done.
  6. Before draining the pasta, reserve a cup of the cooking liquid. This will CYA if there isn’t enough bean juice to coat the pasta and you have to thin it out a little bit.
  7. If the skillet will hold it, add the pasta into the skillet and cook for another minute or two. Otherwise, return the pasta to the pot, and use the heat of the pot to dry off the extra moisture. Add the contents of the skillet and mix. If there’s not enough sauce, thin it out a bit with the reserved cooking liquid.
  8. Taste and adjust the salt and pepper. If you like the dairy thing (this recipe is vegan up until this point), take the pan off the heat and stir in cream.
  9. Top with shaved parmesan, if you like the dairy thing… Parmesan is salty, so don’t over-salt the dish.


1 Comment

Stuffed Chard

A few years ago, I tried to make sushi using chard leaves instead of nori. It was a complete failure, but what emerged was this recipe for stuffed chard.

Stuffed Chard

This recipe makes 8 chard rolls  (4 servings) stuffed with creamy rice.

  • 8 large (about a foot long) pieces of Swiss chard with stems and leaves
  • 8 slices of ham
  • 8 slices of provolone cheese
  • 4 cups cooked rice
  • 4 tender aromatics (ramps, green onions or green garlic)
  • 4 tbsp butter
  • 1/4 cup cream
  • Salt and Pepper
  • 1/2 cup dry white wine

Cook the rice – You’ll have to look elsewhere for directions because I use my rice cooker.

Prepare the vegetables. Wash the chard well and dry in the salad spinner. Lay each piece on the cutting board and make a V shaped cut to remove the stem (See picture). Dice the stems. Set the leaves aside. Similarly, wash and dry the aromatics, and dice the leaves and stems.

Melt 2 tbsp butter in a small skillet or saucepot over medium heat. Sauteé the chard stems and aromatics until soft.

Off the heat, add rice to the sauteed greens, along with an additional 2 tbsp butter and cream. Mix well using a folding motion (to not break the rice grains) until the rice absorbs the additional fat and moisture. The rice should stick together, not be separate grains. (Think sushi rice, rather than Uncle Ben’s.) Add pepper and salt. Don’t skimp on the salt or else the rice will taste boring.

Assemble the Stuffed Chard:

If your chard is very fresh and crisp, like in the picture above, microwave each leaf for 5 to 10 seconds to soften it and make it easier to roll.

Lay the chard leaf on your work surface and close the hole from the stem by crossing over the two “lobes” that were on either side of the stem.  Lay a slice of provolone centered on the leaf. Lay a slice of ham centered on the chard leaf. Using an ice cream scoop, #6 disher or 1/2 cup measure, mound 1/2 cup of rice on the center of the provolone. Starting with the chard, gently roll the chard, ham and provolone around the rice. Add to a 9×9″ glass baking dish with the seam side down. If the roll is wider than about 5″, tuck the ends into the rice.

Repeat these rolls, arranging them 2 across in 4 rows in the glass baking dish. Add 1/2 cup white wine to the baking dish. You can add 2 tbsp melted butter if you’re not watching calories. Cover with plastic wrap. Microwave for 8 minutes on high, then for 8 minutes on 50% power.

Optional: If you really like cheese, take the dish out of the microwave, top with cheese and broil it (6″ from the broiler) for 5 minutes until the cheese is melted and browning.

Serve two rolls per serving, topping with liquid from the bottom of the dish as a sauce.


6 Comments

Rhubarb? No, YOU barb!

How many variants of this picture have I posted to this blog? Egads...

The writer with her rhubarb bars. How many variants of this picture have I posted to this blog? Egads…

Rhubarb was in season at the farmers market for two dollars a pound. I decided to pick some up and make my annual Sisyphean attempt to make good rhubarb bars.
For those of y’all who aren’t from the upper midwest, a bar is as midwestern as hot dish. (as a sidenote, I’m dictating this blog post using iOS voice recognition software. Hot dish came out as “hot bitch.” ) Bars are a baked good, not a cake, made in a rectangular pan and cut into squares. For example, brownies are a subtype of a bar. Midwestern social functions rarely feature cupcakes or cookies, since bars are easier to transport and can be cut on site. Sam rightfully points out that bars have the individual serving and easy finger-eating like cookies, but are easy to make like a cake.
So that explains the “bars” part – do I need to explain rhubarb? Rhubarb is the stalk of a toxic and poisonous plant used historically as a laxative. However, when the stems are pink, they have a VERY TART taste that can be cooked with sugar to tame the sweetness and denature the toxins that would upset your stomach. I’ve eaten raw rhubarb only once, and I still regret it. It tastes more tart and bitter than a lemon. Think celery mated with lemons and lye. We still eat it because rhubarb is a perennial that grows early in the year when most other vegetables still resemble salad.

This will be the fourth time- if not the fifth – that I tried making rhubarb bars. I think they haven’t ever turned out well except for the first time, but Sam thinks that they’re good. He’s biased. I can steal his heart through his stomach. Rhubarb bars are basically rhubarb jam sandwiched in between a crumble. You make the crumbly stuff with oats, butter and nuts,  press a bunch of it into the bottom of the pan, dump the jam on top, and sprinkle the last of the crumble on top of the jam (see photo illustration). The bars bake in the oven and hopefully come together as a coherent sandwich of oaty goodness and jam. Problem is, if you get the water balance wrong, they don’t turn into coherent bar things they become crumbly mess things.

Sam gently mixes the crumble... but not too much.

Sam gently mixes the crumble… but not too much.

Rhubarb jam - chopped rhubarb, sugar, a little water and flour to thicken.

Rhubarb jam – chopped rhubarb, sugar, a little water and flour to thicken.

The jam gets dumped on top of the crumb.

The jam gets dumped on top of the crumb.

A little crumb is sprinkled on top of the jam, thus completing the sandwich.

A little crumb is sprinkled on top of the jam, thus completing the sandwich.

Sam helped to make the crumble. This was a big risk, but I knew he could handle it. This is because Sam is inflicted with MHT or Male Homogenization Tendency. (It’s in the DSM V – Look it up…)  This is the tendency for men, when asked to combine ingredients, will incorporate them to their most homogenous state. This is, of course, the antithesis of crumble which is supposed to be butter and crumbs and not a paste. Sam handled the responsibility admirably, and kept his MHT in check the entire time. We got crumble as opposed to pastry. (Don’t get the mistaken impression that MHT is always a bad thing. Sam creams butter and sugar like nobody’s business.)
Typically I use Barb Perkins’s recipe from the Vermont Valley farm website, but this year I tried a variant of that recipe from Midwest living. The jam was much thinner more liquidy and there was a lot more of it. It was easy to spread over top of the crumble. I used slivered almonds instead of walnuts or pecans, as the recipe called for, because they were on sale at the co-op.
All and all, the bars turned out OK. Pretty good, actually. I’m glad I left the almonds fairly large, as they added a good crunch to the bar. Not too crumbly, either. I may have found a rhubarb bar recipe that I could get behind.