This is the first post of a new series – the Locavore Survival Guide. I hope to provide some advice for novice locavores who are trying out the Farmer’s market, maybe purchasing a CSA (Community sponsored agriculture), or just choosing from the “locally grown” section of the supermarket. After 10 years of eating locally, I hope to have learned a thing or two, and I can share some of my experiences making this same transition. Look for Locavore Survival Guide posts on Tuesday mornings…
Storing Greens in the Fridge
In the early Spring, my winter stores are low, my kuhlschrank is empty and turned off, and I have more empty canning jars than full. Spring vegetables don’t take well to preserving – they’re leafy and tender. So, in the Spring we scramble to eat all of the veg before it goes mushy.
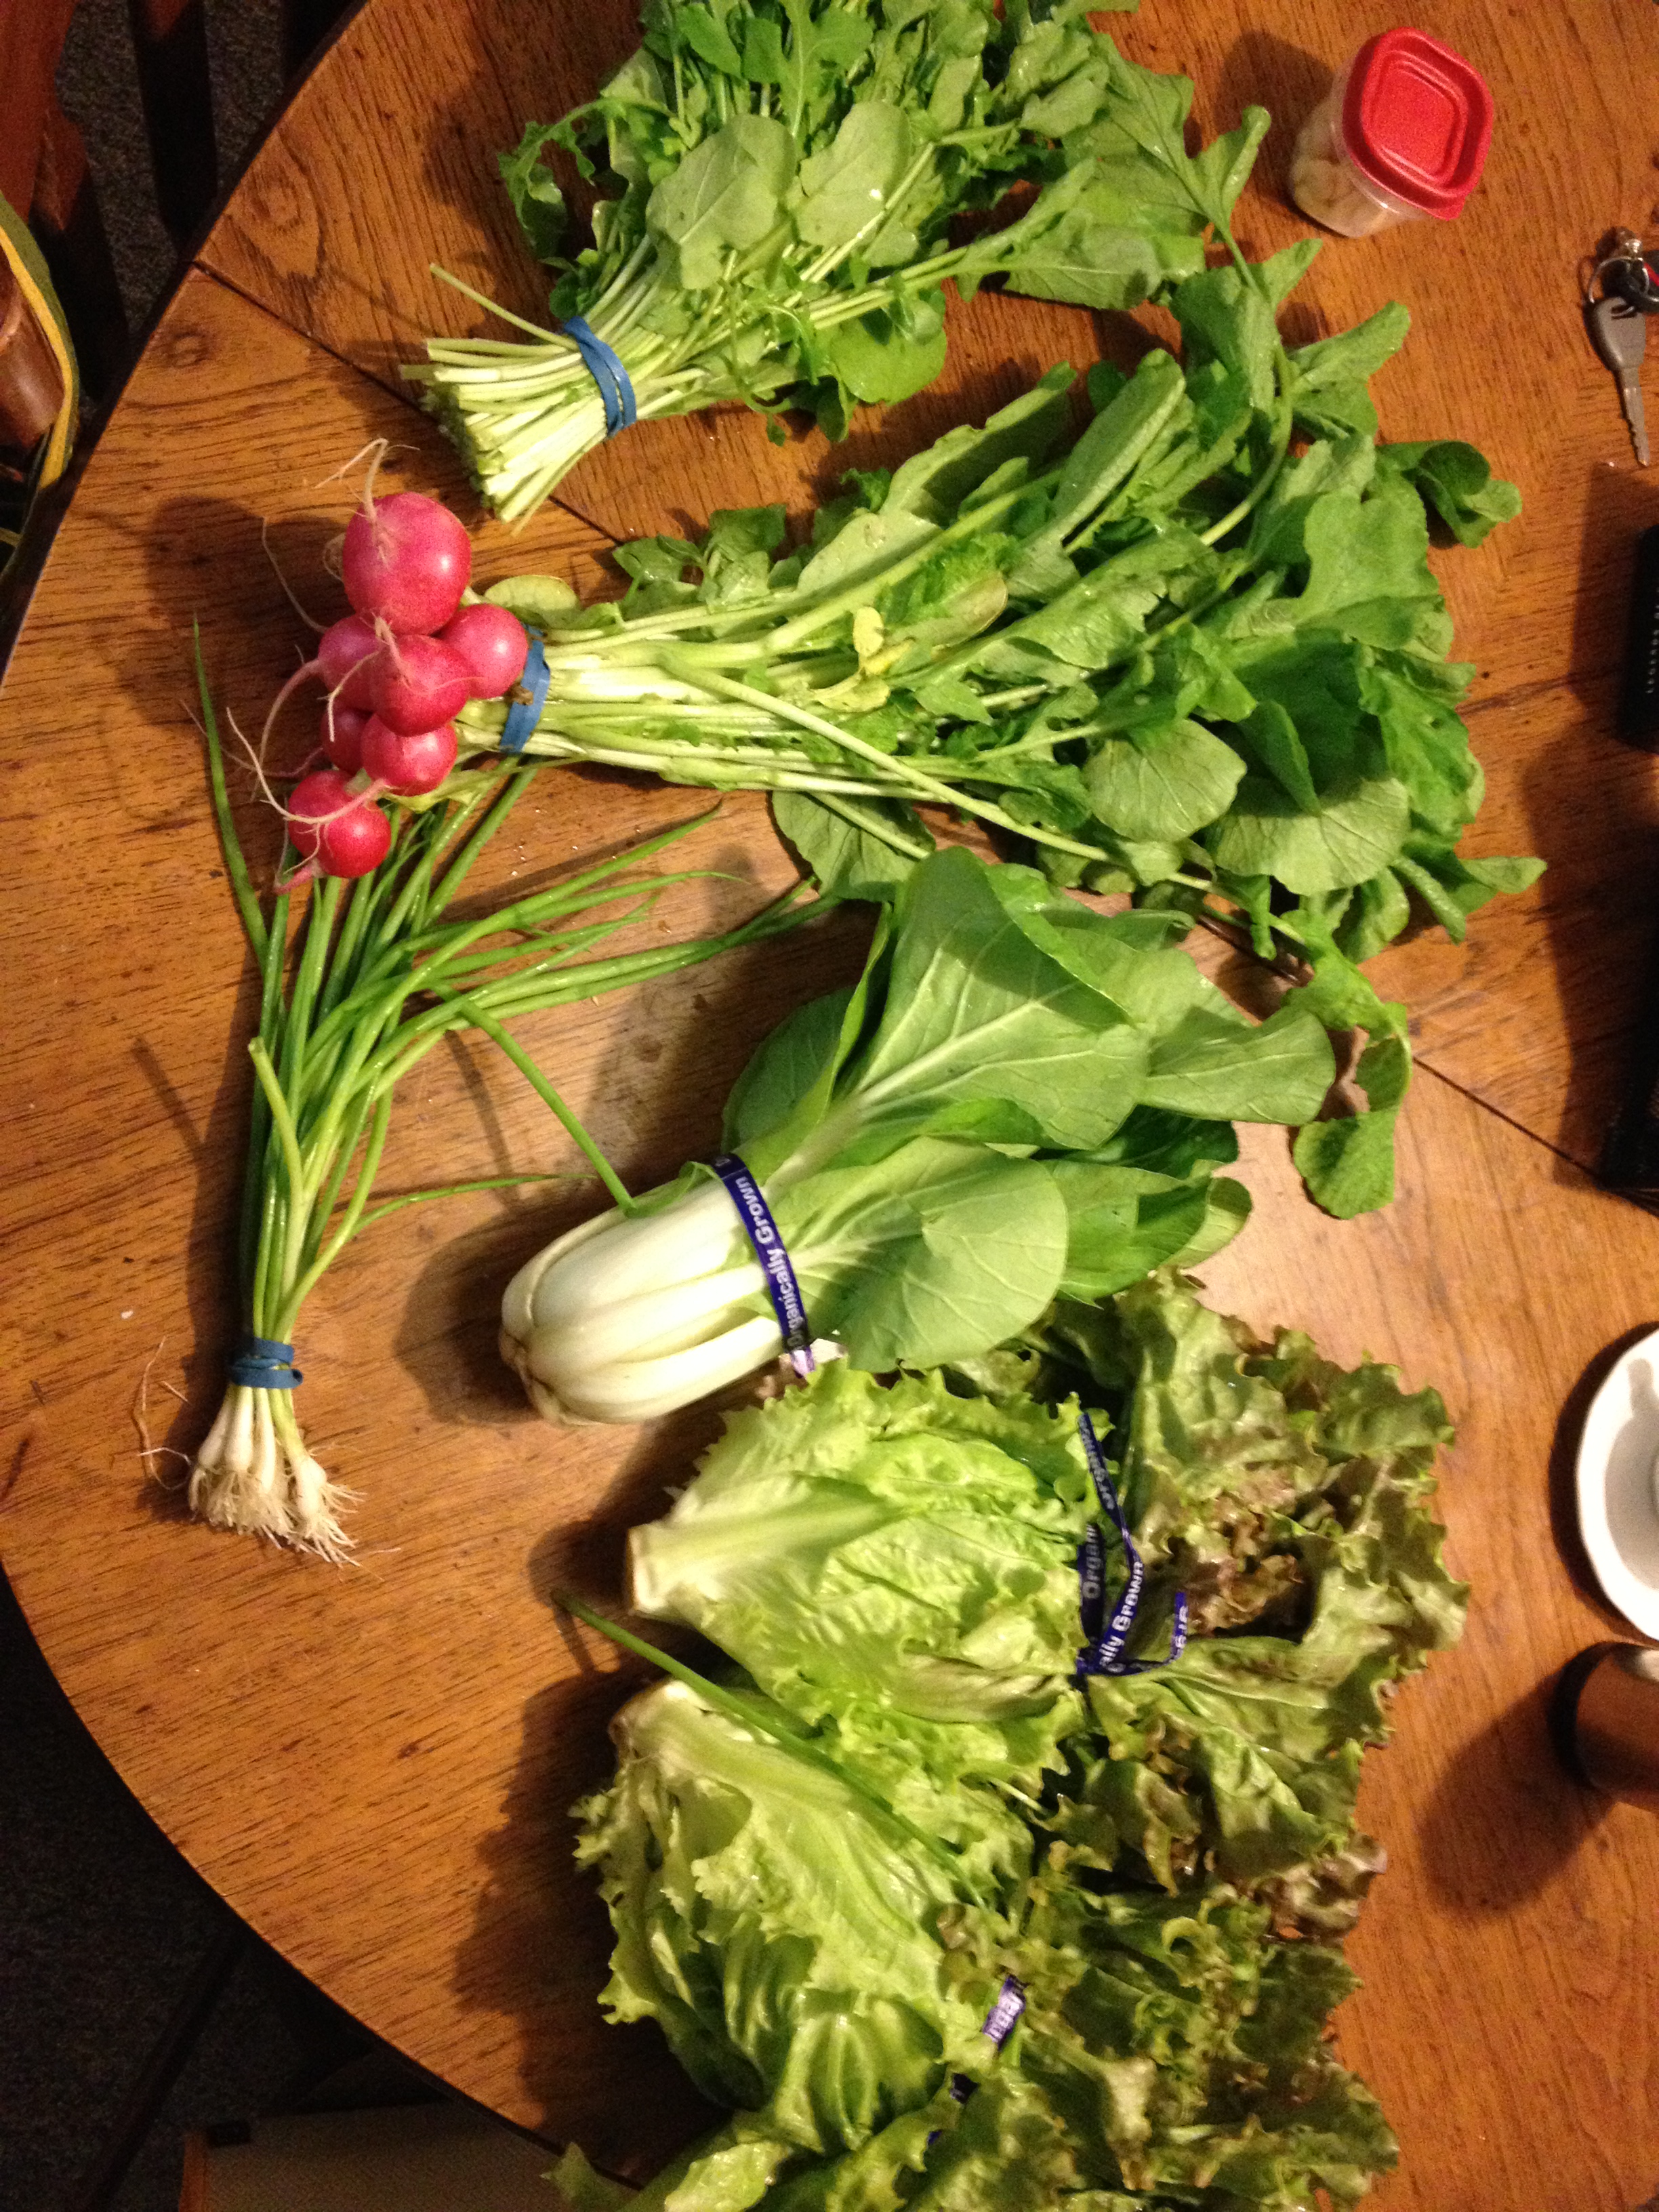
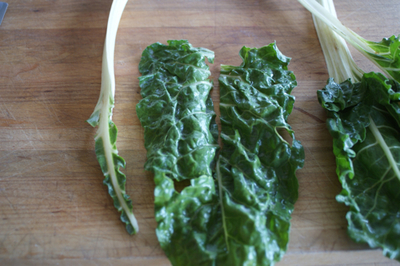
Some examples of Spring vegetables that we ate in Wisconsin and hope to eat in New Hampshire include: Spinach, radishes, lettuce, asparagus, cooking greens (frisee, endive), Chinese vegetables (bok choi, tatsoi), tiny beets, and sweet salad turnips. Most of these are leaves, a few stems and swollen roots, and no fruits yet…
Most of these leafy greens will wilt and dry out if just put in the refrigerator. Compared to store-bought greens, locally-bought greens will stay crisp and moist much longer in the fridge. The local veg that I get in our CSA is often only 1 or 2 days out of the ground, while some veg in the grocery store may have been picked weeks before. For locally picked veg, by my accounts, you have about 2 days in the fridge with unprotected greens before they’re wilted and inedible. However, if you put a little effort up front, these vegetables will stay very crisp and moist in the fridge, without getting soggy and mildewy. You can plan to pick up your CSA on Friday and still have crisp veg to cook with on the following Thursday. It’s all about moisture control.
First, all leafy greens need to be in a bag to keep in the moisture, but if there’s too much moisture, then the greens with get soggy. To absorb extra moisture, I wrap greens in paper towels, then put them in the bag, and twist the bag shut. This gives an environment where the moisture will stay constant, and any extra will be absorbed by the towels. Store the bagged veg in the bottom of the fridge, in a “crisper” drawer, if you’ve got room. However, bagged like this, the greens should stay crispy for 5 days, longer if they’re really recently picked.

Lay the veg out on a clean, dry paper towel. If the greens are visibly dirty, rinse away the dirt, but don’t leave too much water clinging to the veg.
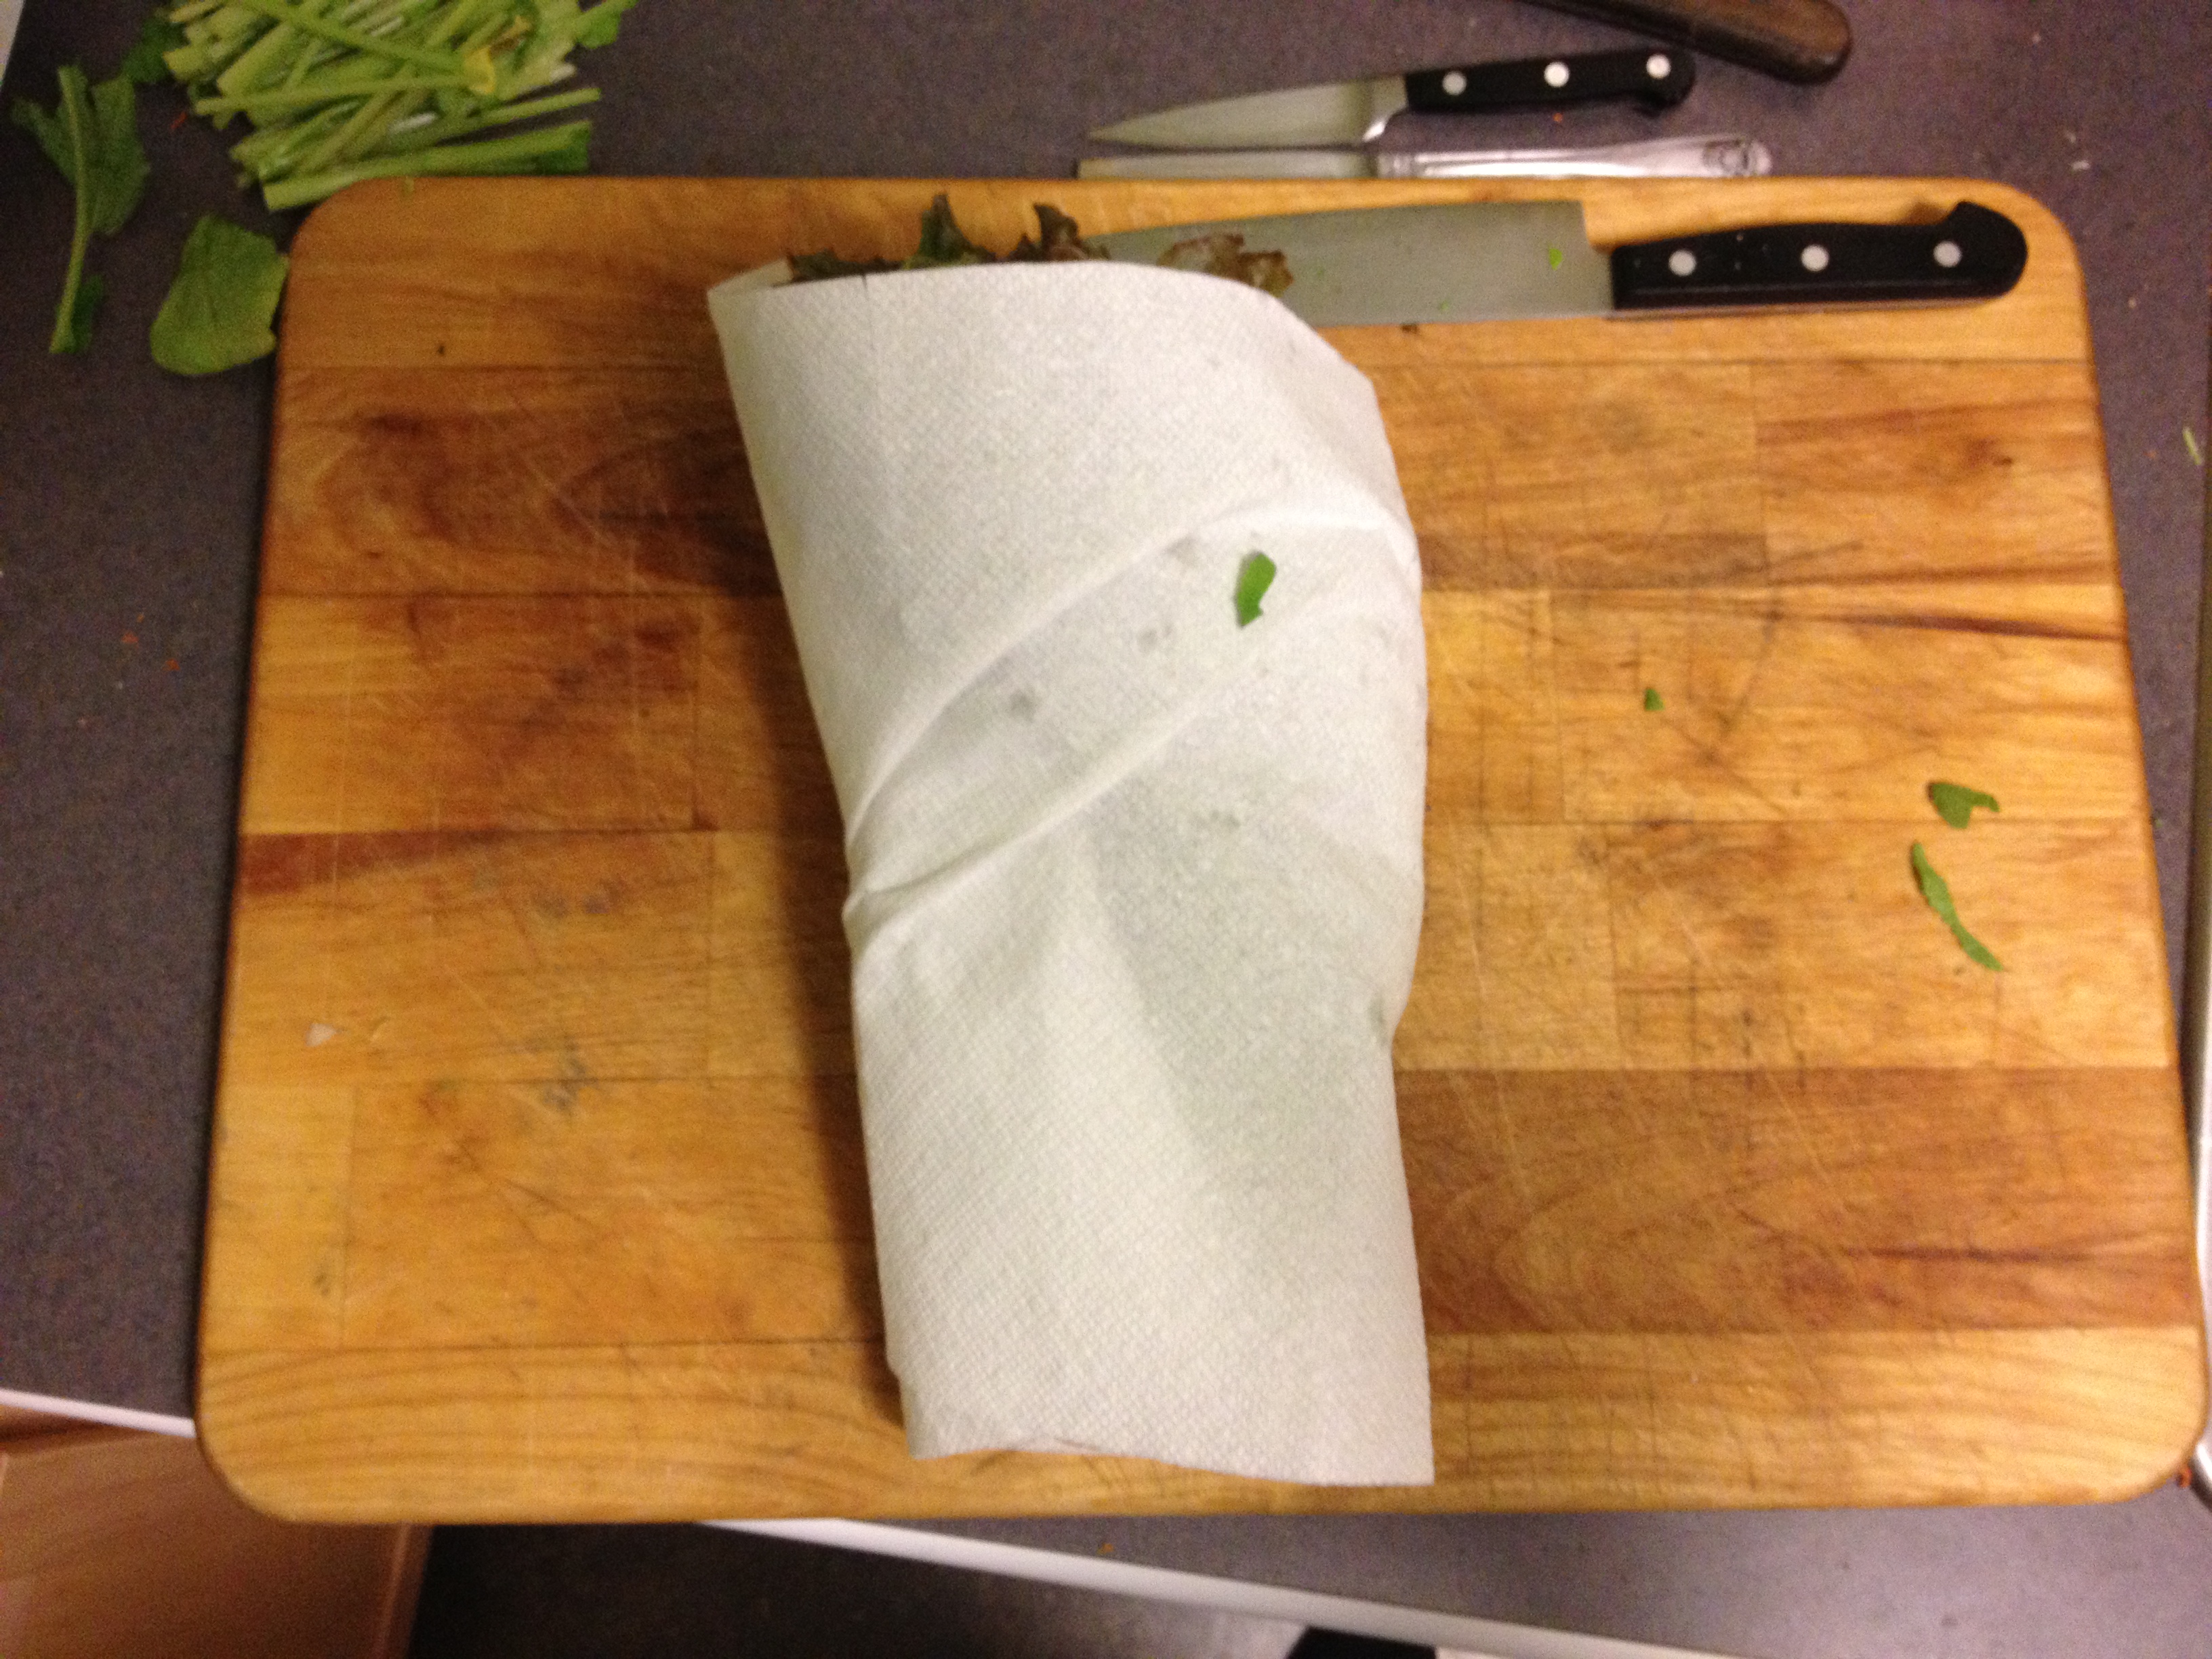
Bring all of the leaves together and tightly wrap in the paper towel.
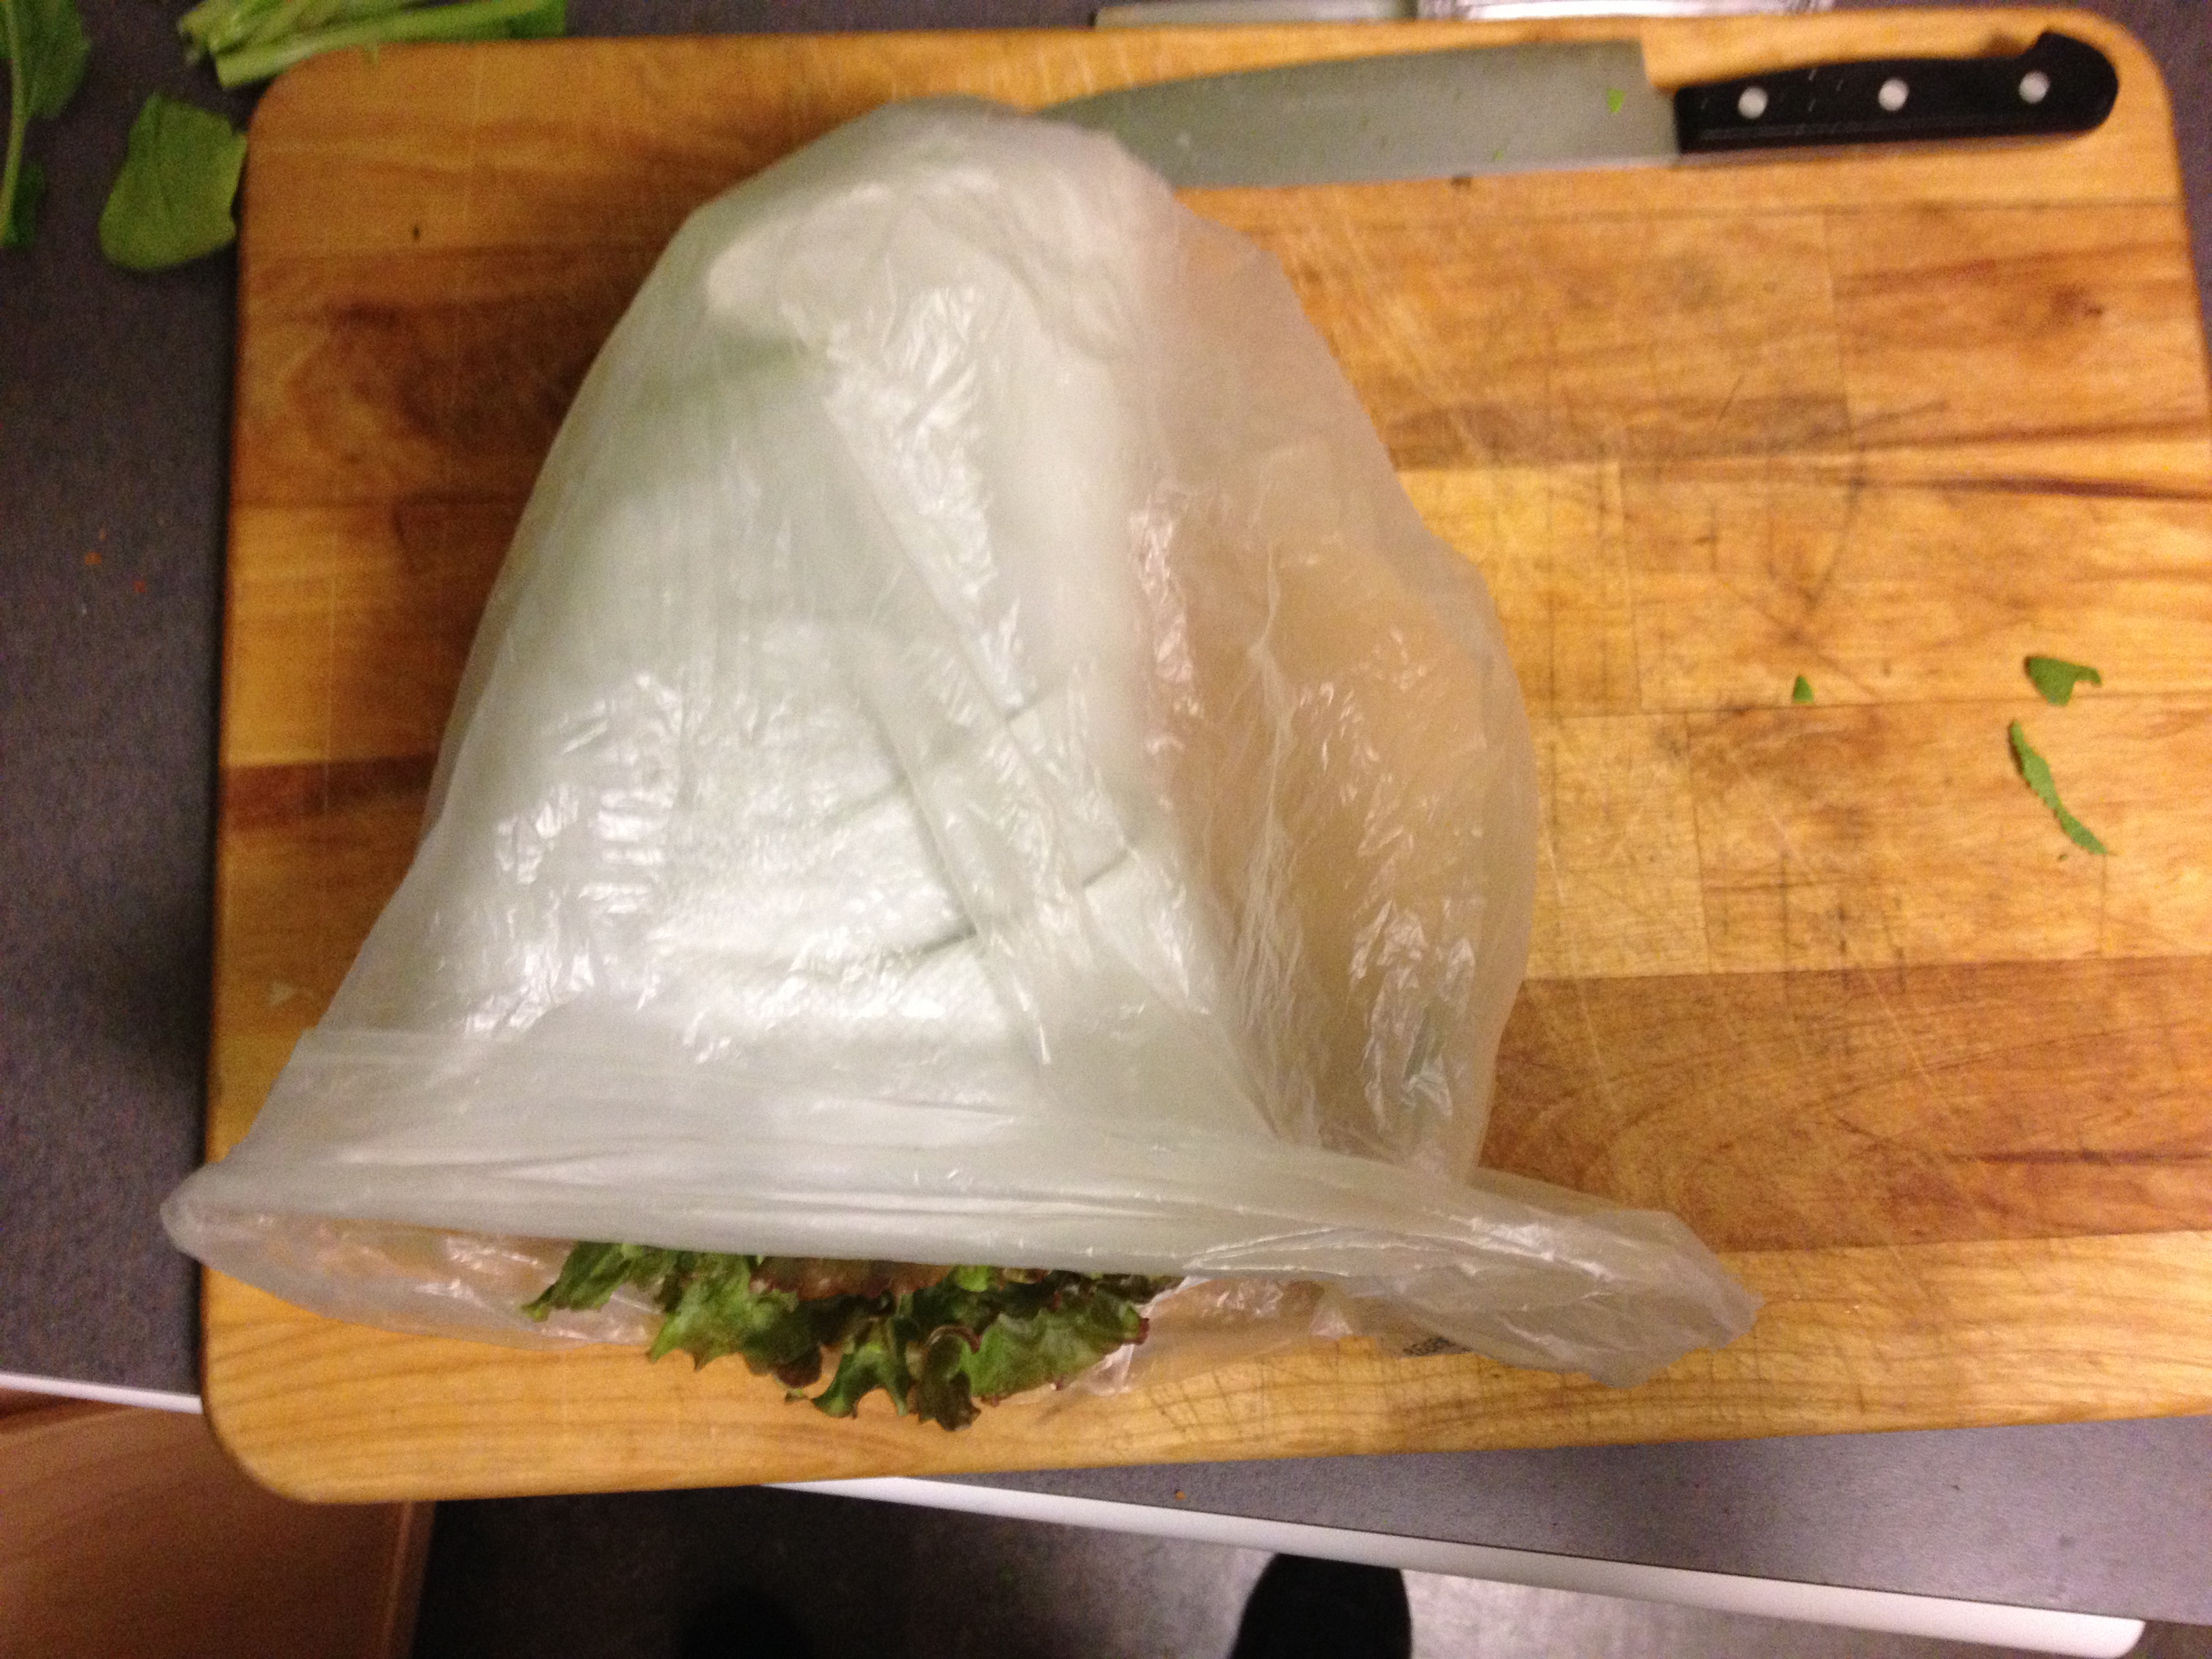
Put the paper towel-wrapped veg into a plastic bag. Twist the top closed.


 Escarole (Via InMyBox.Wordpress.com)